How to Sew a Foldable Tote Bag
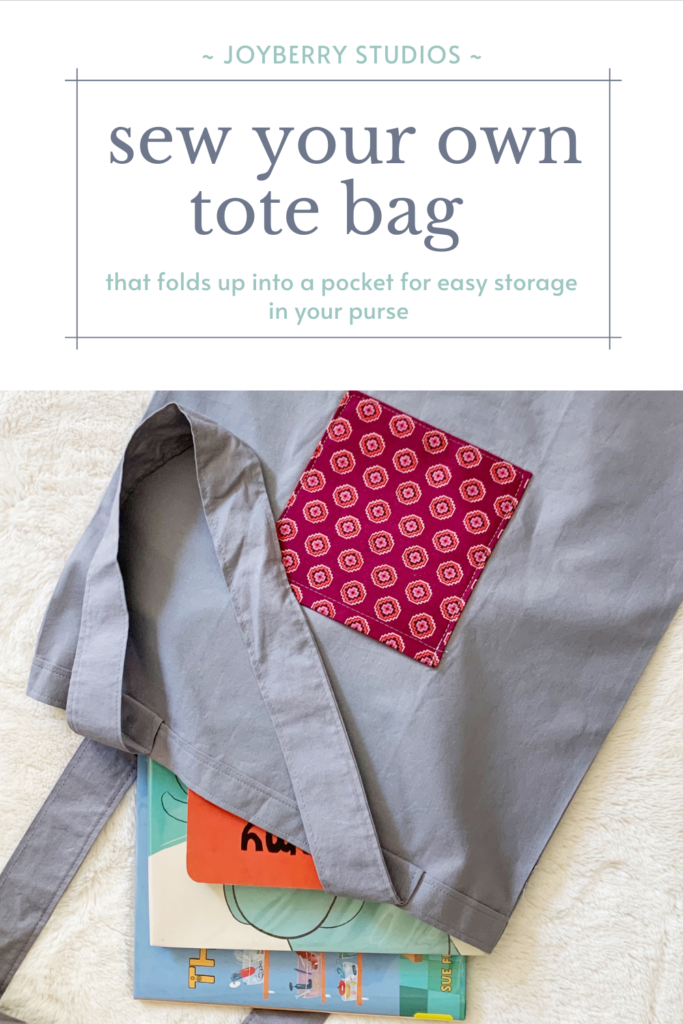
How to Sew a Foldable Tote Bag That Easily Folds Up to Store in Your Purse
We’ve all been there, you find yourself at a farmers market or popping into a store to grab something quickly and you don’t have your reusable grocery bags on you. You can easily take a plastic bag, but you’re maybe trying to cut down on your plastic use. Great news, you can sew a foldable tote bag with some scrap fabric in an afternoon!
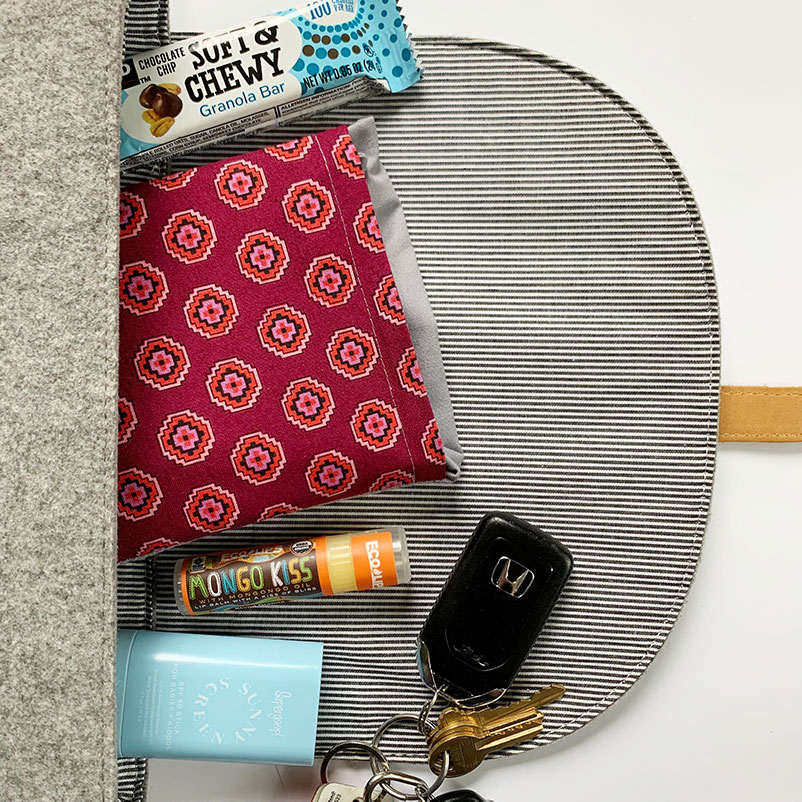
I love keeping one of these foldable bags in my purse. They fold up so they are compact and easily fit in a handbag. When I need a bag, they unfold to a tote bag with a fun bold pocket on the front. They are also an easy afternoon sew. What is there not to like?
Notes about this Pattern
I like to minimize the number of times that I go between my iron and sewing machine. I wrote this pattern with instructions that embody this practice. Feel free to do it out of order if needed!
I also made my bag with a plain gray fabric for the straps and main bag and a contrasting pocket. You can easily mix fabric patterns here. Maybe you also make the straps out of a contrasting fabric. Go for something bold! Or subtle! Or whatever your heart desires!
RST: right sides (patterned sides) of the fabric face together
WST: wrong sides (back sides) of the fabric face together
Fabric Cuts
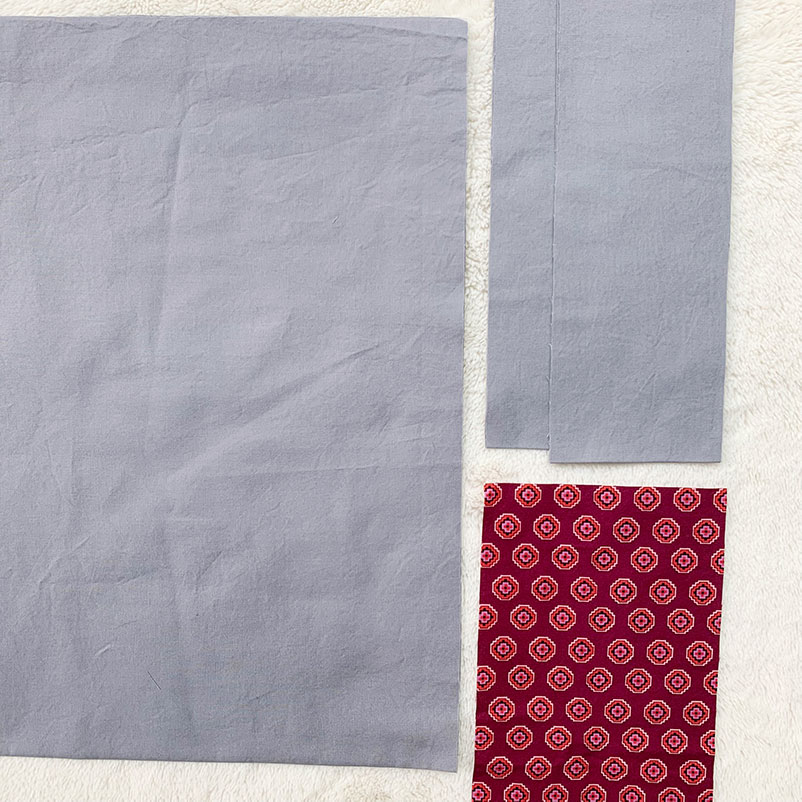
- Main Bag: 16” x 36”
- Straps: 4” x 28” (cut two)
- Pocket: 6” x 12”
How to Sew the Foldable Pocket Tote Bag
1.Fold the pocket, RST, so it becomes a 6”x6” square. Iron the folded edge.
2.Fold the straps, RST, so they become a long 2”x28” strip. Iron the folded edge.
3.Fold the main bag, WST, so it becomes a 16”x18” rectangle. Iron the folded edge.
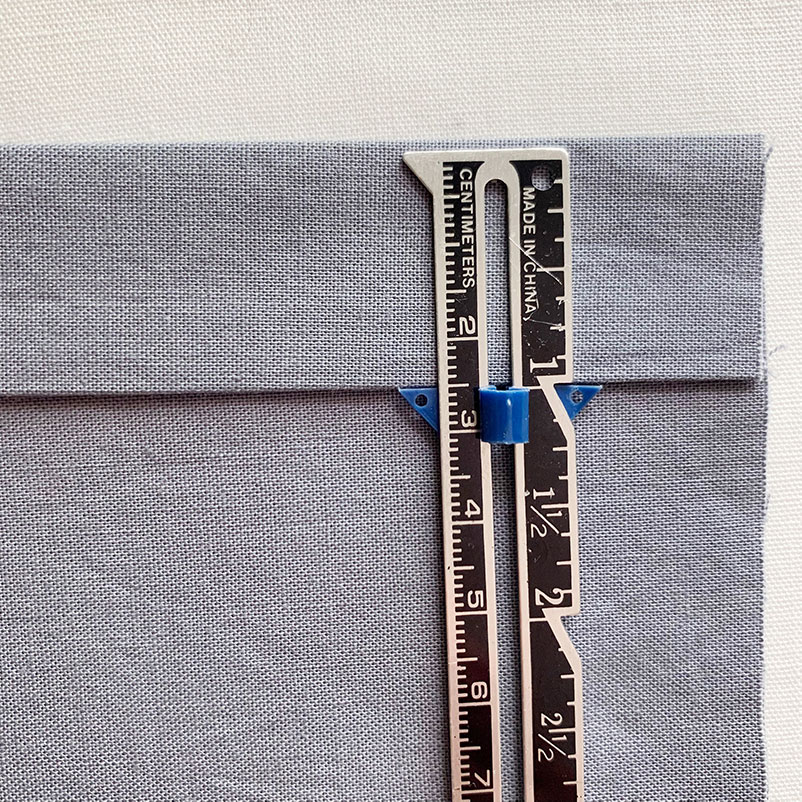
4.Next we are going to iron the top seams of the bag. Fold down the top of the bag on each side and iron a ¼ seam. Fold it down again and iron a 1 inch seam.
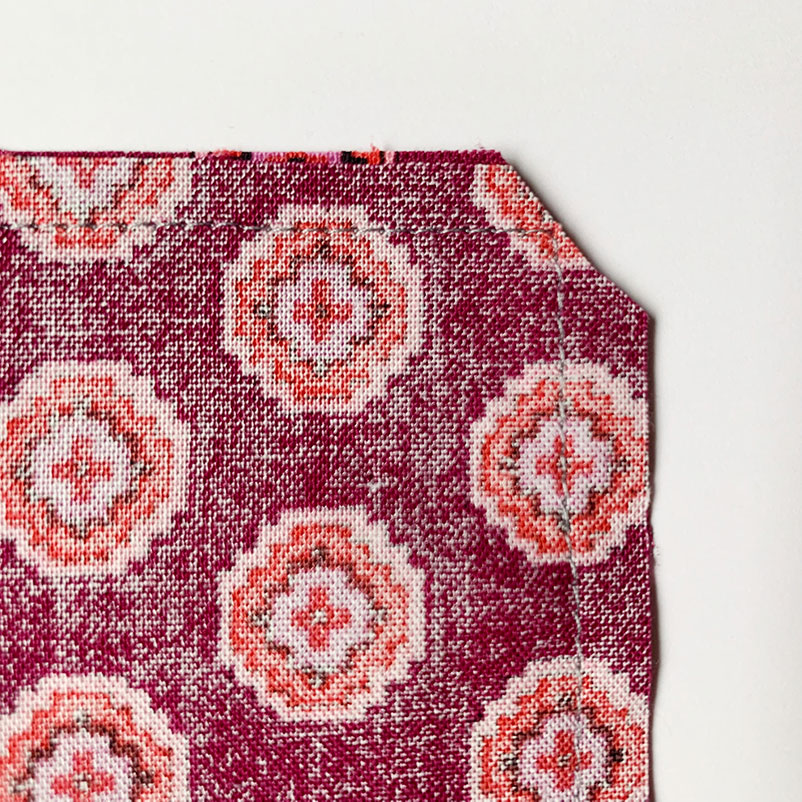
5.Sew around the three open edges of the pocket with a ¼ inch seam allowance. Leave an opening of 1 inch on the side opposite the fold. Clip the corners of the pocket. You should cut off a little triangle from each corner. Be sure to not cut through the seam! This helps your pocket corners lay more flat.
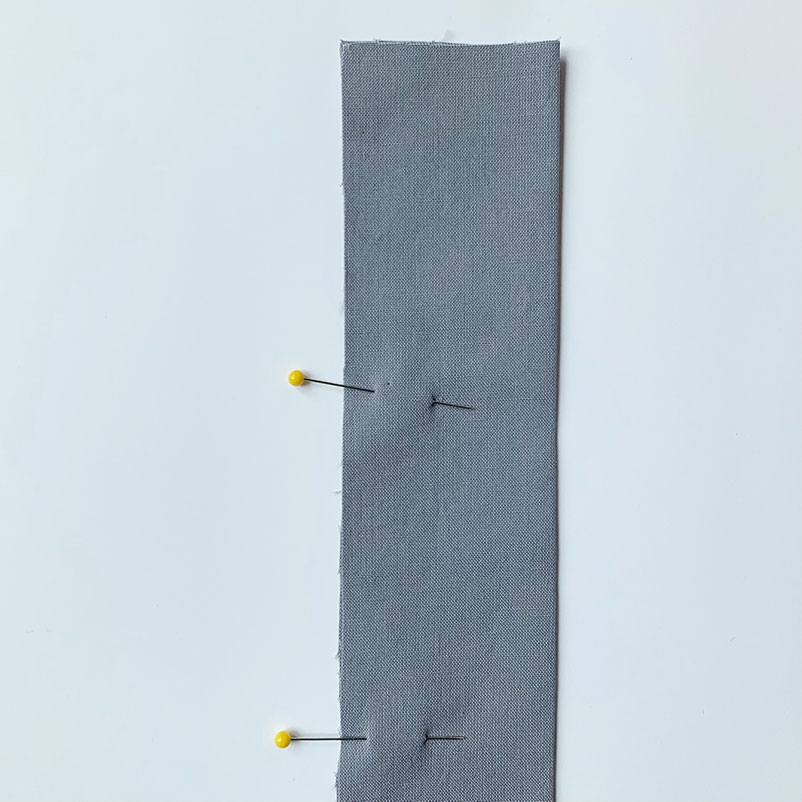
6.Sew along the long edge of the straps with a ¼ inch seam allowance.
7.Turn both the straps and the pocket right side out and iron them flat. Use a pencil or knitting needle to poke out the corners of the pocket.
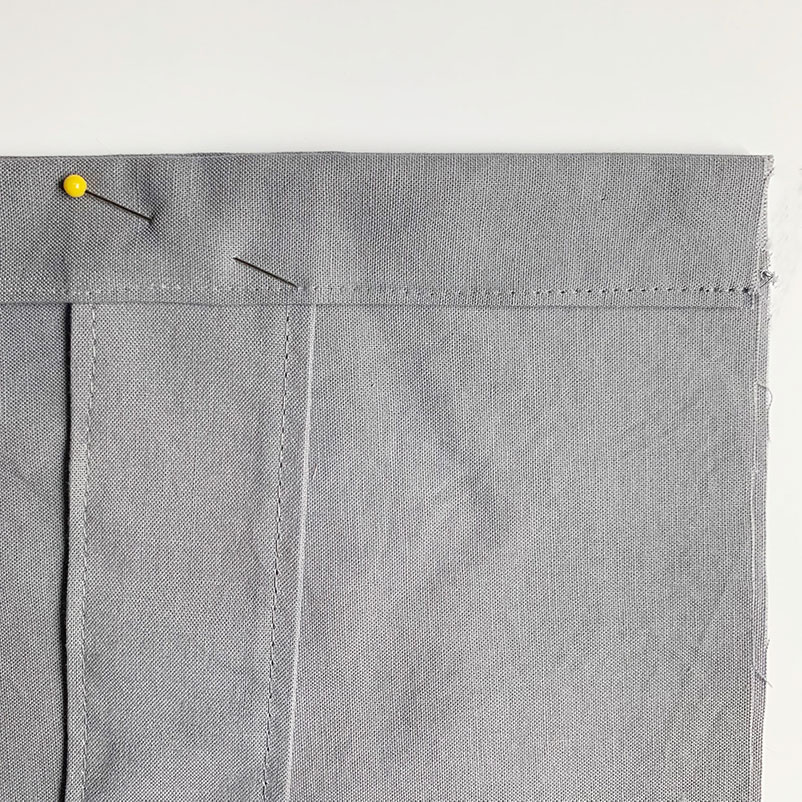
8.Place the end of one side of one strap underneath the folded top hem of the bag, so edge to edge is 3.25”. Pin in place. Repeat for the other four strap connections. (Be sure not to twist your handles!)
9.Sew the hem of the bag with an ⅛ inch seam allowance. (This is the stitching right at the edge of the folded hem. It will keep the straps in place for the next step.)
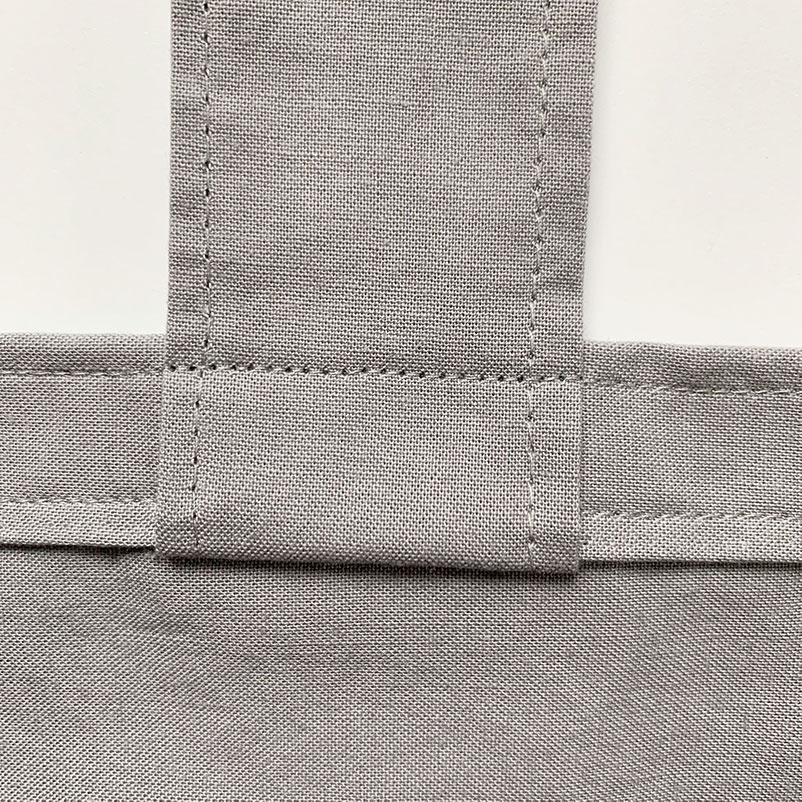
10.Fold the straps up and over the hem. Pin in place. Sew the top of the hem with an ⅛ inch seam allowance. (You can sew over your steps a few times to make sure they are extra secure and strong.) Your straps are now in place!
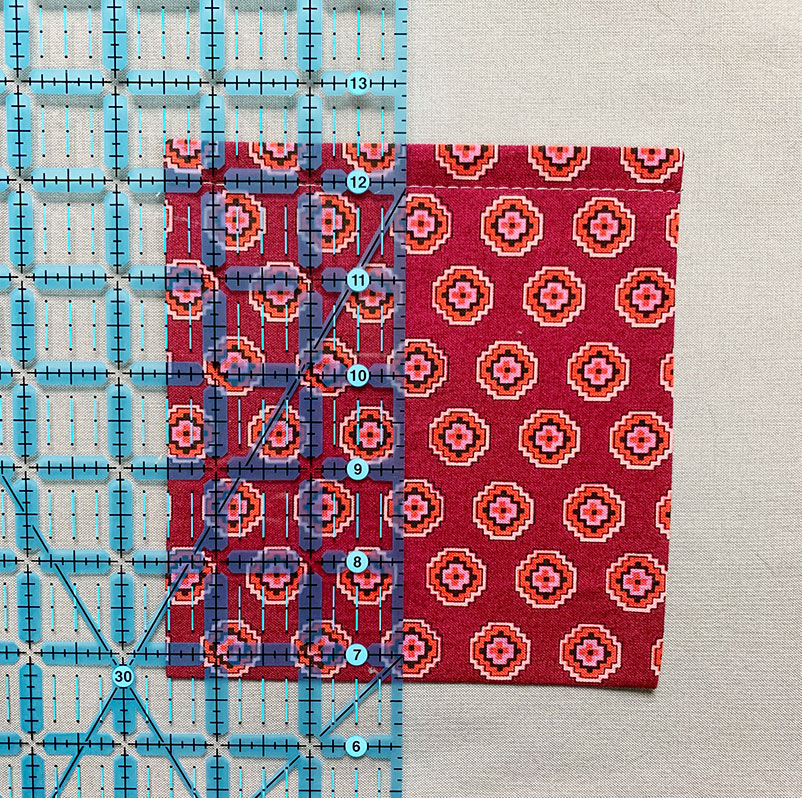
11.At this point you can sew top stitching on your pocket. This is optional, but I think it makes it look a little more professional. Set your stitch length to 4.0 and sew a line along the top of your pocket with a ½ inch seam allowance.
12. Fold your bag in half, aligning the straps on the top. Place your pocket in the middle of the bag. You can either eyeball it or use a ruler to find the exact middle. My pocket was 5.5 inches from the top and 5.25 inches from the side. Pin the pocket in place to just one side of the fabric.
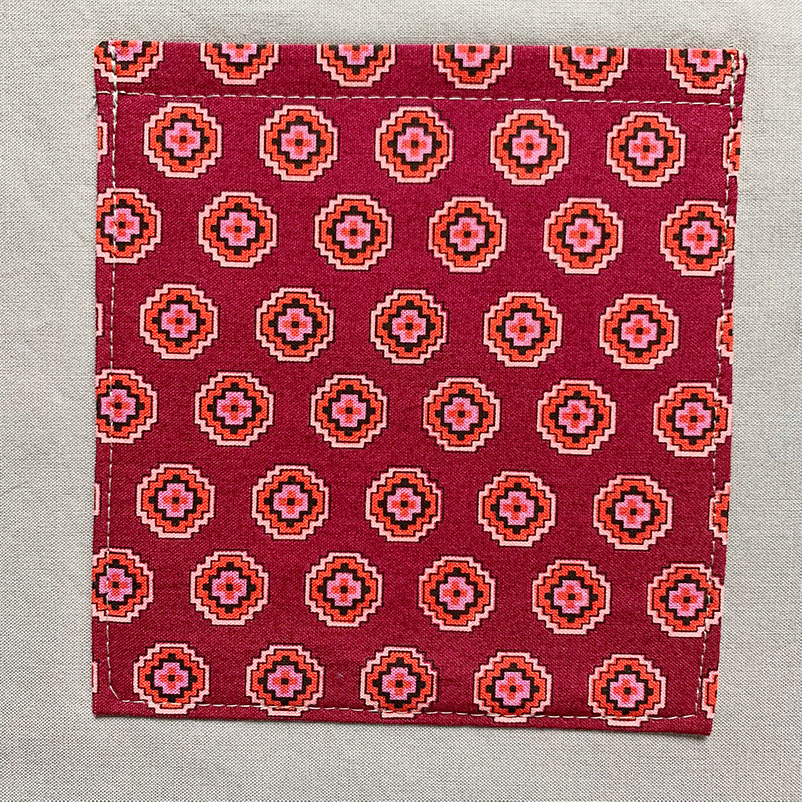
Sew your pocket into place. Be sure to forward and back stitch a few times at the top of each side. Generally this side of the pocket will have a lot of stress, so we want to make sure it is a strong seam!
We will use a french seam to finish the side seams. Place wrong sides together (pocket facing out) and sew down each side with a ¼ inch seam allowance.
Trim down the seam allowance to ⅛ inch. Turn bag inside out and press side seams.
Sew seams again with a ¼ inch seam allowance.
How to Fold Your Foldable Tote Bag
You’ve finished sewing your bag! Now we can fold it up nicely into the little pocket you made!
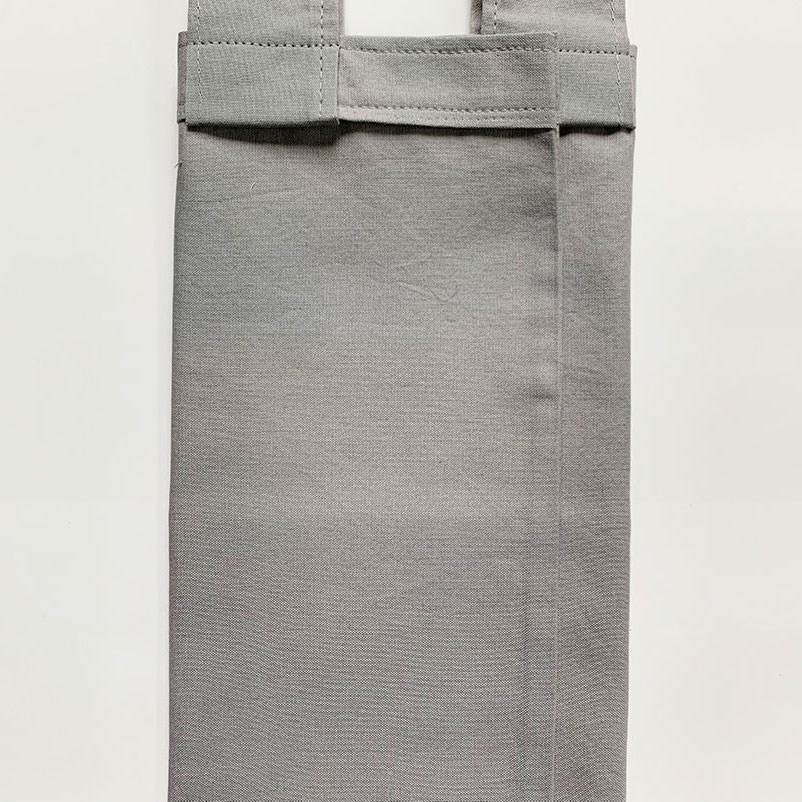
I like to start with the pocket facing down and folding both of the sides of the bag so the side folds align with the straps and the sides of the pocket.
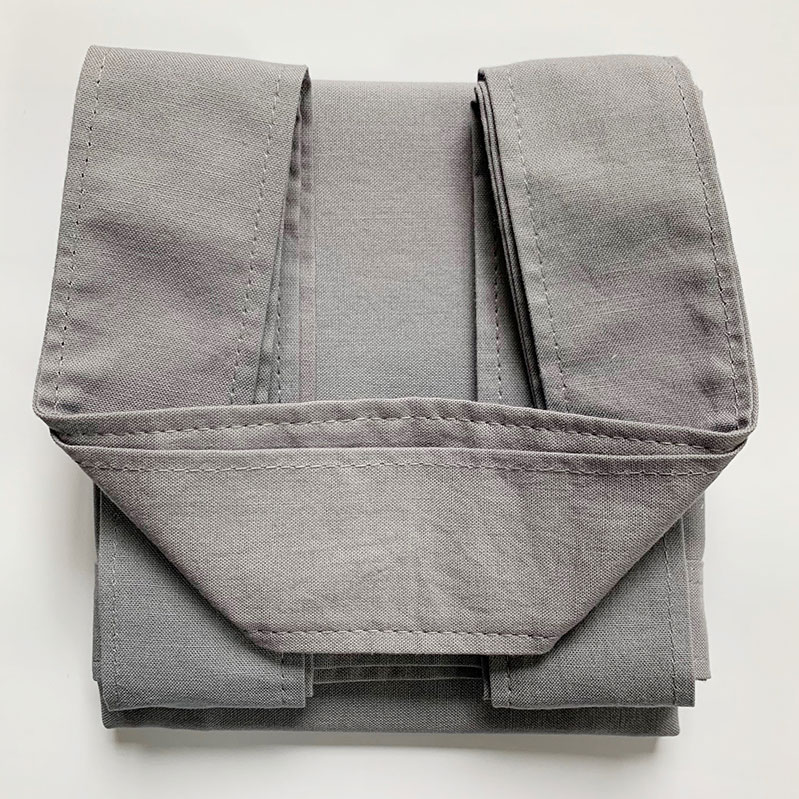
Then I fold the bottom up so it aligns with the bottom edge of the pocket. And then the top down so it aligns with the top edge of the pocket. You will need to fold the straps back and forth a few times until everything is a folded behind your pocket.
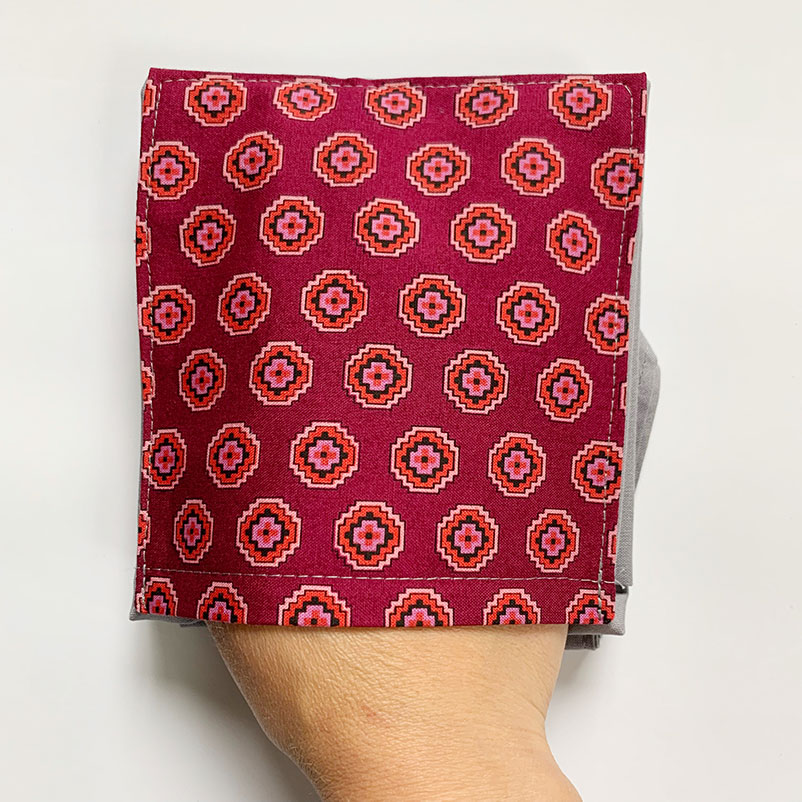
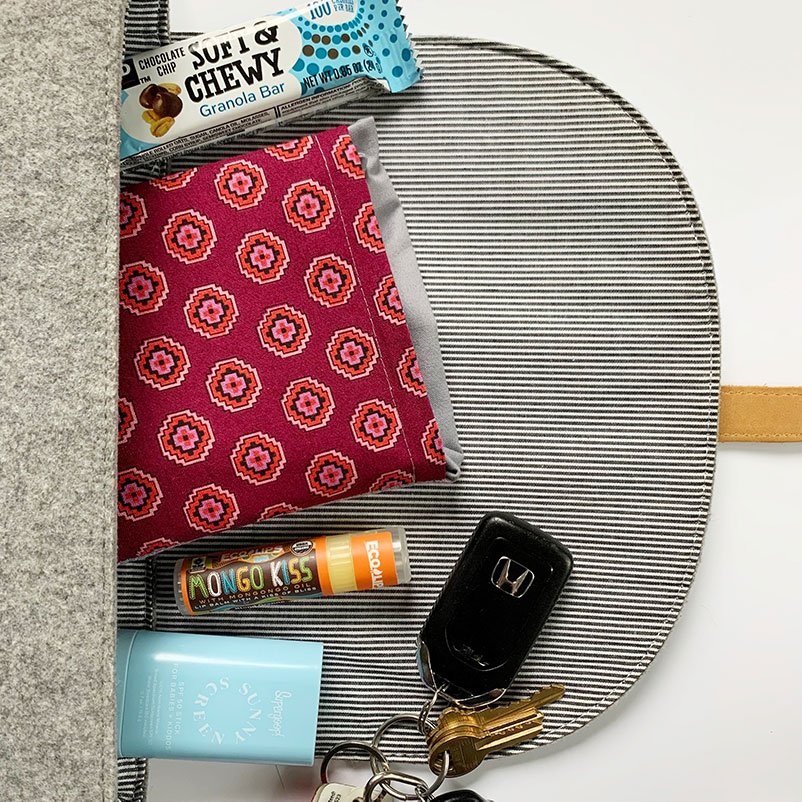
Flip the bag over and place your hand in the pocket. Grab the folded fabric through the pocket, and turn it inside out. The fabric should hide itself in the pocket. This makes for easy storage.
Possible Hacks
Box out the corners so the bag has a rectangular bottom and sits flat.
Modify the pocket so that the bottom corners have a bit of a curve to them.
Add a little strap! Makes it easy to clip this bag onto a carabiner or make a bigger strap to hang from your wrist.
