DIY Felt Pasta Play Food
My daughter loves her play kitchen. This DIY felt pasta play food was so quick and easy to make. With both sewing and no sew options!
DIY Felt Pasta Play Food – With Different Noodles & Toppings
There are so many facets of motherhood that bring me joy. My absolute favorite thing is watching my toddler play independently in her play kitchen. I wanted to give add to her arsenal of toys, so I made her some felt pasta play food.
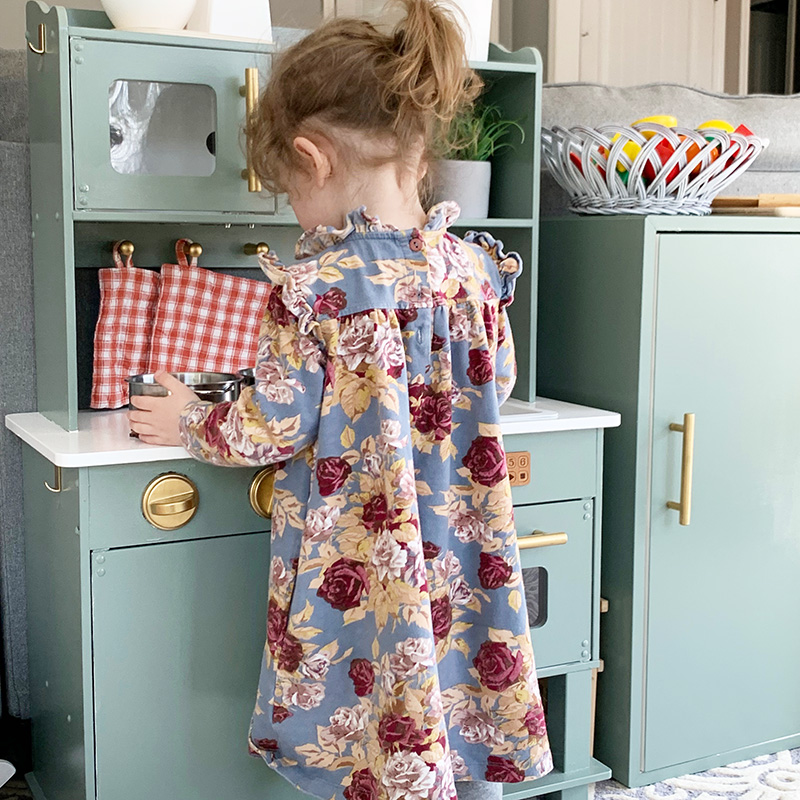
I found her play kitchen on the curb and gave it a little makeover. (Details in this blog post! It is one of her favorite toys.)
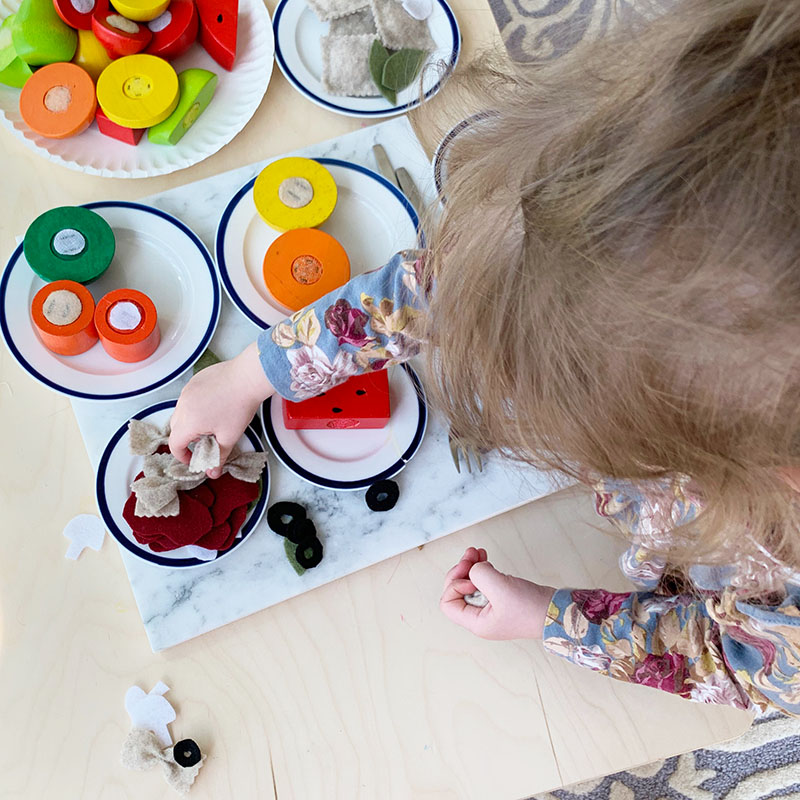
At the moment we have some hand-me-down 1990’s IKEA kitchen pieces, those wooden velcro cutting fruit, and some old spice jars. I wanted to make a few themed kitchen food sets for her. I thought pasta would be a perfect fit for her colander!
This felt pasta set was incredibly easy to make and you don’t even have to sew if you don’t want to!
Another great thing about this project is that you can pick what parts of the set you want to make. Hate olives? Not a problem! Don’t have green felt? No one will notice if your set lacks basil.
Sourcing Felt
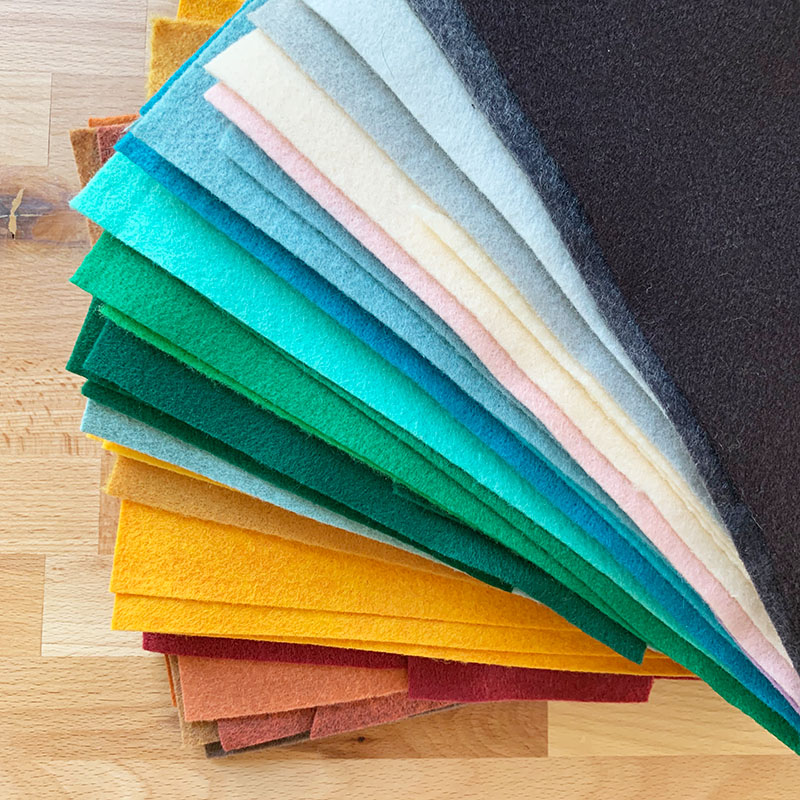
I used felt that I had in my felt stash. Using what you have is the most sustainable and cost-effective way to craft.
If you don’t have a felt stash, you could also use flannel or another kind of thicker fabric that doesn’t fray that much.
If you don’t have anything that will work you could try the following to source your materials:
- Ask a crafting friend! This project doesn’t use a ton of felt and can easily be made from scraps
- Shop second hand! Try Make & Mend for second hand crafting items.
- Use 100% wool felt! Benzie Design is a small business that is incredibly popular for all kinds of felt projects. They have 100% wool felt, which is more sustainable than the common plastic alternative.
- When in doubt, your local craft store should have some.
DIY Felt Pasta Play Food
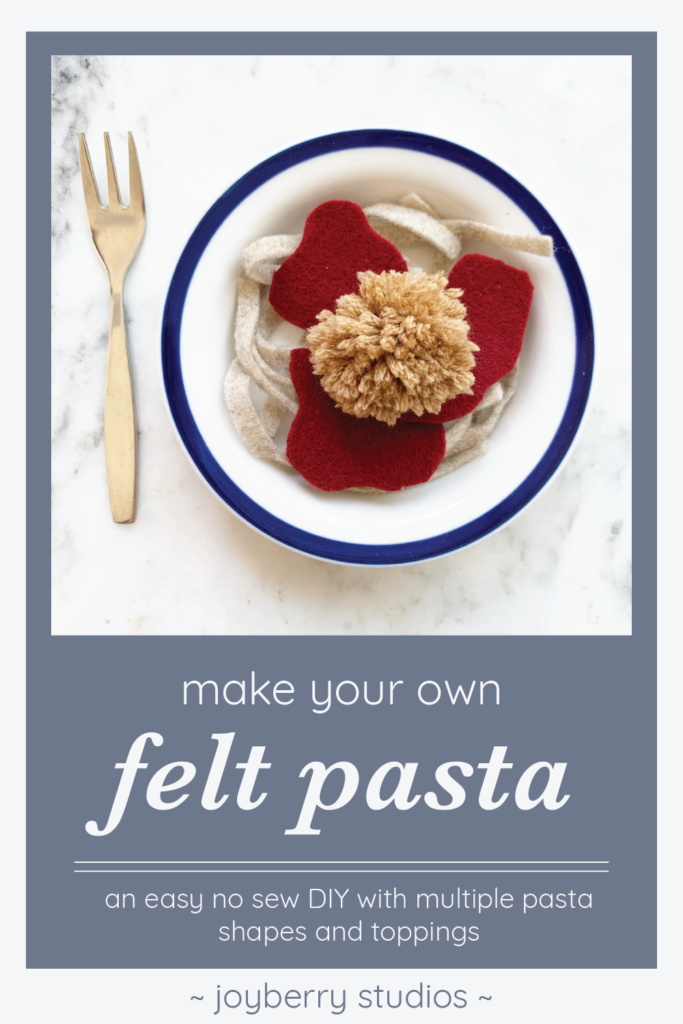
Ravioli
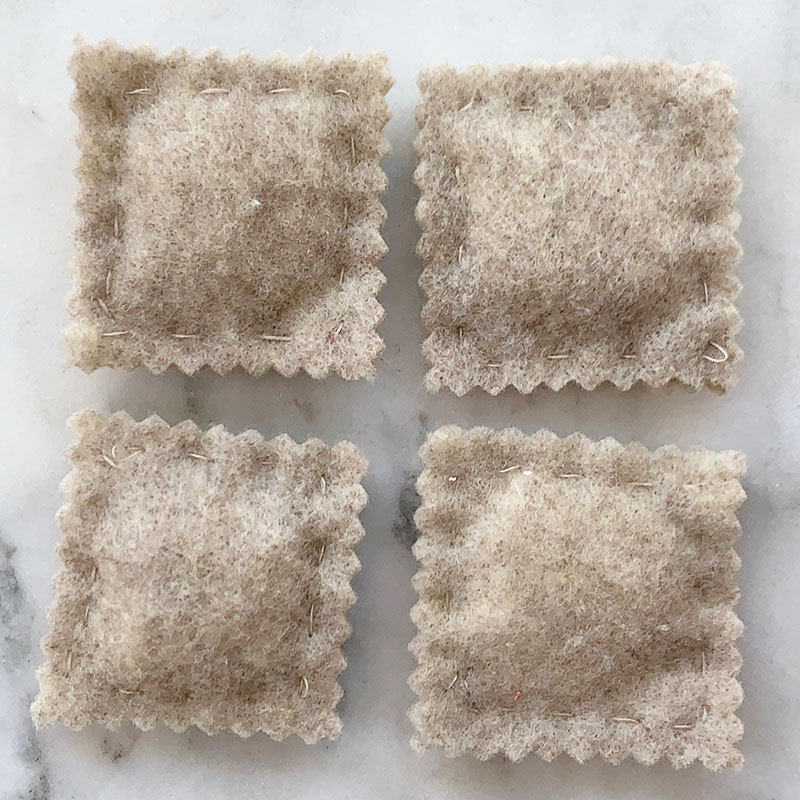
Cut a 2 inch square. Using a needle and thread sew around three of the sides with a ½ inch seam allowance. (If you don’t have sewing supplies, you could also fabric glue!) Pause when you get to the last side.

Stuff the ravioli with some scrap fabric. Finish sewing/gluing the last side.
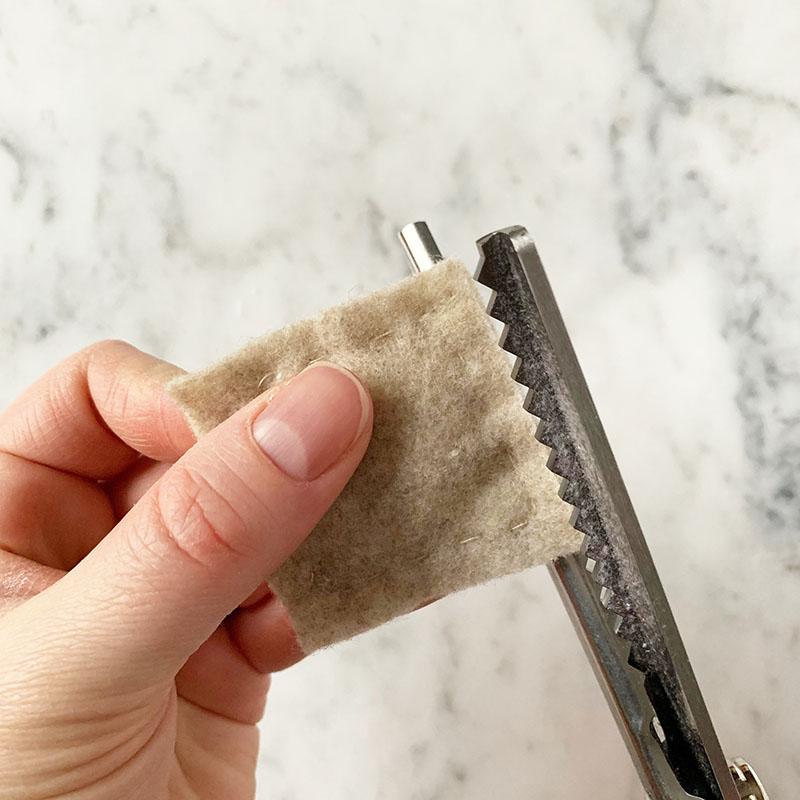
Use pinking shears to trim the sides for a zigzag authentic ravioli look. (Or just use scissors and make little triangle cuts. Don’t you dare buy pinking shears just for this project!)
Farfalle
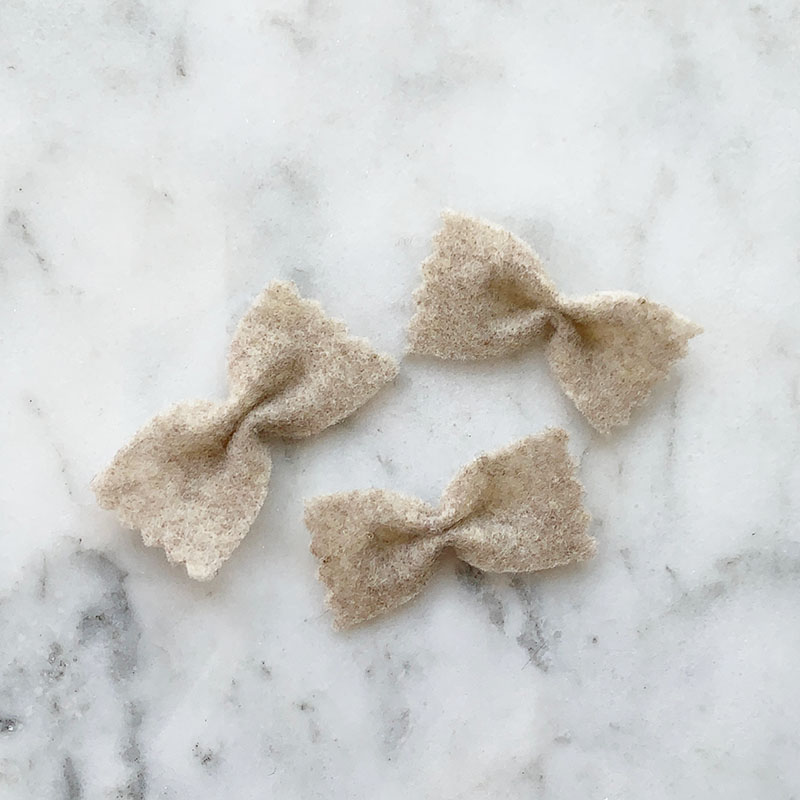
Cut a 1 inch x 2 inch rectangle. Trim the sides with pinking shears or make little triangle cuts with normal scissors to get the zigzag look.
Fold the middle in half. Then fold each side in half again, for a total of three folds. Secure in place with a few stitches or glue. (If gluing, you could hold it together with a binder clip while the glue dries.)
Fettucini
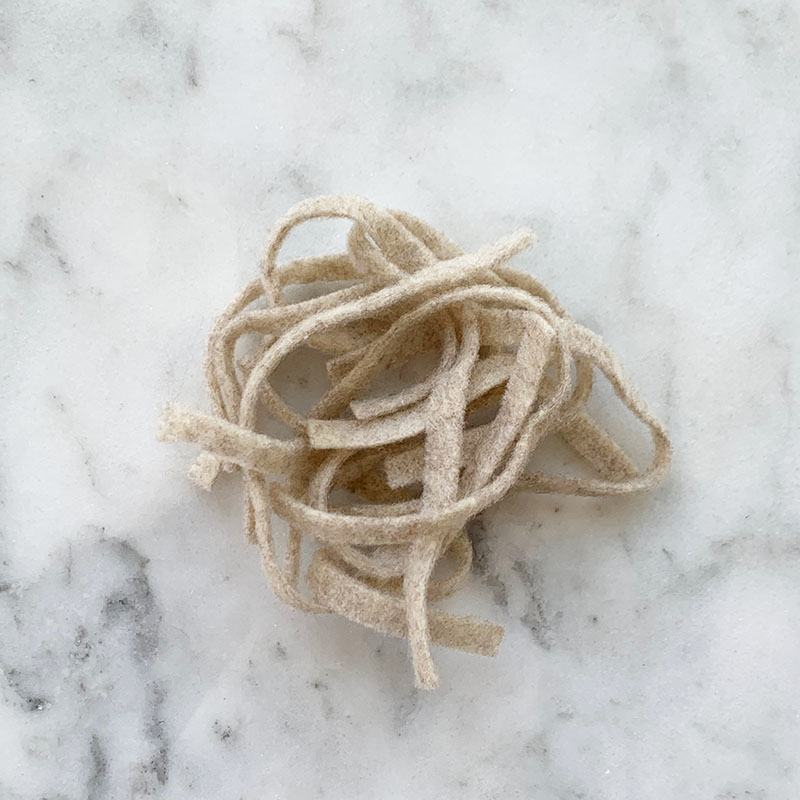
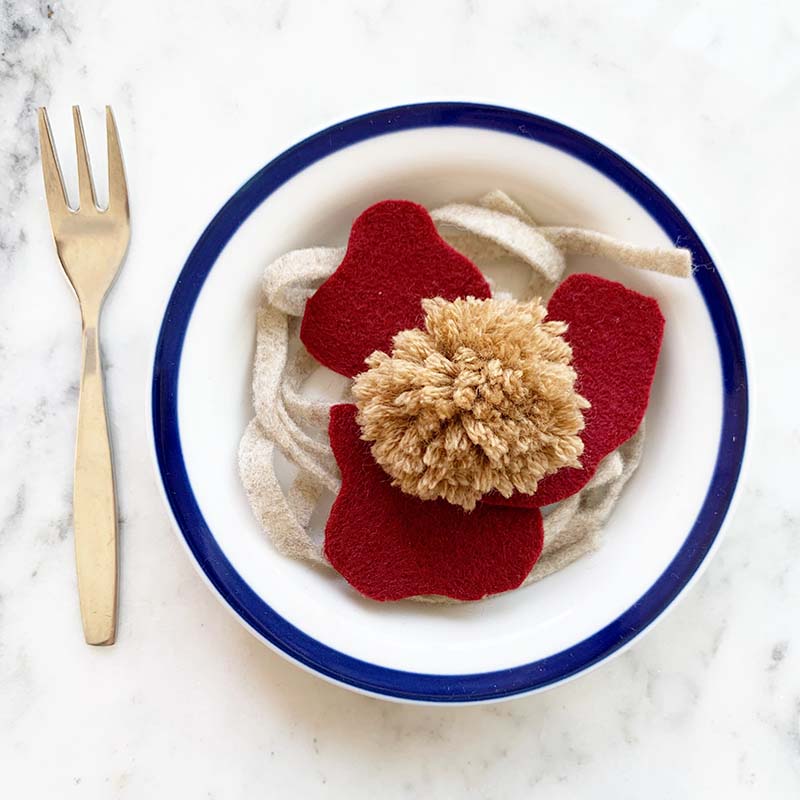
Ah, the easiest of the three. Simply just take your felt and cut it into thin strips. I only cut mine to be around 8 inches long. I didn’t want it to get too tangled or for my daughter to start tying it around things
DIY Felt Pasta Play Food – Toppings & Sauces
Marinara, Alfredo, Pesto
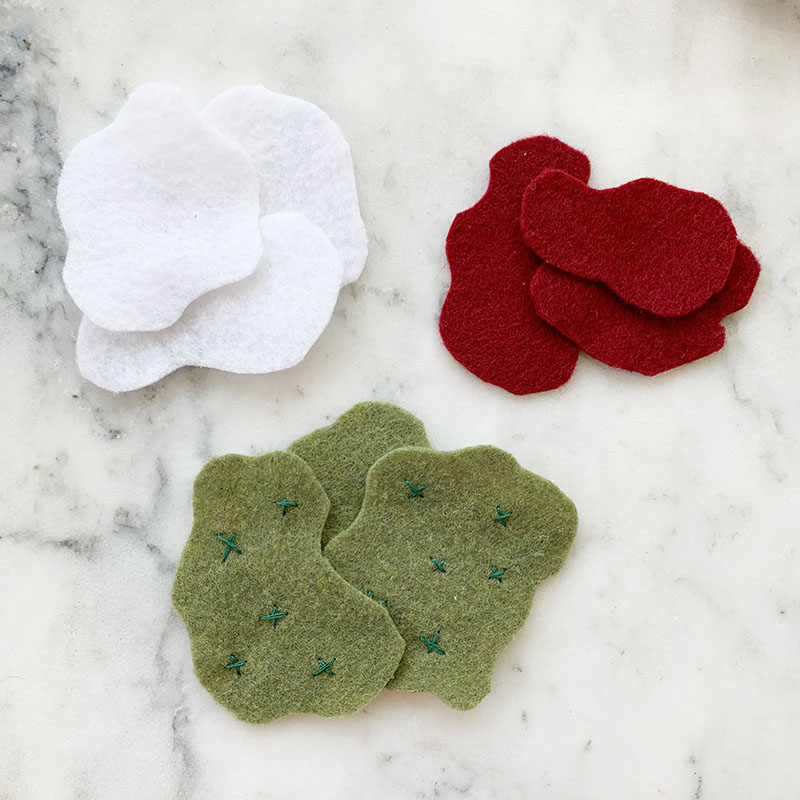
For the sauce I just cut out blobs of the different colored felt. If you want more of a fancy look you could easily make the sauce blobs out of two layers and stitch them together with embroidery floss.
I added a few stitches of embroidery floss to the pesto to give it a bit of texture.
Olives, Mushrooms, Basil, & Spinach
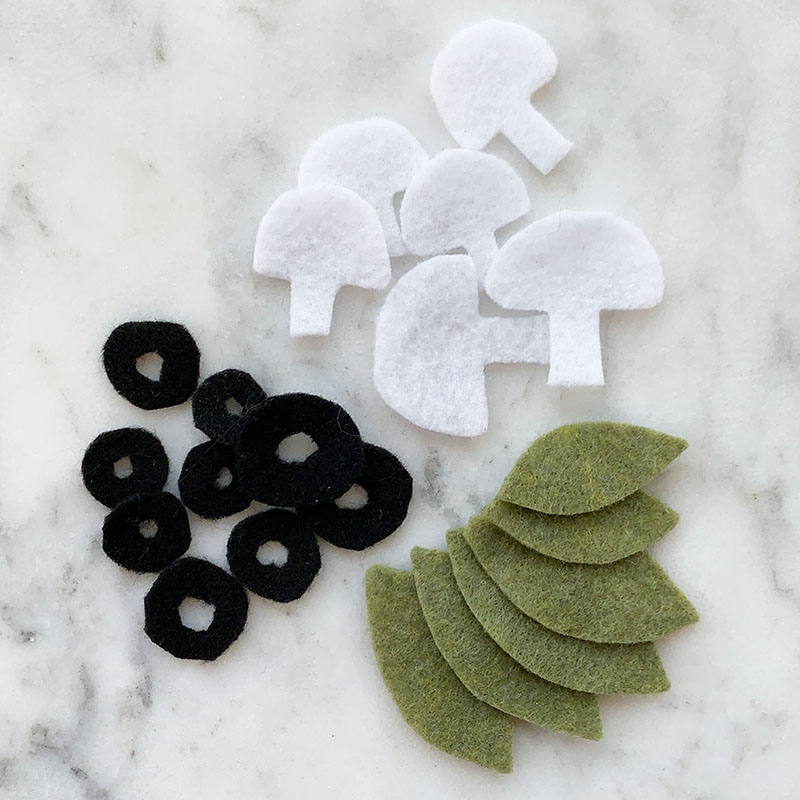
For the vegetables I just cut out simple shapes from felt. I like the look of cutting them all out by hand without a template. They end up all being shaped differently and look a bit more organic to me.
If you wanted them to look a bit more polished you could add some embroidery to them. Some little gills in the mushrooms, veins in the spinach/basil, and just some simple stitching in the olives would look fun. You could then glue another piece of felt to the backside to hide some of the stitching. It is up to you!
Meatballs
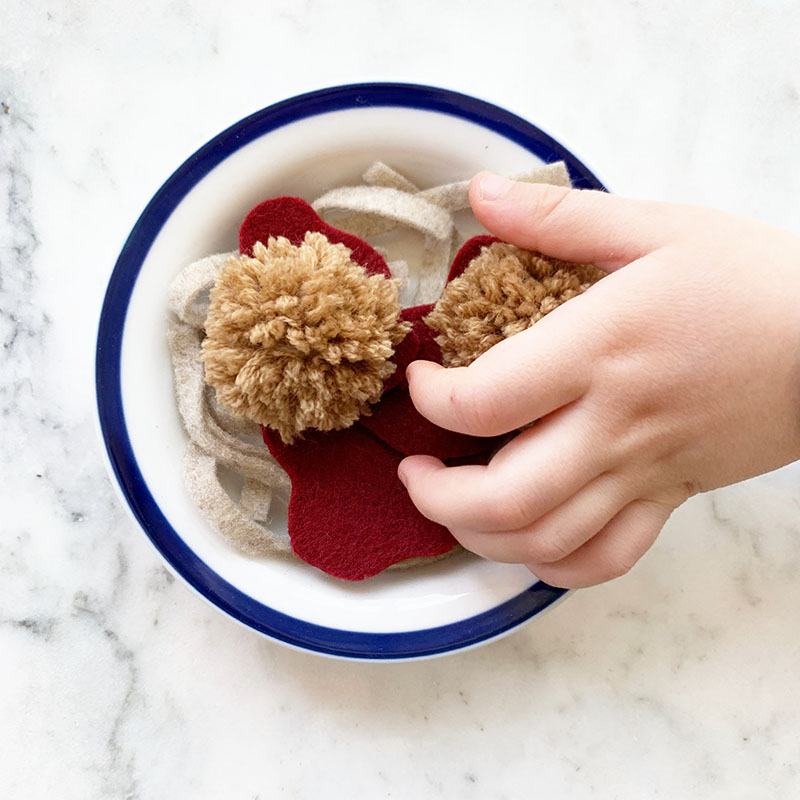
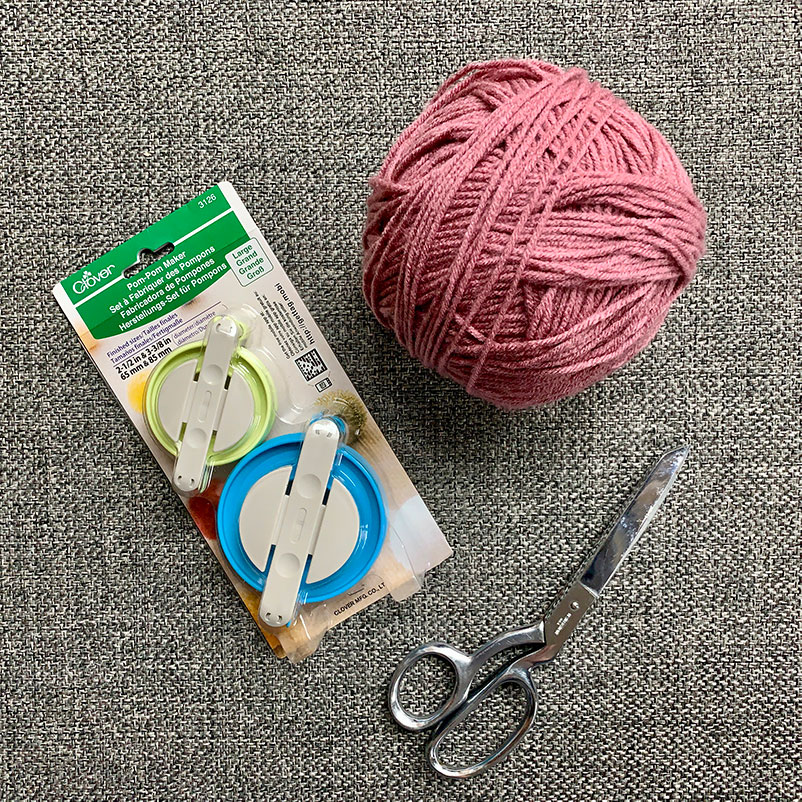
For the meatballs I simply made little tiny pom poms out of some scrap yarn.
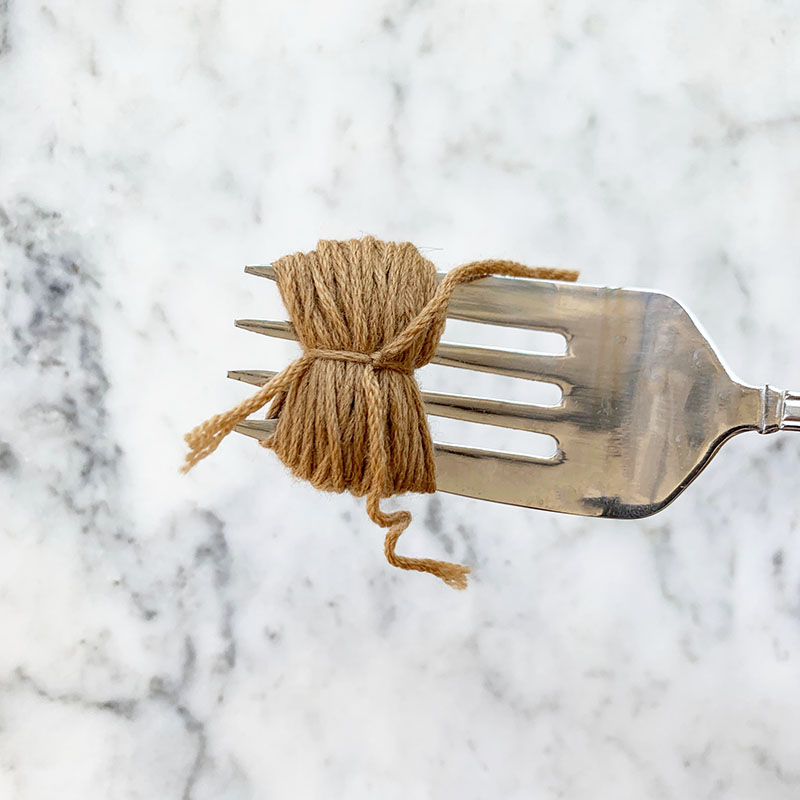
I used the fork method to make these pom poms. You simply just wrap the yarn around the tines on a fork. After several wraps (the more wraps, the more full your pom pom will be), Thread another piece of yarn beneath the wraps to tie it around the middle several times.
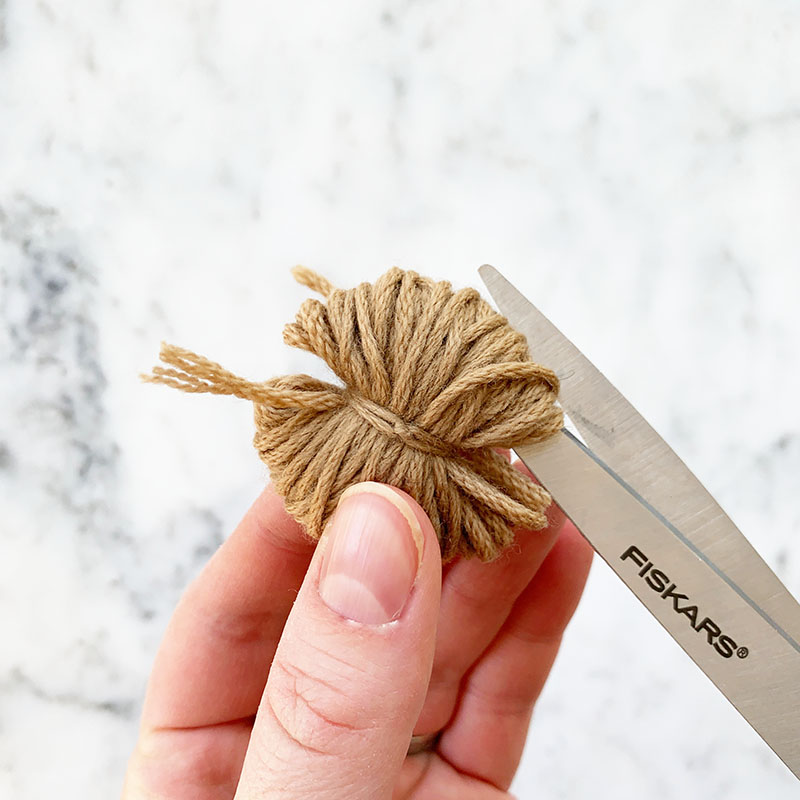
Gently nudge the pom pom off of the fork and cut the looped ends.
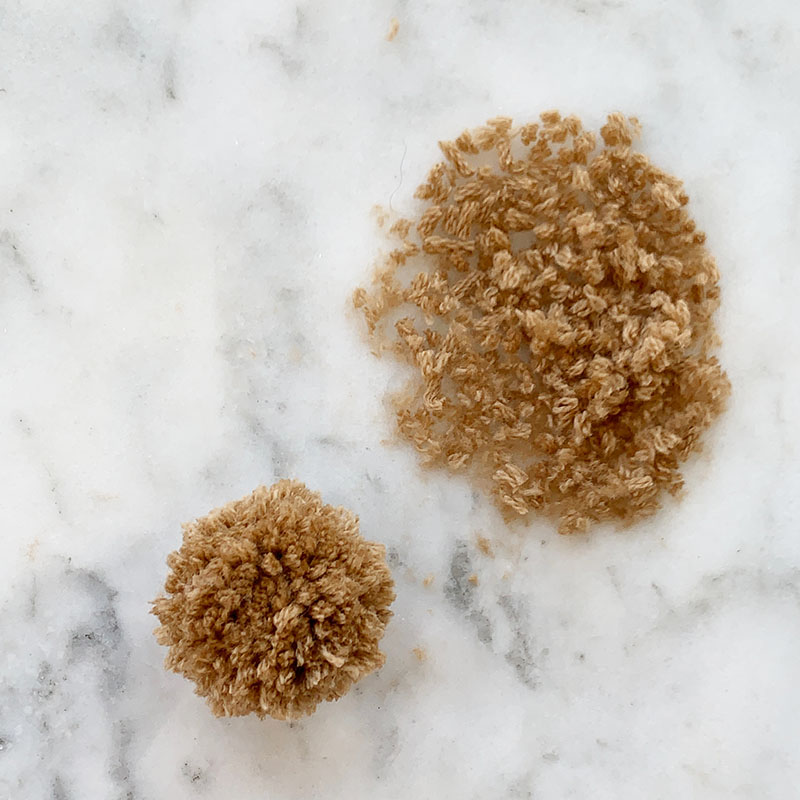
Fluff the pom pom and give it a trim.
Storage
This felt set has a lot of different small pieces. (Do I fear finding those little olives around the house for the next few years? Absolutely.) I knew I needed to at least attempt to make a storage system for this pasta set.
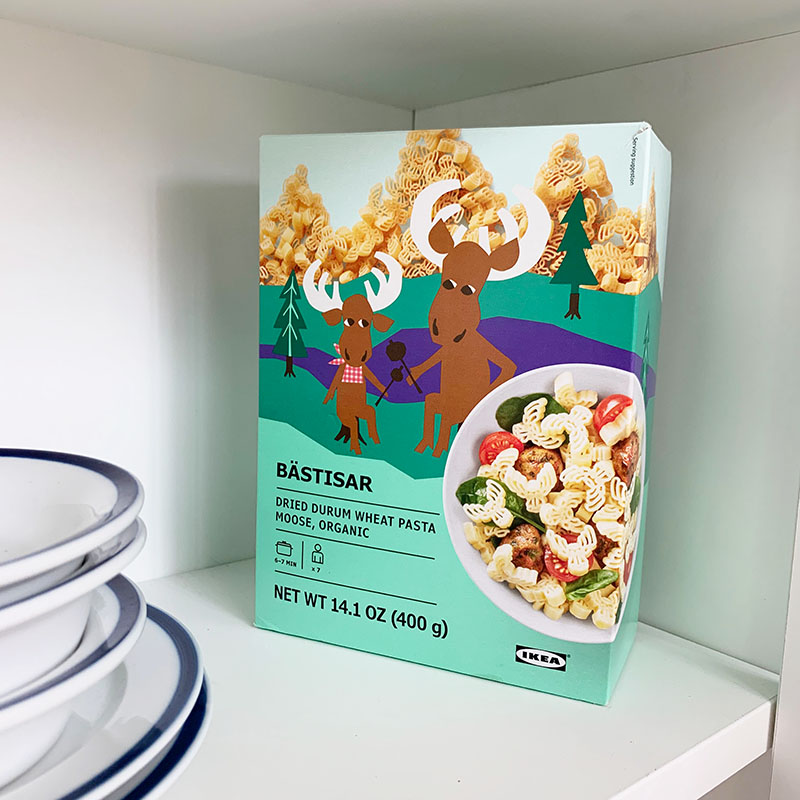
What would be better than an old box of pasta? I simply cooked up a box of pasta one night and saved the box. (This is our favorite moose pasta from IKEA!)I also made some small little drawstring bags to store some of the smaller pieces in.