How to Sew a Scrunchie with a Bow
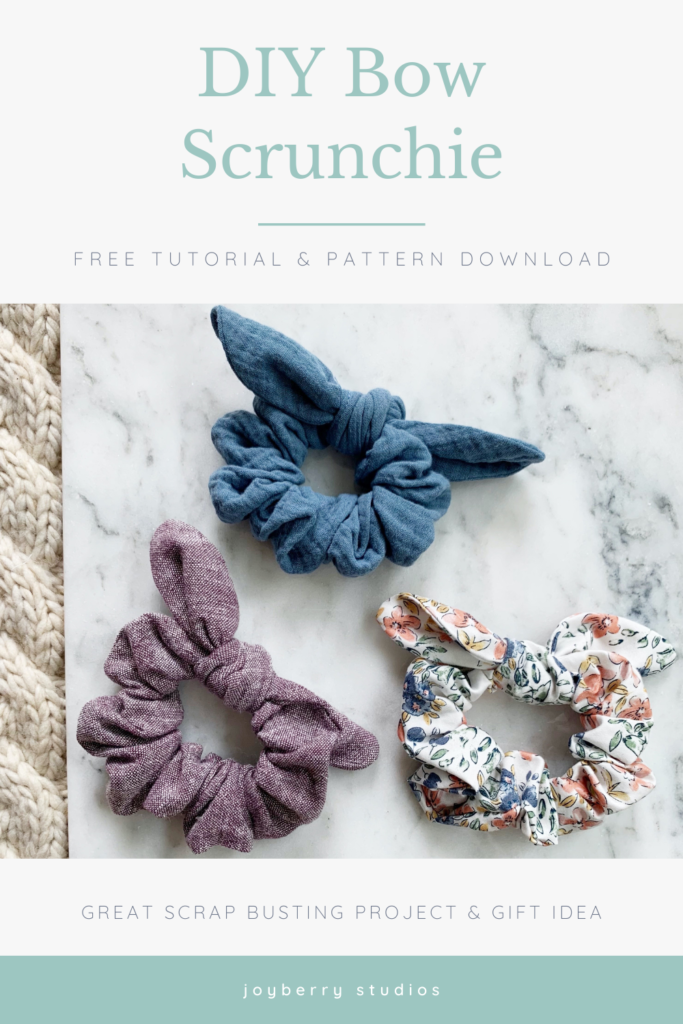
How to Sew a Scrunchie with a Bow – Free Pattern
I’ve never been a girl that was into hair. A big effort for me is just simply brushing it and for special occasions I may bring out my straightener. If I want to look put together on an average day, I break out one of my favorite headbands or one of these bow scrunchies. And good news, learning how to sew a bow scrunchie may be easier than you think!
Both the headbands and scrunchies are scrap busting projects and can easily be sewn by hand. You don’t have to have a sewing machine to tackle these beginner friendly projects! You could also use fabric from an old pillowcase or piece of clothing and a mending kit if you want an affordable and low waste sewing project.
There is a lot of flexibility in sewing these bow scrunchies. In this blog post I walk you through suggestions for the materials, how to make them, and suggestions for modifications.
Choosing Your Fabric to Sew a Bow Scrunchie
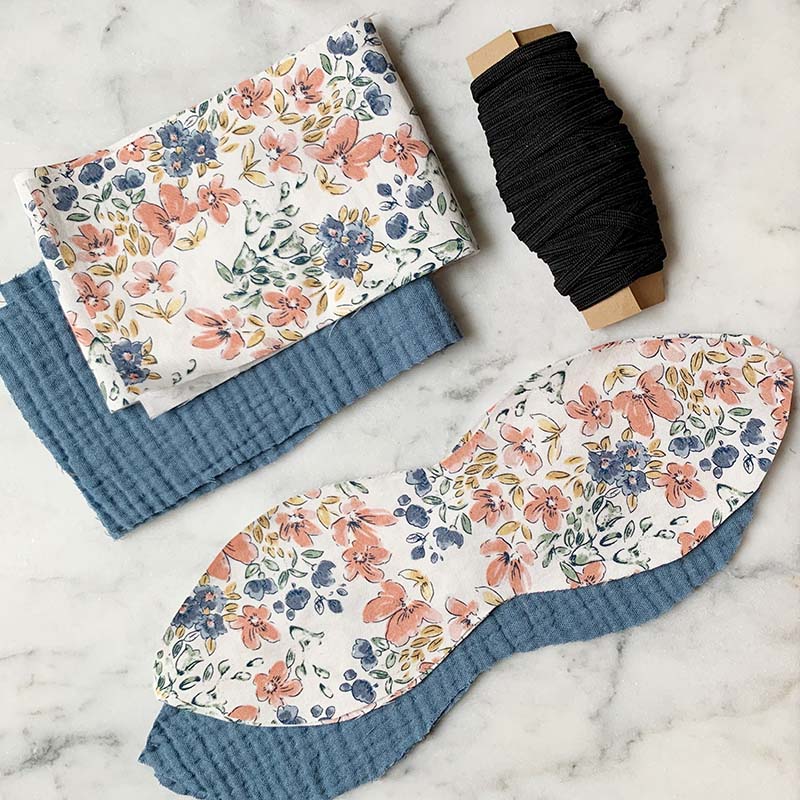
There are so many different possibilities of fabric you can use for this project. I’ve seen a lot of different scrunchies out there and these seem to be the most popular fabrics to use:
Velvet: Super soft and a great look for winter. A little bulkier and a bit harder to work with, but would be trendy and fun.
Silk or Rayon: Lightweight and great for hair. A little slippery, which can be harder to sew with.
Cotton: The easiest fabric to work with and often a budget friendly option.
Flannel: Easy to work with, doesn’t typically fray a lot. Great look for colder months.
Knit: Can be harder to sew since it stretches a lot and when stretching can rip your stitches. Usually a bit more expensive, but still a great option.
Choosing Your Elastic
There are a lot of different kinds of elastic out there. If you go to your local craft store, I’m sure you will find one that works best for you.
I prefer to use the ¼ inch elastic. It is a bit on the skinnier side and doesn’t have a super strong hold. If you are looking for something with a bit more hold to it, you can try a ½ inch elastic. I wouldn’t go any bigger than that.
There seem to be more elastic options out there now that sewing masks has unfortunately become a thing. I would make sure to stay away from any jersey elastic (this is just knit fabric cut thin) or clear elastic. Be sure to give your elastic a quick pull to make sure it will work for a hair tie before diving into the project!
Cut List
Once you’ve chosen your fabric and elastic you will need to cut the following:
- 1 – 22 inch x 3.5 inch Rectangle
- 2 – Bow Shapes (download the pattern below)
- 1 – 8 inch Piece of Elastic
Sew a Bow Scrunchie & Assemble it!
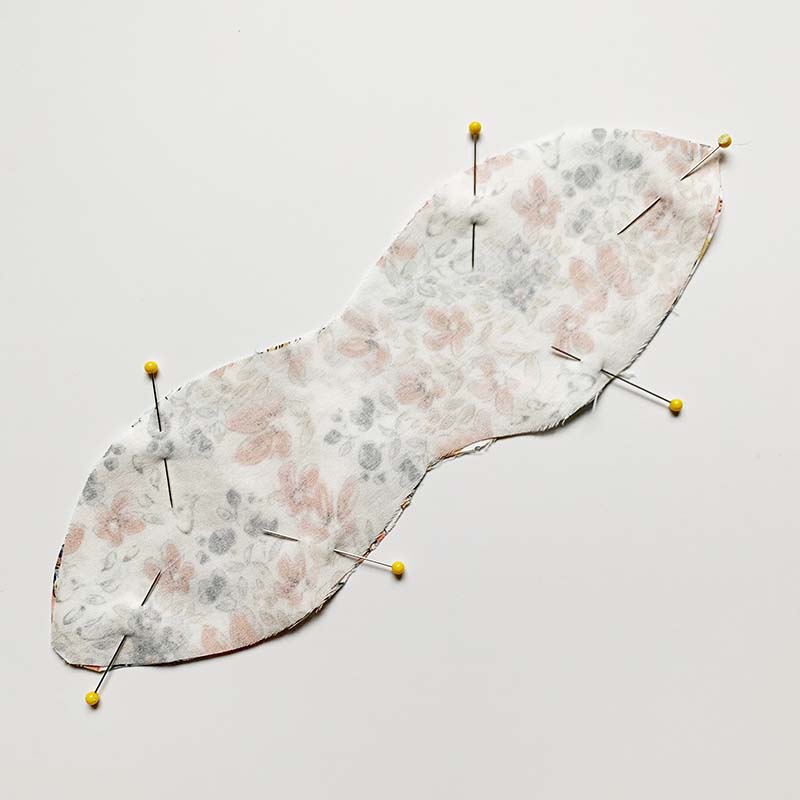
1.Take your two pieces of bow fabric and place them right sides together and pin. Sew around the outside of the bow with a ¼ inch seam allowance, leaving a 2 inch gap along one of the more straight portions of the fabric.
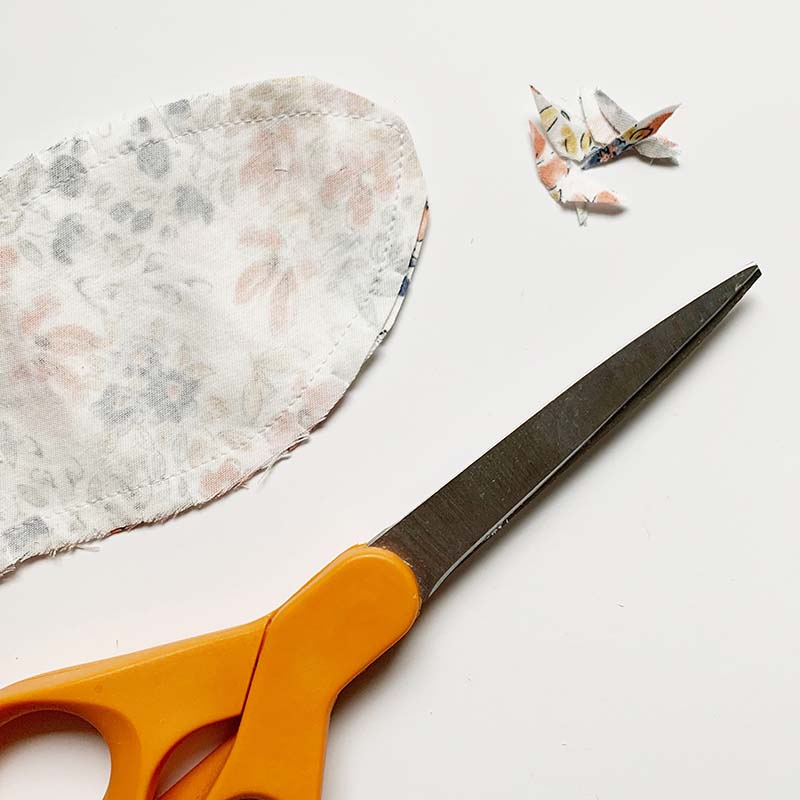
2.Trim the outside corners of the bow so there is only ⅛ inch seam allowance. Clip the inside curves. (Don’t clip or trim over the fabric where you left the 2 inch gap.) This trimming and clipping makes the bow lay more flat when turned right side out.
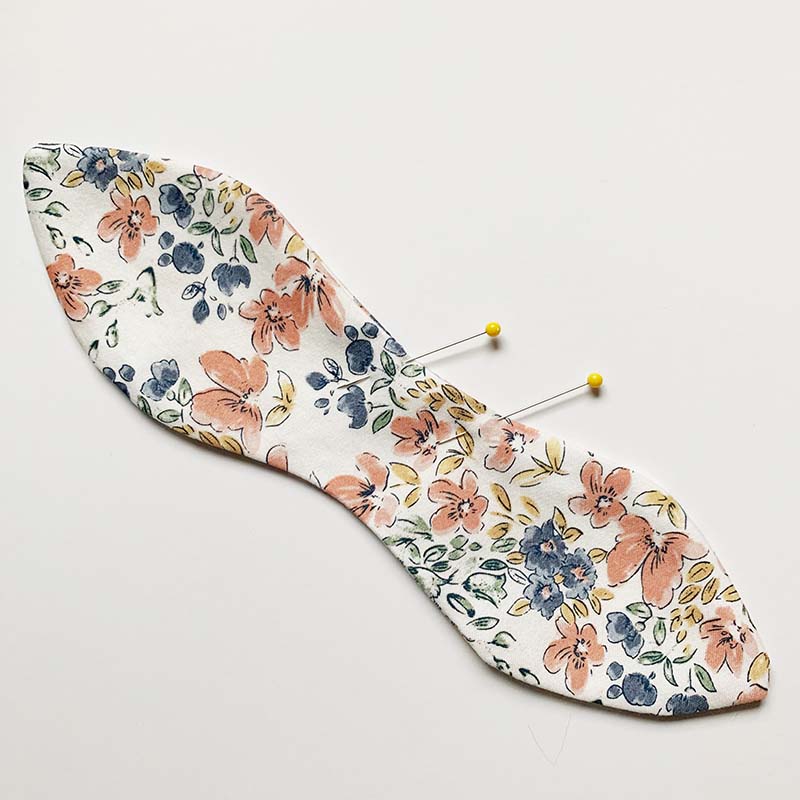
3.Turn the bow right side out. Use your finger, pen, knitting needle, or another blunt tool to push out all of the seams. Make sure your 2 inch gap is tucked in. Iron the bow flat.
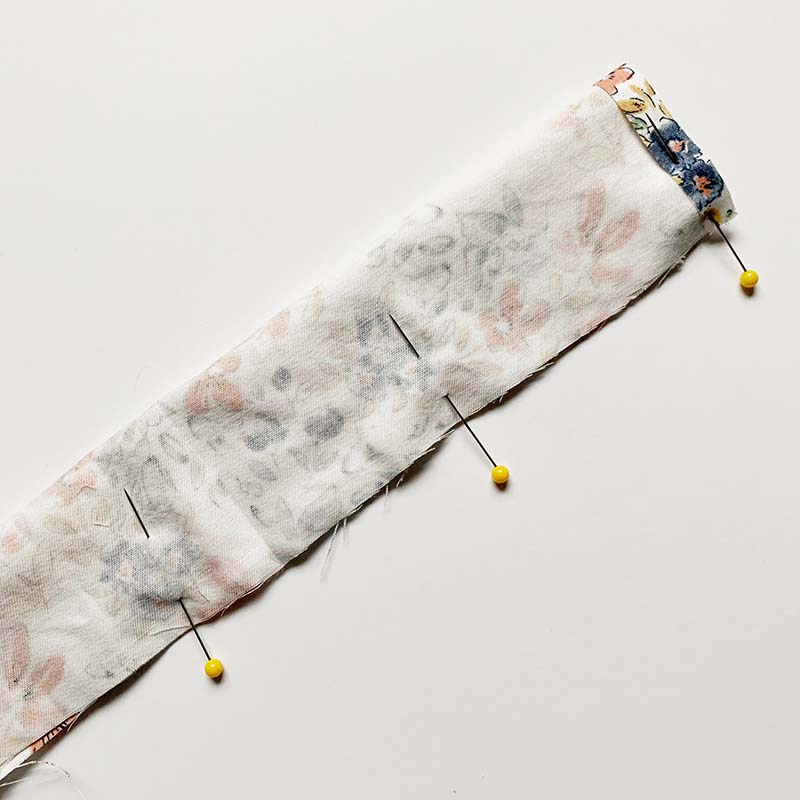
4.While you are at the iron, fold a short edge of the rectangle fabric ¼ inch to the wrong side of the fabric and press. (See photo below.)
5.Sew the 2 inch gap on the bow closed, as close to the edge as possible.
6.Fold the rectangle in half, right sides together, longways, and sew shut with a ¼ inch seam allowance.
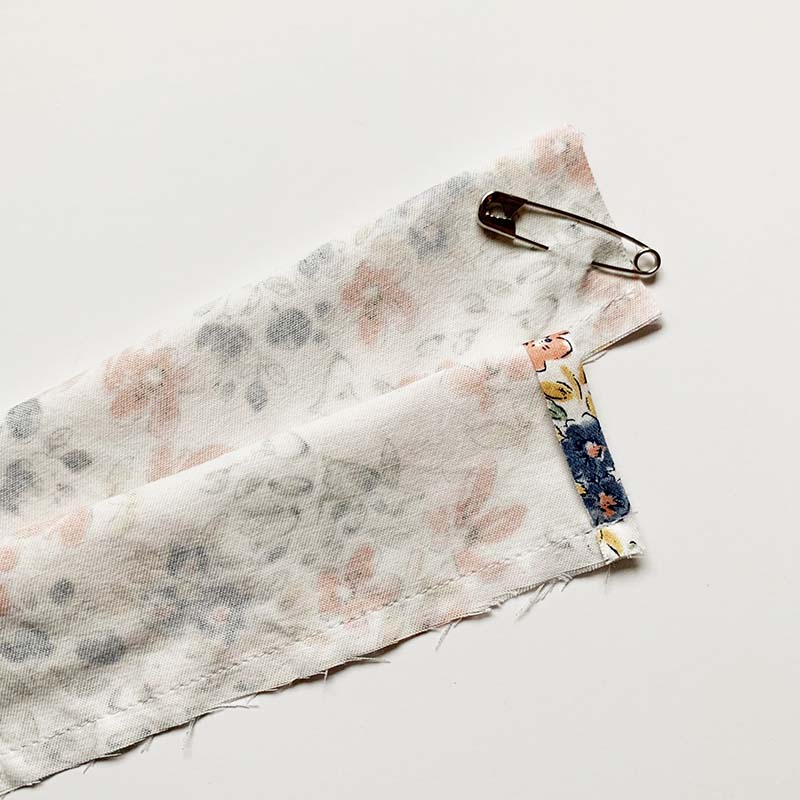
7.Using a safety pin, turn the rectangle right side out. (Don’t bother to iron flat.)
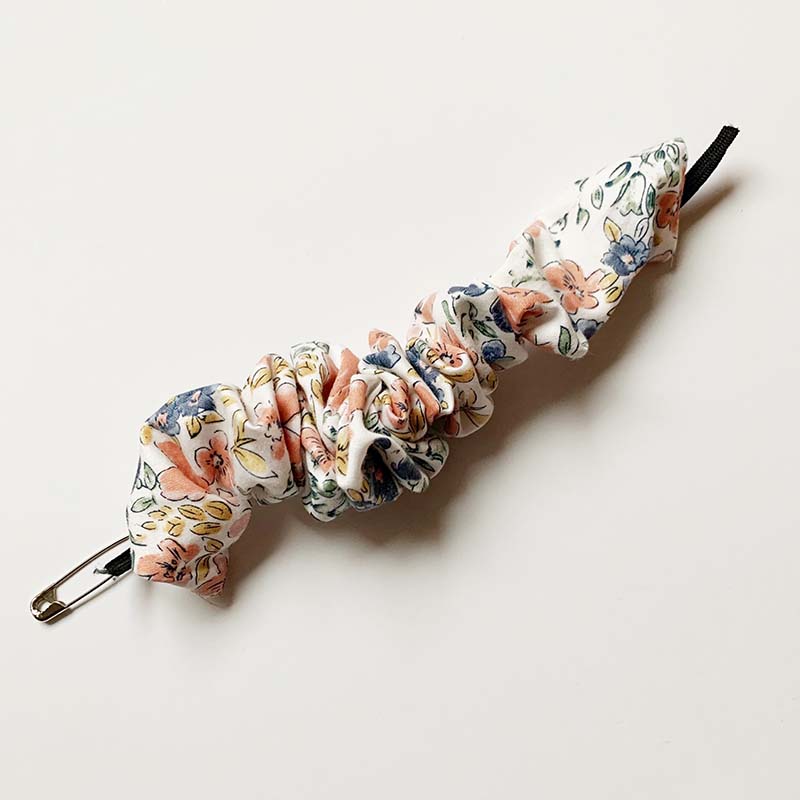
8.Attach your safety pin to one side of the elastic and thread through the rectangle. (Be sure to keep hold of the opposite side of the elastic! You can pin it to the fabric if you are having trouble.)
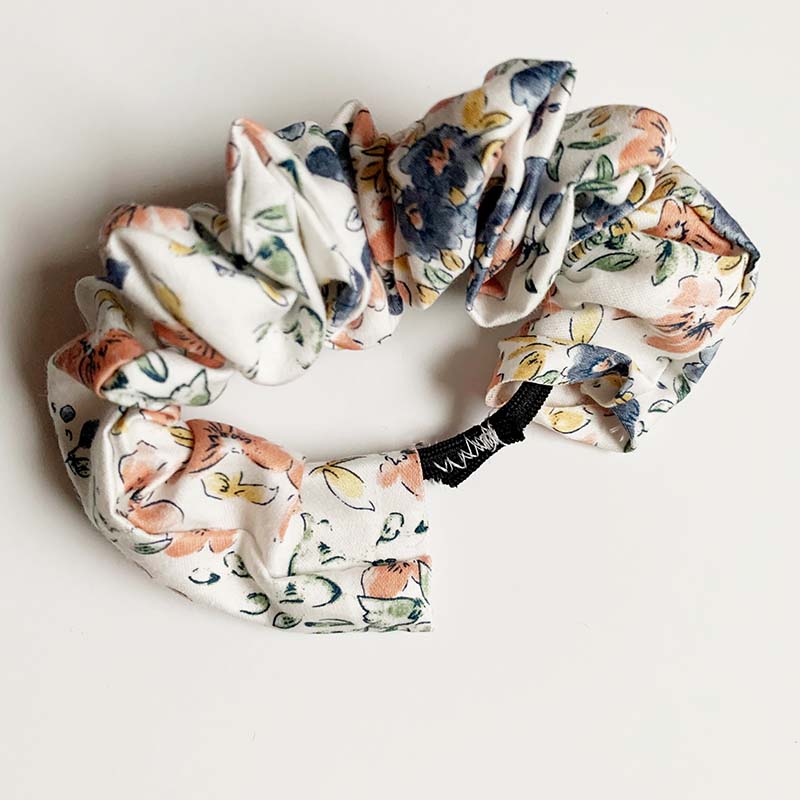
9.Overlap ½ inch of the elastic and sew with a zig zag stitch. (It doesn’t have to look pretty, just make sure it is strong and will hold while stretching.)

10.Place the raw edge side of the rectangle inside the hemmed side. Pin in place and sew seam shut.
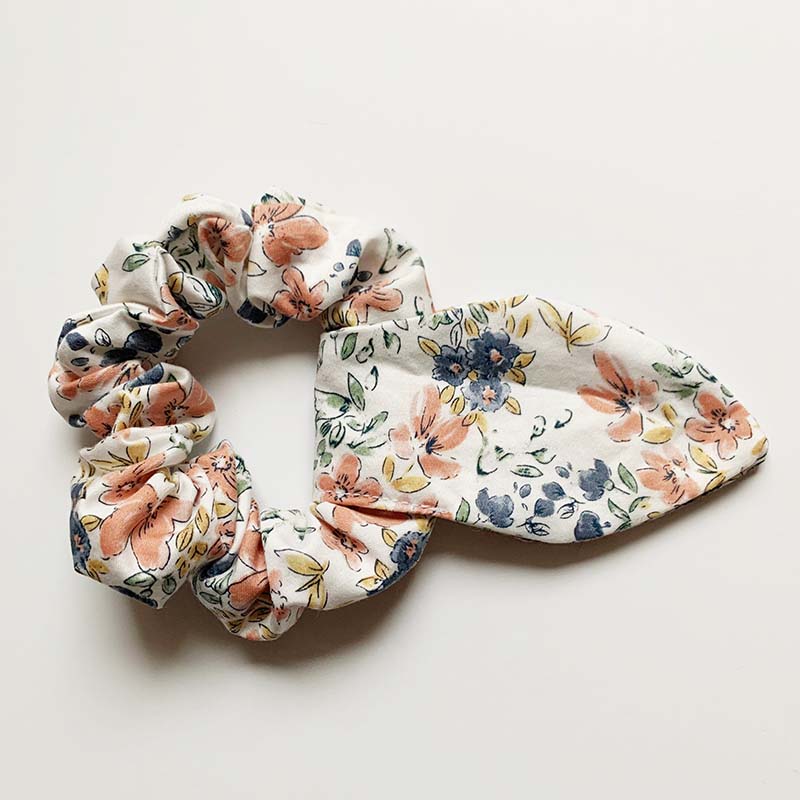
11.Fold or bunch up your scrunchie along the seam. Place your bow over the seam and tie a knot. Pull hard on the knot to make sure it is secure. If you want to be extra careful, you can sew a few stitches by hand to secure the knot in place.
Wear & Share!
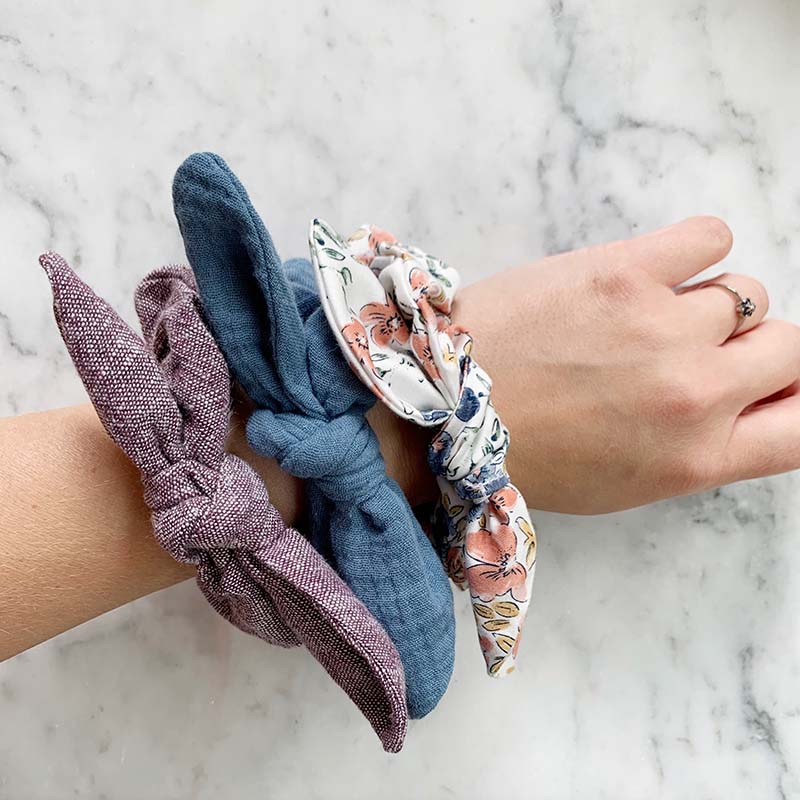
Wear your new scrunchie with pride! I love wearing it in a top knot or with a ponytail. If you have extra thick or heavy hair, like me, you can put your hair up with your normal elastic and then add the scrunchie as an accessory over top, just like a hair clip!
These scrunchies are a great scrap buster and a quick sew. They would be a great small gift. You could pair it with some earrings or a bottle of wine for a quick and thoughtful gift!
Modifications
There are a few things that you can easily do to switch up these scrunchies. This tutorial is a great jumping off point. Here are some quick ideas:
- More Full Scrunchie: This would look great with silk fabric or other lighter weight fabrics. Just simply increase the width of the long strip. 4.5 inches would be a great starting point!
- Smaller Scrunchie: This would be better for kids. Try decreasing the rectangle to 2.5 inches x 18 inches and the elastic to 7 inches.
- Scrunchie with Longer Ties: I’ve seen these offered on Etsy and they are so cute. Instead of making a bow. Make another long tube to tie around the scrunchie instead. Try starting with 12 inches x 3 inches.
- Simple Scrunchie: Instead of adding the bow, opt for a more simple design without the bow.