How to Paint a Doormat Without a Stencil
Painting your front doormat is a fun way to add a bit of personality to your front porch. It also allows you to have a doormat that exactly matches your style. The stencil method can easily give your mat fuzzy lines and wear down quickly. With a few of my tips, you can have crisp lines that last when you paint your doormat.
Paint your Doormat to Last – Without a Stencil or Sealant
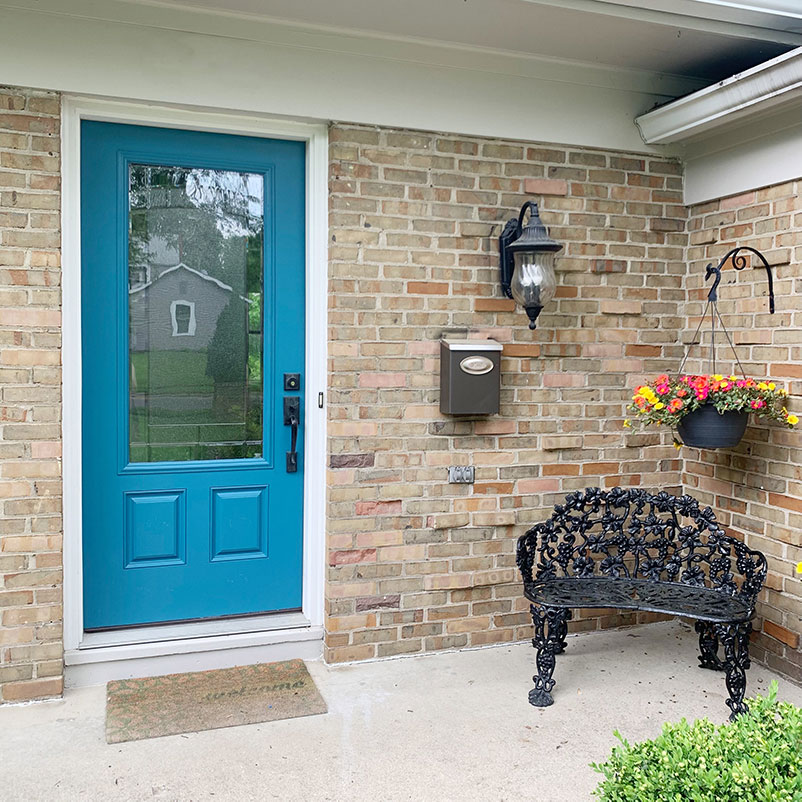
I’ve been doing a few small things to help spruce up our front porch. I painted my front door and got some fun hanging baskets from Groovy Plants Ranch. (They are purslane. Great plant choice if you hate constant watering.) Next up on my list was replacing our four year old doormat. I spent hours researching doormats, but I couldn’t find any that I liked. Instead, I found a way to paint a doormat without a stencil or sealant that would still last for years.
Trending Doormats
A trend I’ve seen is a small rug placed under a doormat. I do think this looks cute, but my porch isn’t covered. I know within a few months and a bit of rain a small rug like that would be ruined. If I lived in an apartment with an indoor entrance, it would be a great idea. Think about the practical needs of your doormat before you make a decision.
There are also a lot of fun doormats with catchy phrases, like “it’s always happy hour around here” or “we hope you brought wine & dog treats”. These are fun, but not my style.
I just wanted something that was simple and geometric. I couldn’t really find it. So I decided to DIY.
Issues with Stenciled Doormats
When researching how to paint doormats, there were a lot of people who used stencils to put those fun phrases or designs into their mats. I noticed that a lot of these stenciled projects didn’t come out with crisp lines and they had issues with bleeding or just fuzzy edges in general.
I tried searching for awhile, but I couldn’t seem to find a bleedproof way to use a stencil on a mat like this.There is a reason for this. The mat is made of stiff fibers that are not at all even. It is next to impossible to get a good seal on the doormat to make a bleed proof stencil.
Instead of hoping for the best, I took another route and just straight up hand painted my mat. It may sound daunting at first, but I can walk you through some easy steps.
Issues with Sealing Painted Doormats
A common way I’ve seen people try to extend the life of their painted front door mat is to seal it with a poly. This seems like a logical solution, but when the mat wears it isn’t just the paint rubbing off. The individual fibers of the mat break and fall away. If you only paint the tips of the fibers, they are easily going to wear down, which means your painting will eventually wear away too.
Luckily, I found a solution for this!
Materials to Paint a Doormat
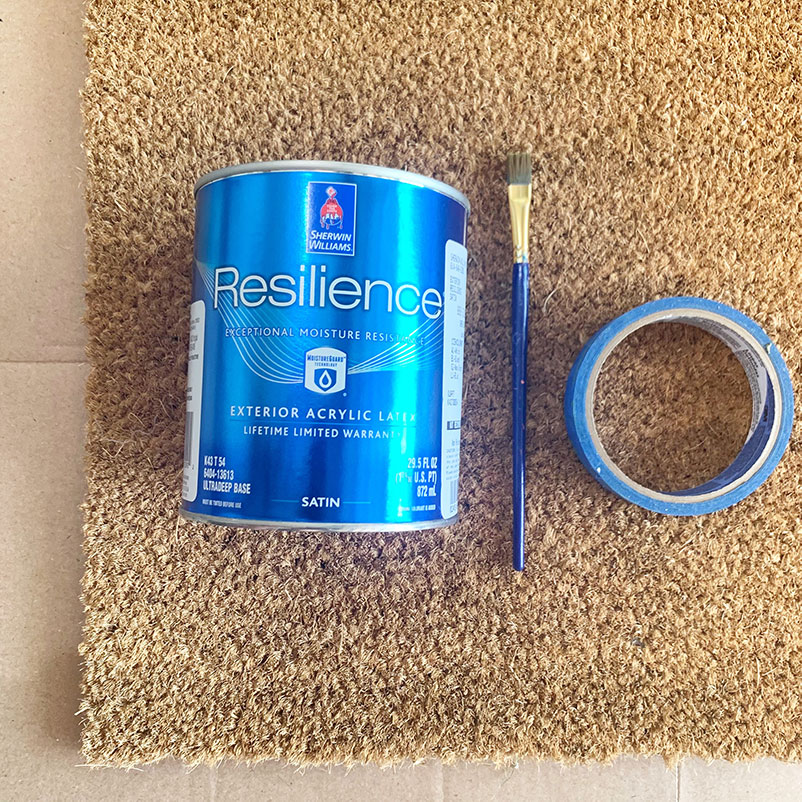
- Doormat (Ikea & Target have these plain ones.)
- Exterior Grade Latex Paint (Leftovers from painting our door. Quart is around $20 to buy new.)
- Paintbrush
- Painters tape (For marking spacing.)
My Design – You Can Choose Your Own!
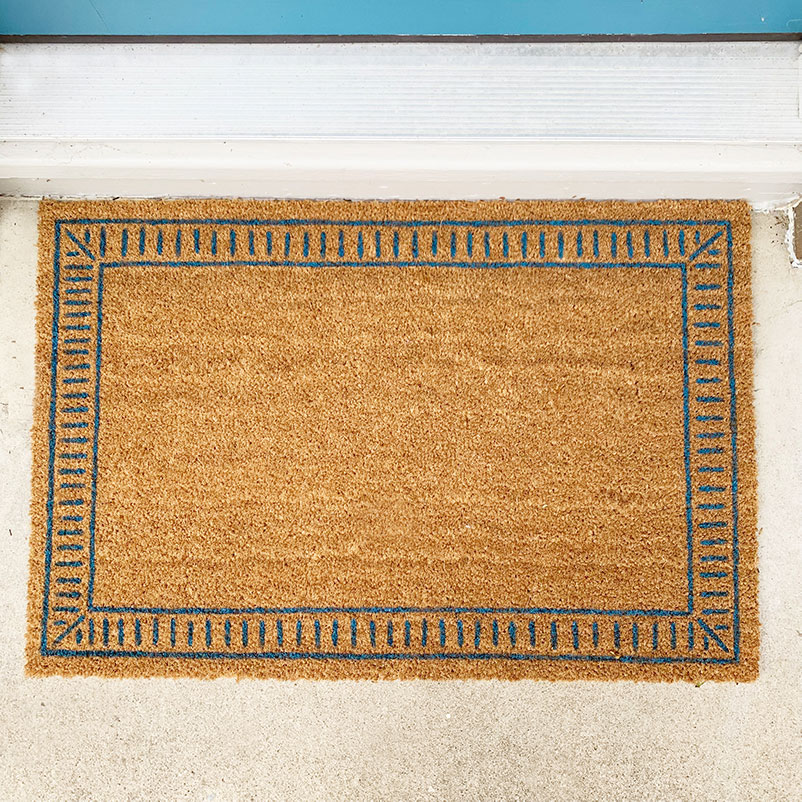
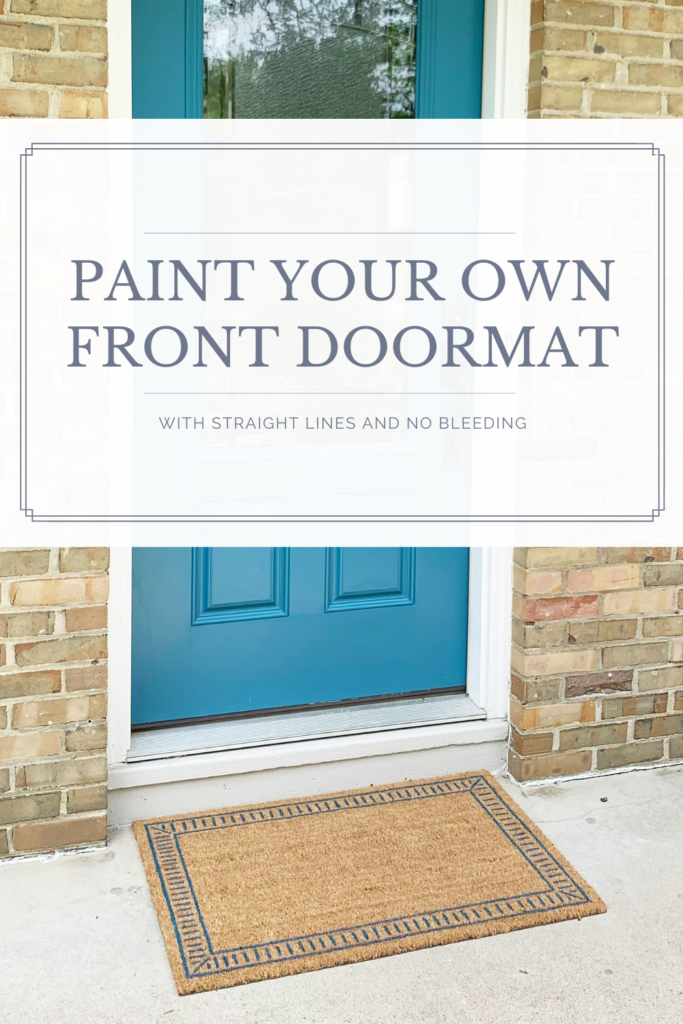
I wanted a simple geometric design that was fun, but not too loud. I decided on doing a geometric border with some simple lines.
If you don’t like my design you can still follow along for my painting technique and implement your own design.
Painting Technique
Painting this mat it not like painting a piece of paper. It needs more of a dabbing motion than a streak. This dabbing motion also ensures that paint is getting down into the fibers, which means your doormat will last for longer!
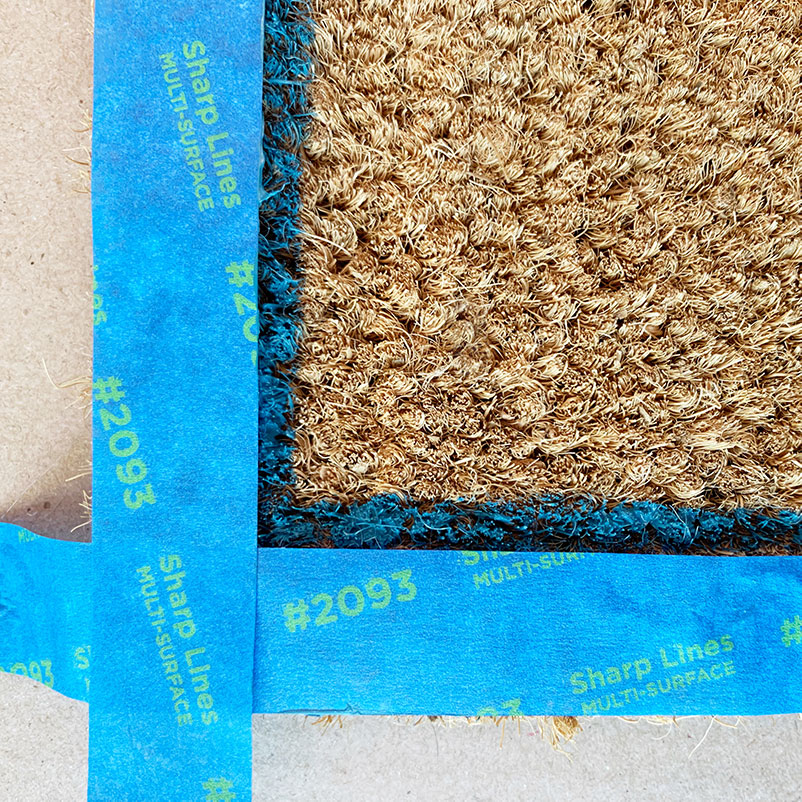
To make sure my first line was even and straight, I used painters tape as a guide around the outside. I placed a piece of tape so it just touched the edge of the doormat and I painted the exterior border line with a small flat edge craft brush right next to the tape.
You will notice, it is difficult to get the tape to stick. This is why stencils are next to impossible to use on doormats. It is because of how the mats are made. They are composed of rough inflexible fibers of uneven lengths. Great for absorbing dirt, not so great for stencils or tape.
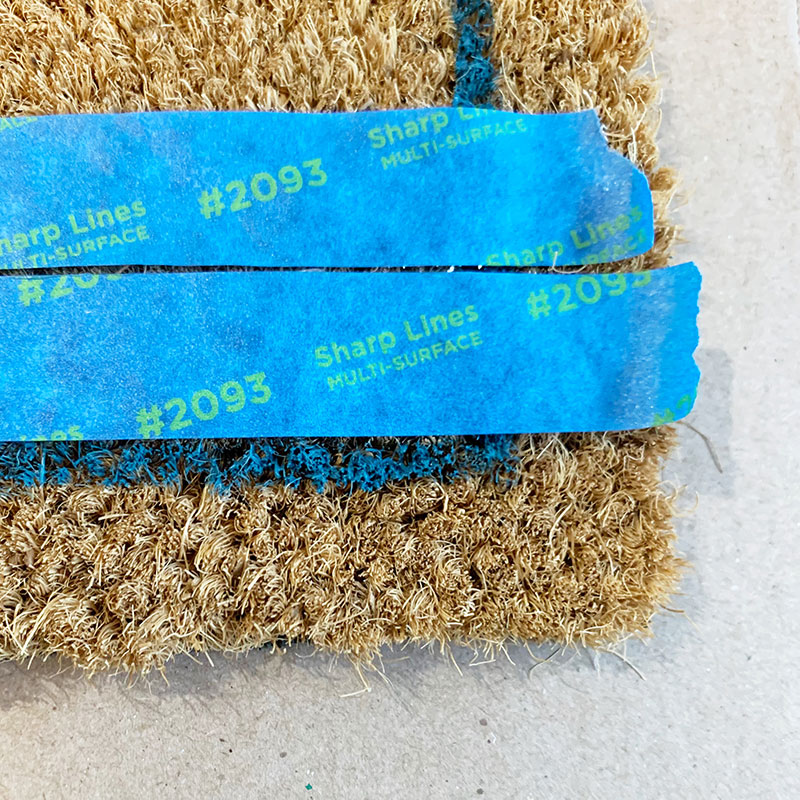
I wanted space between the exterior and interior borders so I could paint the smaller lines. I laid two pieces of tape against the exterior border to paint the interior border.
If you lay the tape like this, just be sure you don’t paint all the way to the exterior line. Remember, you are painting an interior rectangle. Paint a few inches from the edge and then fill in.
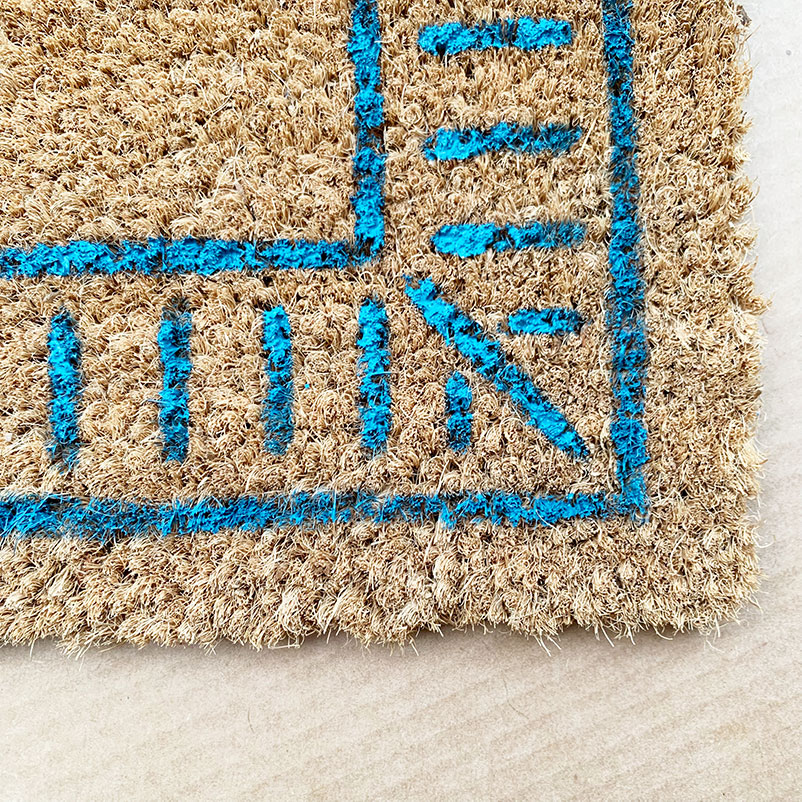
Painting the perpendicular smaller lines was a little bit of winging. I painted an angled line in the corner first and then filled in the rest with lines that I thought were around the same length and spaced evenly apart.
For me, just winging it is the best approach here. I had more flexibility to plan ahead. When I got close to another corner, I started in that corner and worked backwards. That way I didn’t find myself cramming a bunch of lines together. I could just mentally plan ahead.
Winging it just doesn’t work for some people. You could use a ruler and evenly space lines that way. Do what you feel most comfortable with!
The Final Project
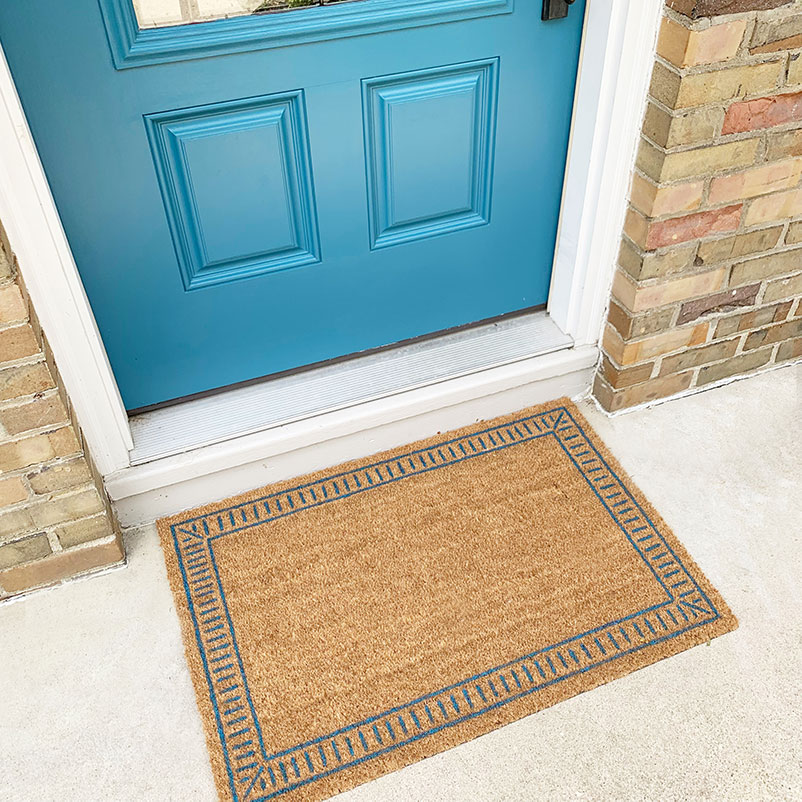
Overall, I am so happy with how this project turned out. I love how this front door mat is bigger than most (almost 2’x3’), I was able to customize it to my style, and it still didn’t break the bank. ($20!)
This is a super easy way to upgrade any front door mat.
Edit: Update – Two Years Later
After two years we sadly replaced our front door mat, but NOT because the paint faded. (My husband shoveled our front porch a little aggressively when it was dangerously cold and it ripped nearly in half.)
I am happy to report that after years of traffic and exterior wear, the paint job still looked great and never wore off. Even without sealing it!