Ikea Planter Hack
Upgrade IKEA’s Nypon plant pot with a fun geometric vinyl sticker cut out with a Cricut machine. These plain gray planters had an instant upgrade once I added the geometric designs. Cricut SVG file is available for free in my freebies library!
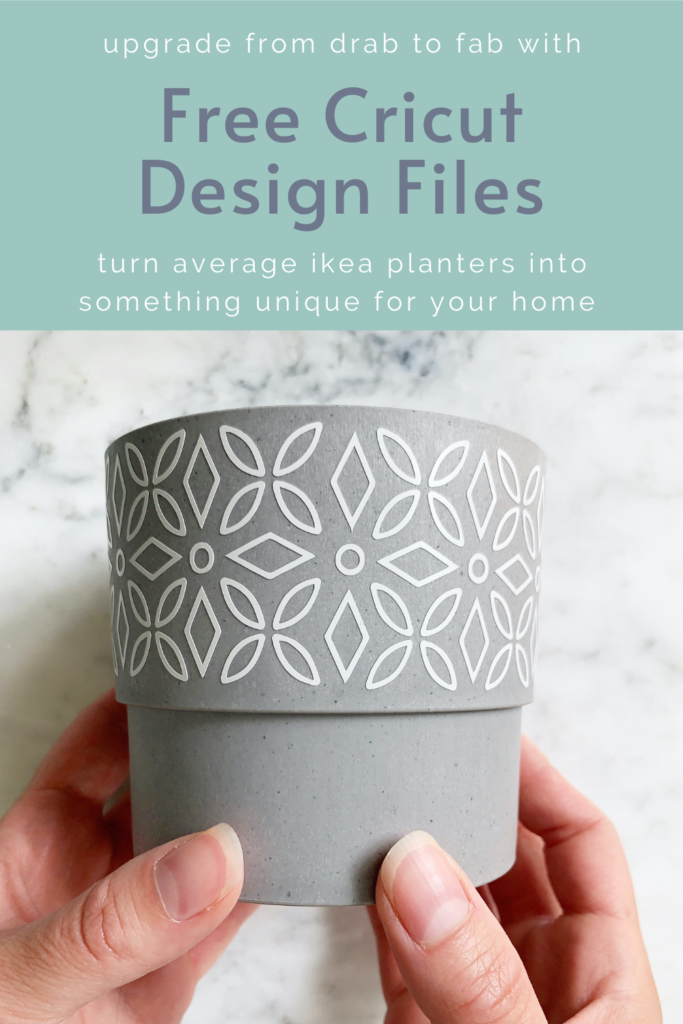
Ikea Planter Hack with Vinyl Stickers (Free Download!)
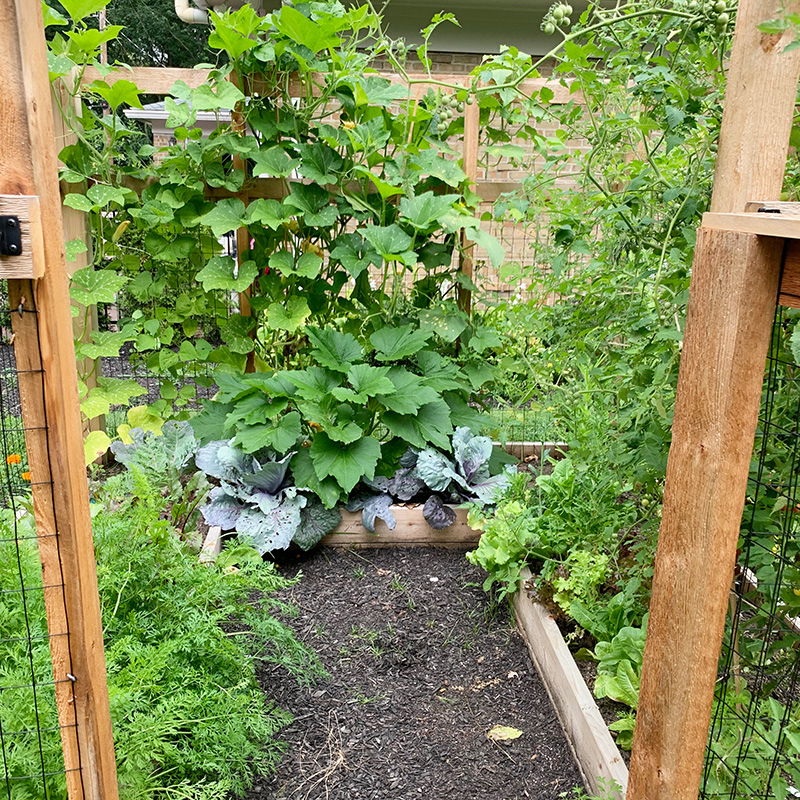
It’s official, I’ve developed a plant problem. After building our garden I’ve been buying vegetables, herbs, and now indoor plants like crazy. Once you start researching there are so many fun varieties and it’s so fun to watch them grow! I quickly ran out of planters (and budget) so I did an IKEA planter hack on their popular NYPON plant pots.
I designed three different vinyl stickers to put around the pots. All three designs are available in my freebies library, available to all of my email subscribers. Want access? Sign up here!
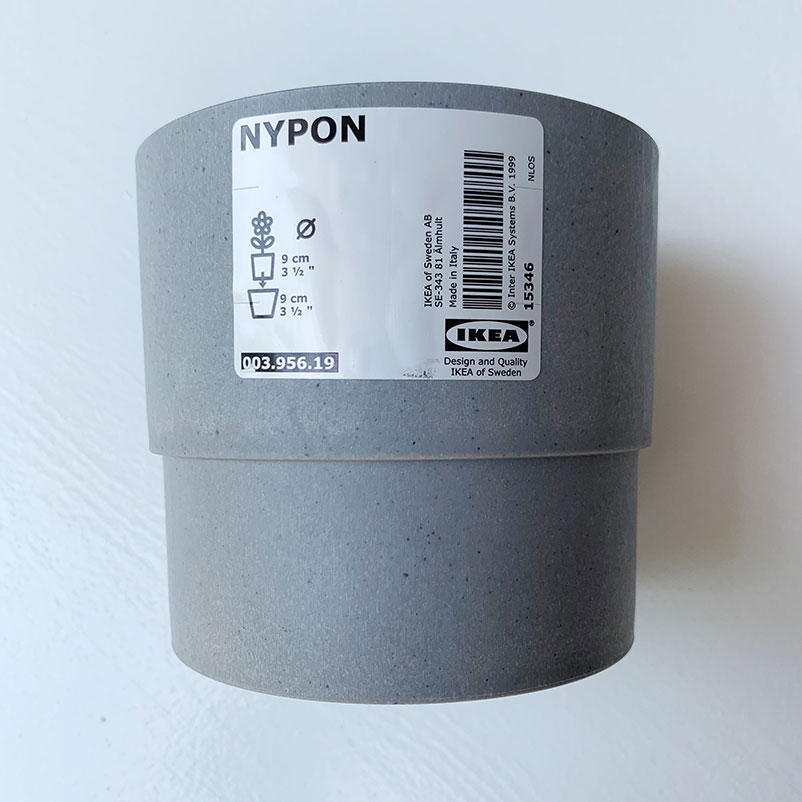
IKEA Nypon Plant Pot
I prefer to shop my own home or second hand for home decor, but there is just something about Ikea that sparks nostalgia in me. Growing up we always stopped at Ikea on family road trips and I remember eating Sweedish meatballs and filling up our car with all of their fun things.
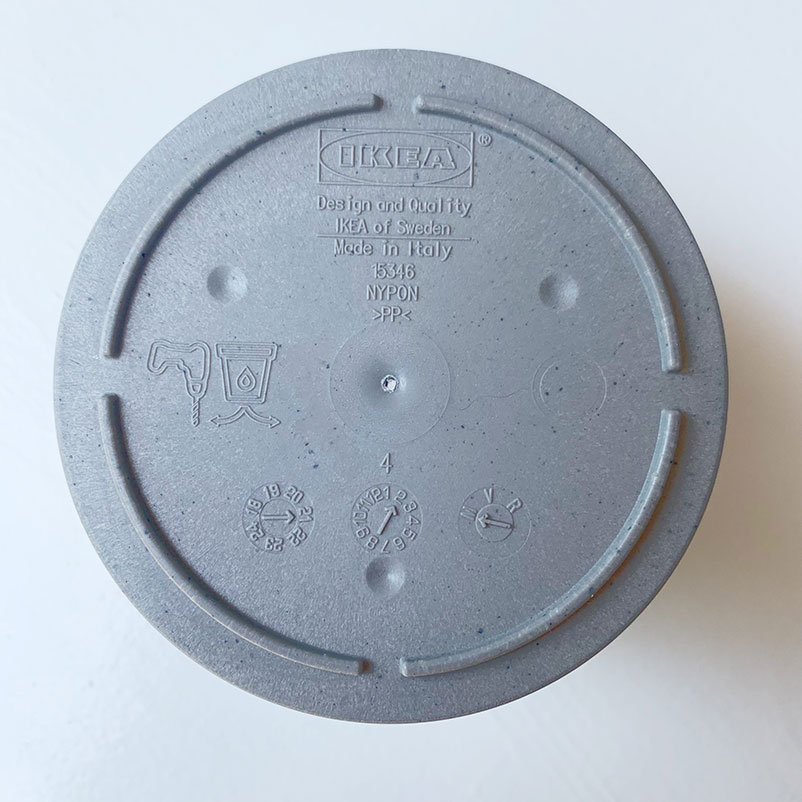
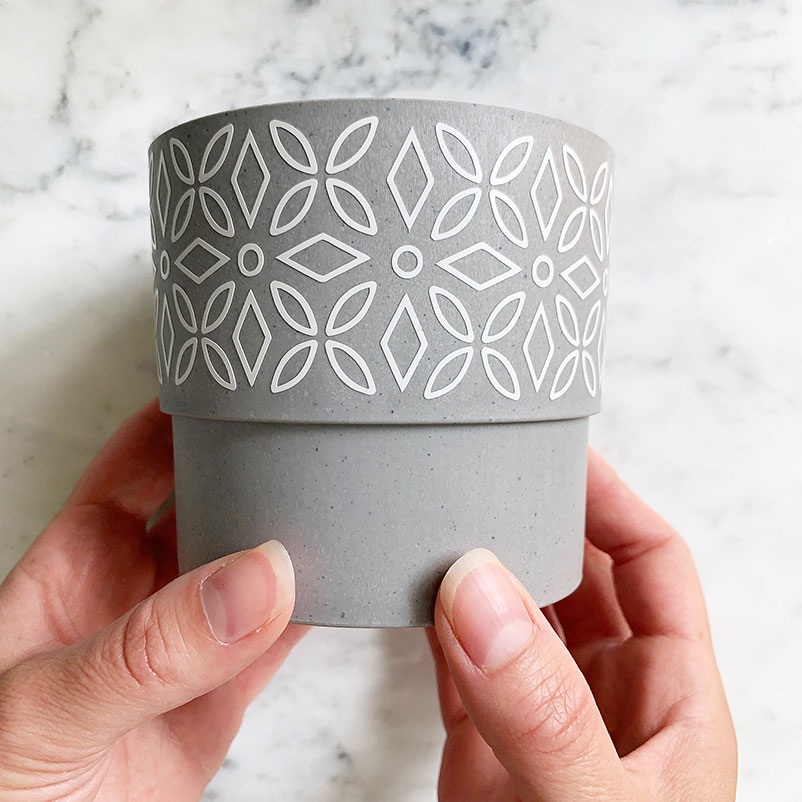
When I was at Ikea I picked up three of the NYPON Plant Pots. They look like concrete, but are actually plastic and their $2 price point makes them even more tempting. They are a simple pot that can easily be painted or DIYed into something a little more custom.
Drill for Drainage
The only issue I have with these planters is that they don’t have drainage in the bottom. It is totally fine if you put an artificial plant in them, but if you are going to water the plant, you will need drainage. If you don’t, your soil and plant will mold.
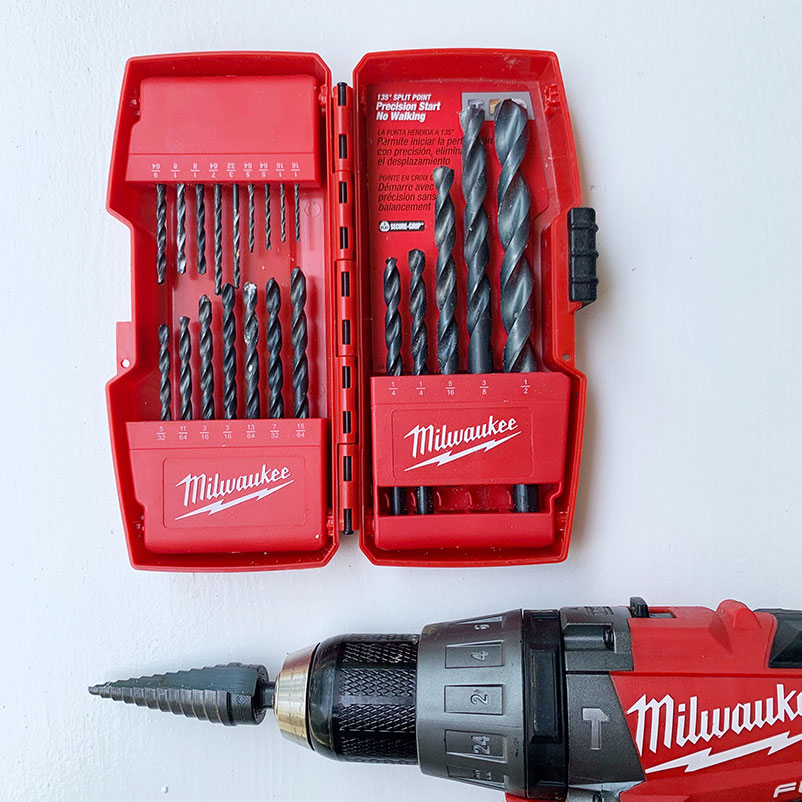
There are little divots in the bottom of the planter, you should drill the holes in these places. My husband has a library of drill bits, so I was able to find one that worked for us.
Don’t have drill bits? Maybe try hammering a nail into the bottom. The drainage will really help with the overall health of your plant. Or maybe just opt for a faux plant. Don’t let not owning a drill hold you back!
Ikea Planter Hack – Add Vinyl
I made three different vinyl decals with my Cricut. These are all available as free downloadable SVG files in my freebies library. To gain access to the library, please sign up for my email list! You will get an email with a link to the freebies at the bottom.
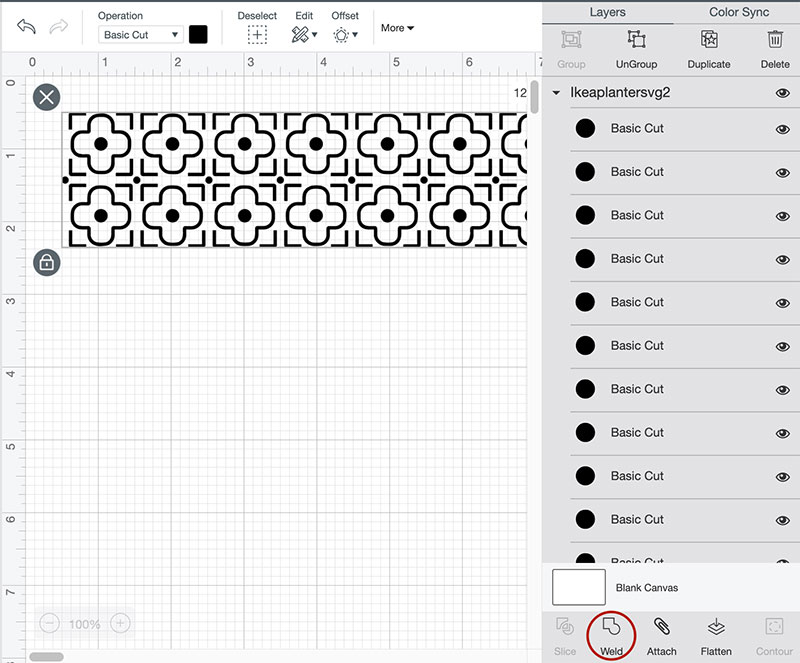
You can then upload the files to Cricut Design Space or whatever other vinyl machine cutting program you may use. Once uploaded you will need to resize them to be 12.56 inches wide to fit the 3.5 inch Kypon pot from Ikea. If you’re using another pot, you can resize them to your heart’s desire! Just remember circumference = 3.14 * diameter.
A big important note for Cricut Design Space users. You need to HIGHLIGHT THE ENTIRE DESIGN AND PRESS ATTACH. This ensures that Cricut cuts out the entire stencil instead of a bunch of jumbled shapes.
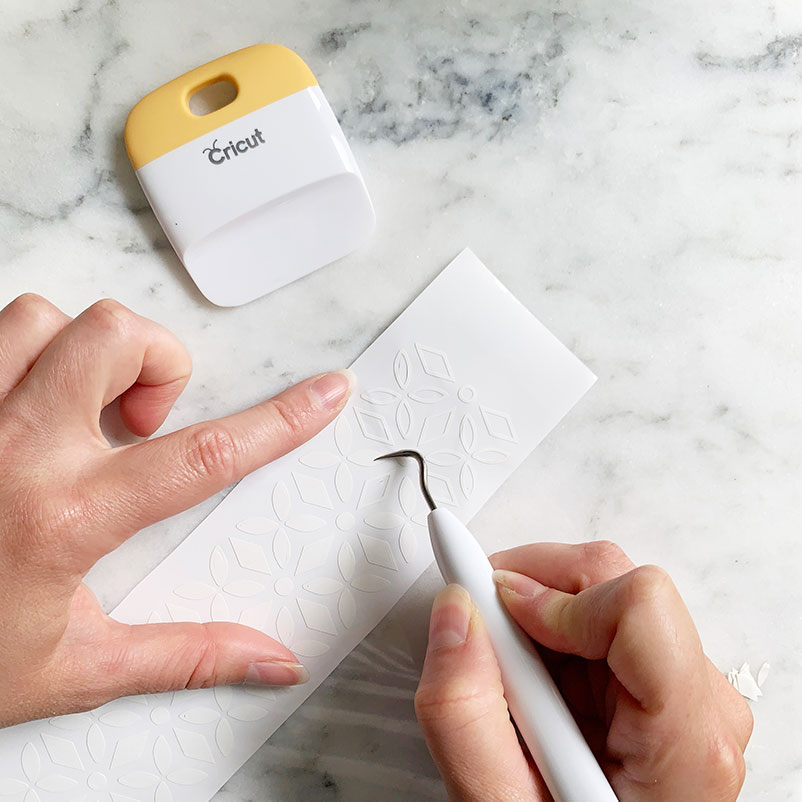
Cut and weed your vinyl. I think the main piece that is pulled off is gorgeous on its own and could be used for another project!
Apply transfer tape and make sure that it is sealed well to the vinyl. The planter does have a slight angle. You may find it easier to cut the long strip into smaller portions. Test it out before you peel off the transfer tape.
Then go for it! Apply the vinyl and slowly peel off the transfer tape. Your planters are done!
More Plants Please

Feel free to make all three planters, or pick your favorite one(s). I think this is such a simple and fun DIY to upgrade any planter. You are free to use the SVG files for other planters or other projects too! I love these geometric designs and repeating patterns.
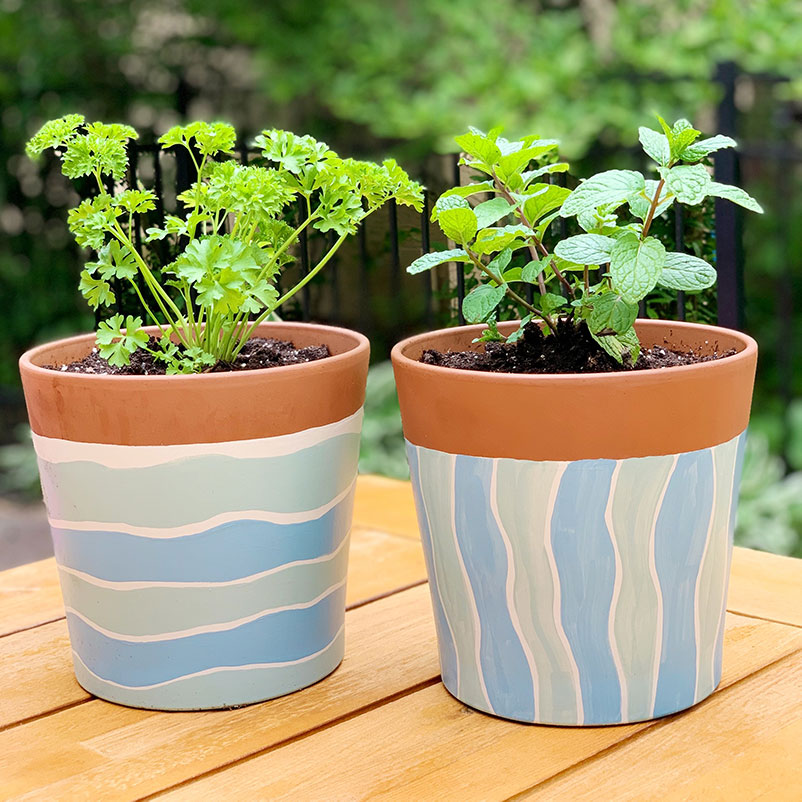
If you are interested in other planter decorating techniques, check out the tutorial I wrote on painted terracotta pots with a few tips for making the pots food safe. (Great for a herbs, veggies, or fruit plants! Looking at you patio gardeners!)
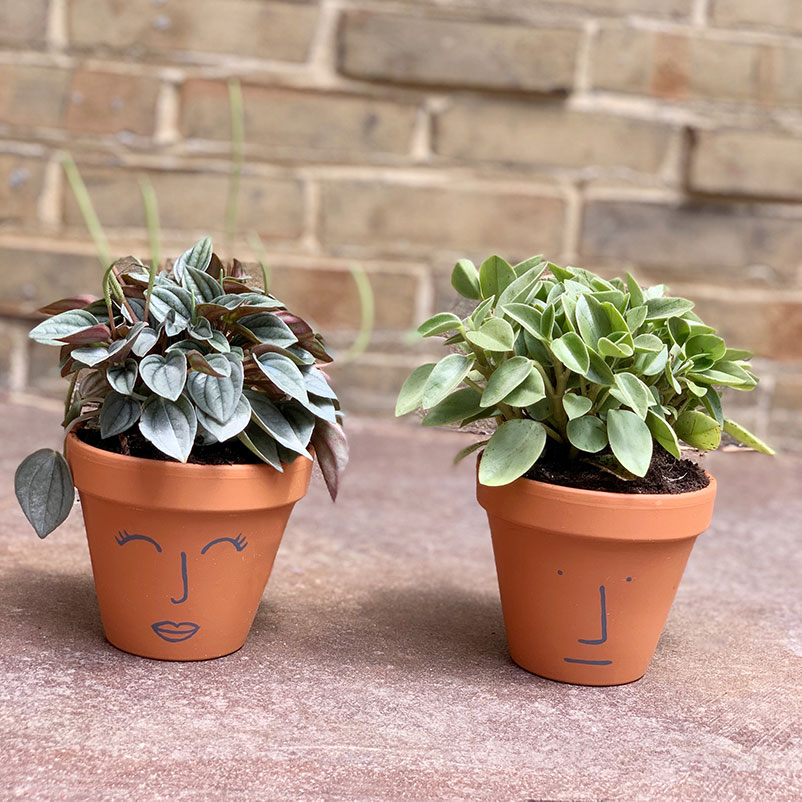
Or this blog post that I wrote about DIYing your own face planters.
If you complete this IKEA planter hack, please let me know by sending me an email or tagging me on Instagram! Seeing other people use these blog posts literally makes me so happy!