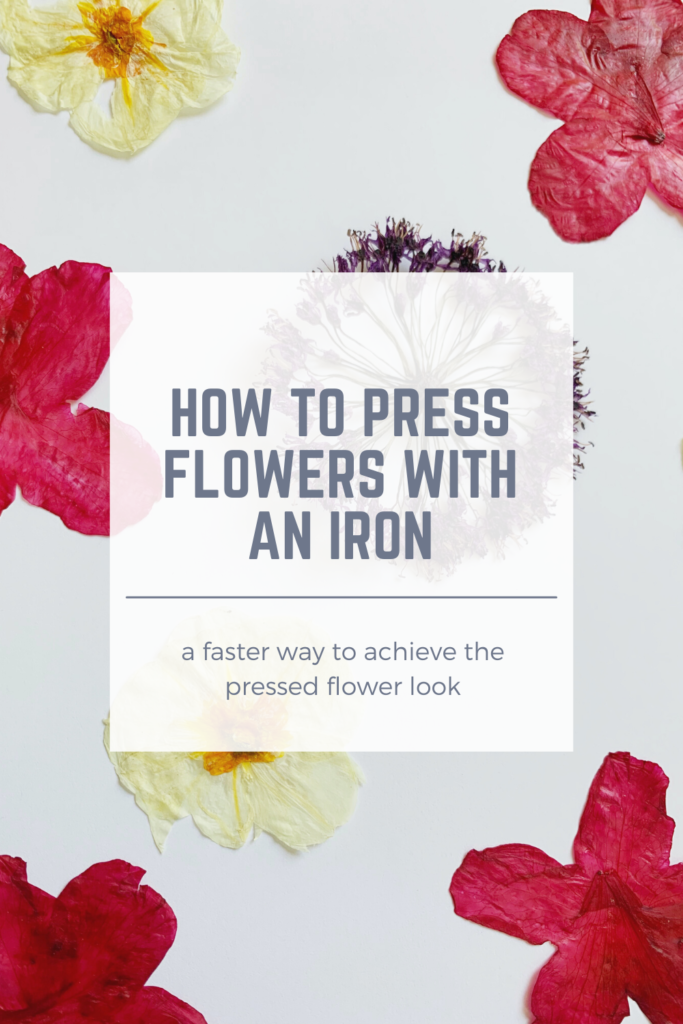
How to Press Flowers Quickly
Do you want to press flowers, but you’re short on time? With an iron, you can press flowers quickly! In just a matter of minutes you can go from fresh to preserved flowers.
Press Flowers Quickly with the Iron Drying Method
You all loved my Instagram reel for the DIY Hammered Flowers. Hammered flowers are such an easy, simple, and quick way to create something new and fun. I knew I should post about another flower preserving technique! With an iron and a few minutes you will be able to press flowers quickly for that delicate floral look.
Flowers that Work Well

Flowers that have more flat blooms, like violets and daisies, are the easiest to work with for this iron drying method. If you have a thicker flower, like roses or orchids, you can try cutting them in half first.
How good your ironed flower looks depends on how good your flower looks to begin with! Make sure that you pick blooms that are vibrant and free of blemishes. It is also best to pick them after morning dew has evaporated.
Flowers to Avoid for Ironing Drying
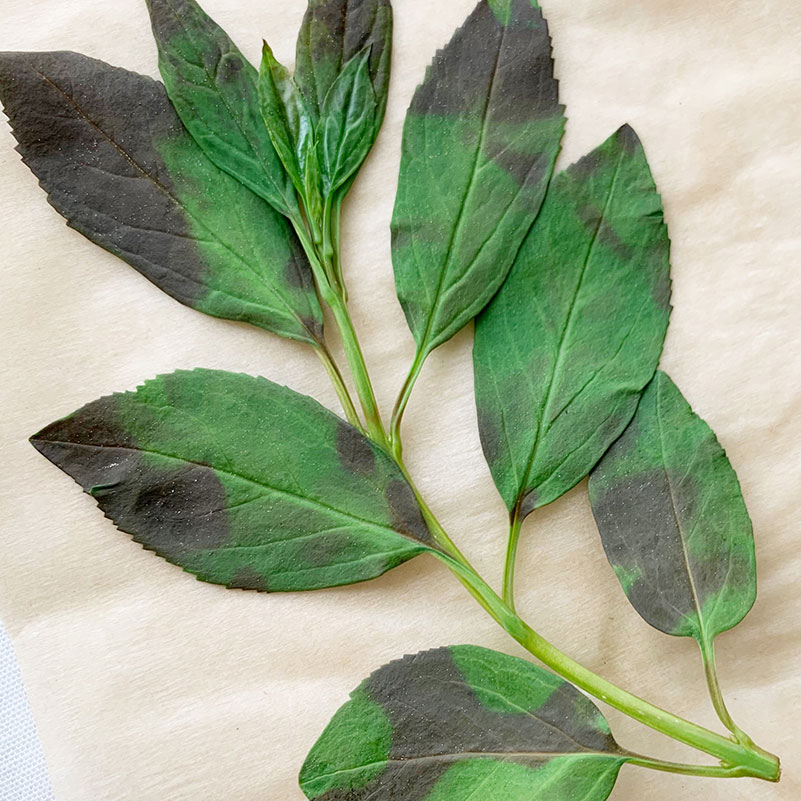
I found that when heat is applied to green leaves it turns them brown almost immediately. If you want to preserve green leaves, I suggest pressing them instead. Red leaves, like the ones off of my Japanese Maple did work well though!
I also suggest staying away from any flowers that are thick and hold a lot of moisture. I had a marigold bloom fall off of one of my plants. I gave it a test with this ironing method and it turned out horribly. Just a big soggy blob.
When in doubt, just give it a try! If the flower doesn’t look great, you can always toss it in the compost. If you’re purchasing a bouquet to try this technique, I suggest picking one that has a variety of florals in it so you have a few different flowers to experiment with.
Supplies to Iron Press Flowers Quickly
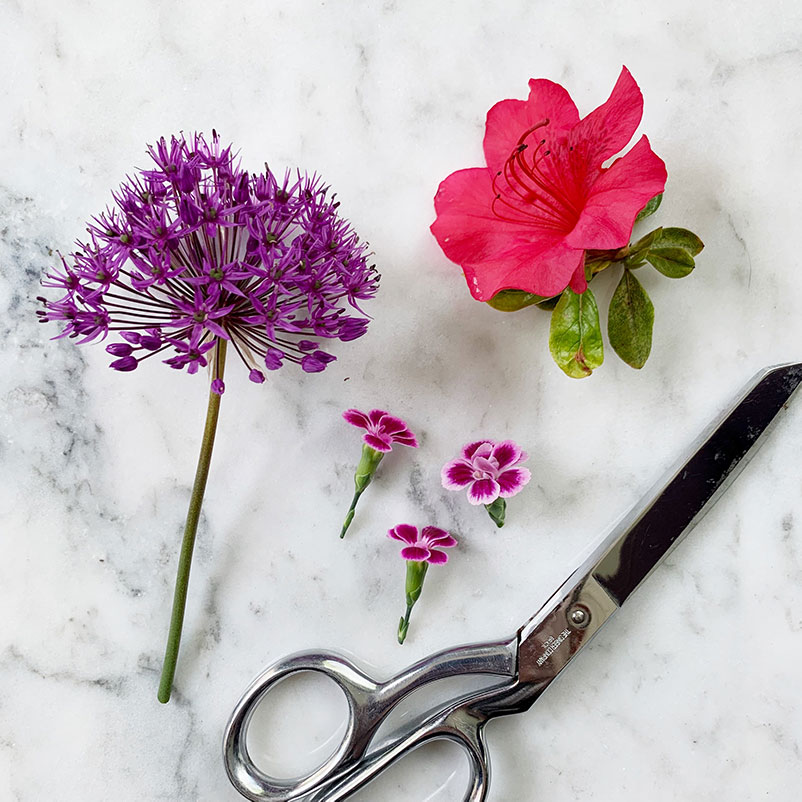
- Iron
- Variety of Flowers
- Parchment Paper
The Ironing Technique
Turn on your iron onto low and make sure that the steam function is turned off. You’re trying to remove moisture, not add it!
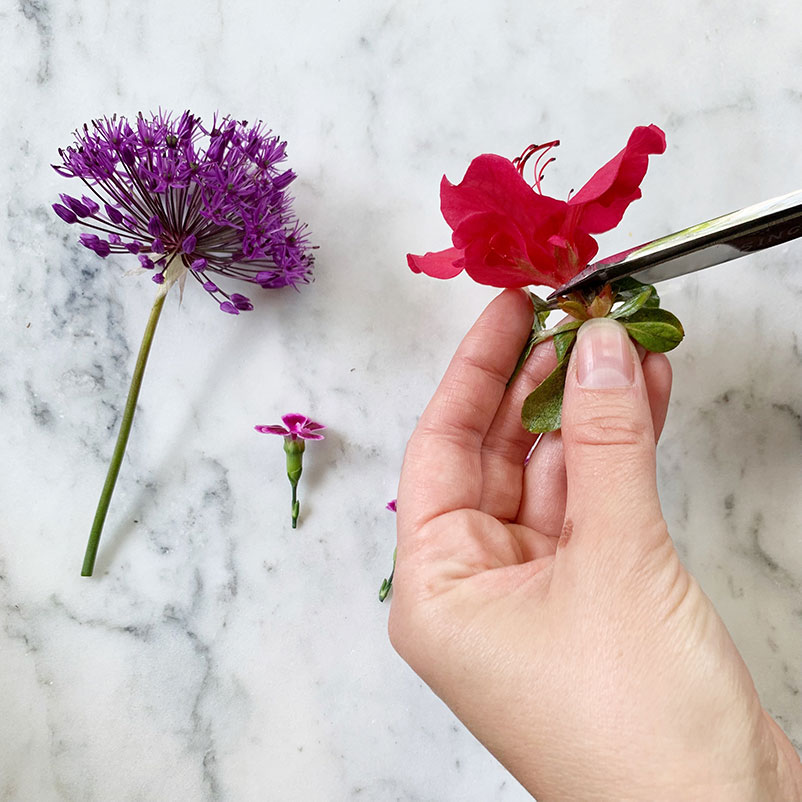
While your iron is heating up, take one of your flowers and peel off any remaining green stems or leaves and any part of the flower that may hold extra moisture (like the base of the flower).
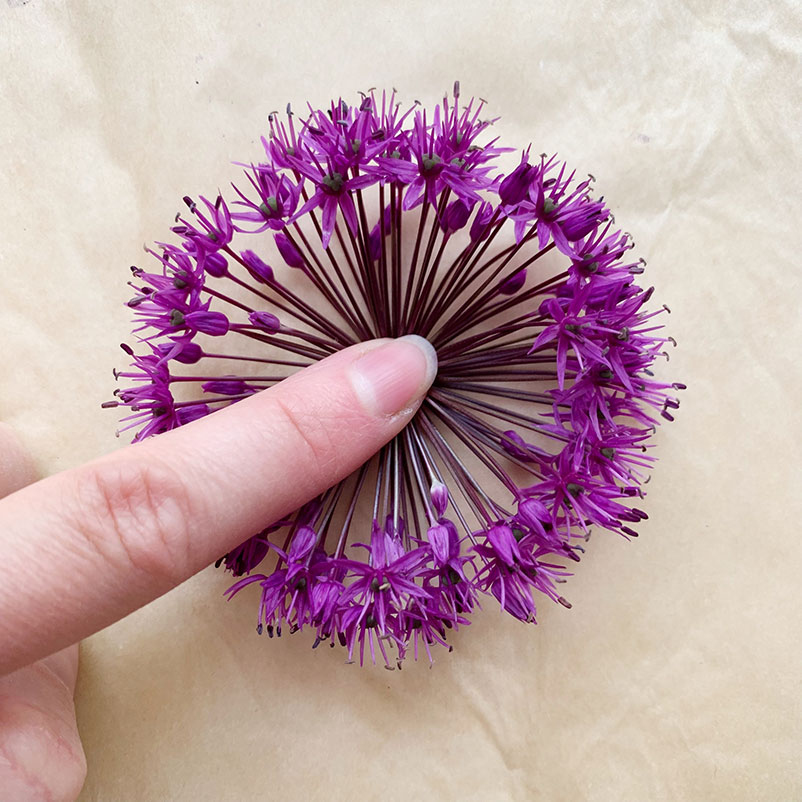
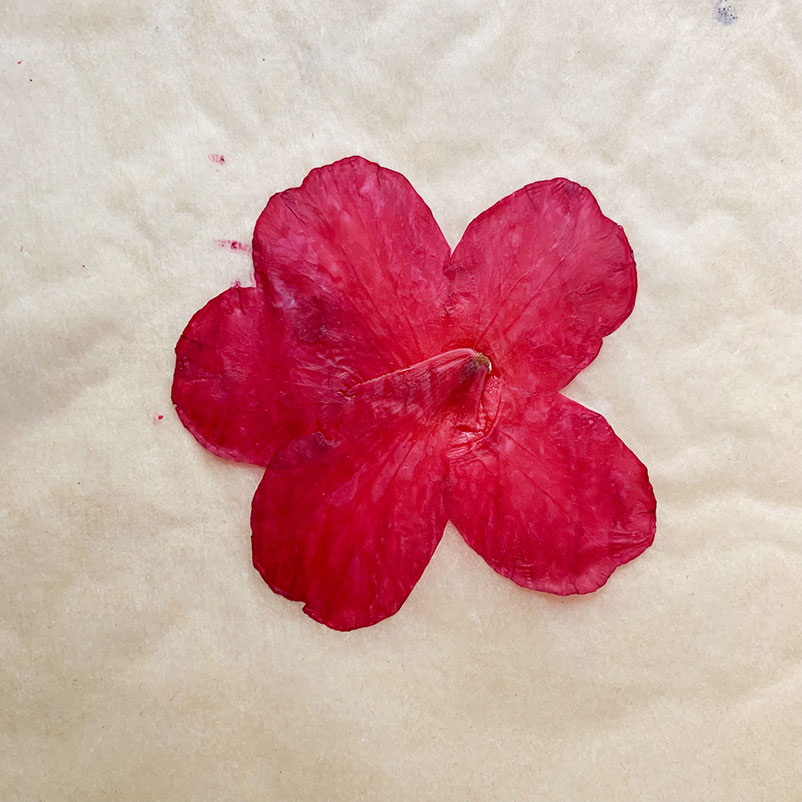
Place your flower on a piece of parchment paper and gently press down on the flower to make it lay a little more flat. This is the time to gently rearrange petals and make sure everything is in place! (This allium was particularly challenging, but I loved how it turned out in the end.)
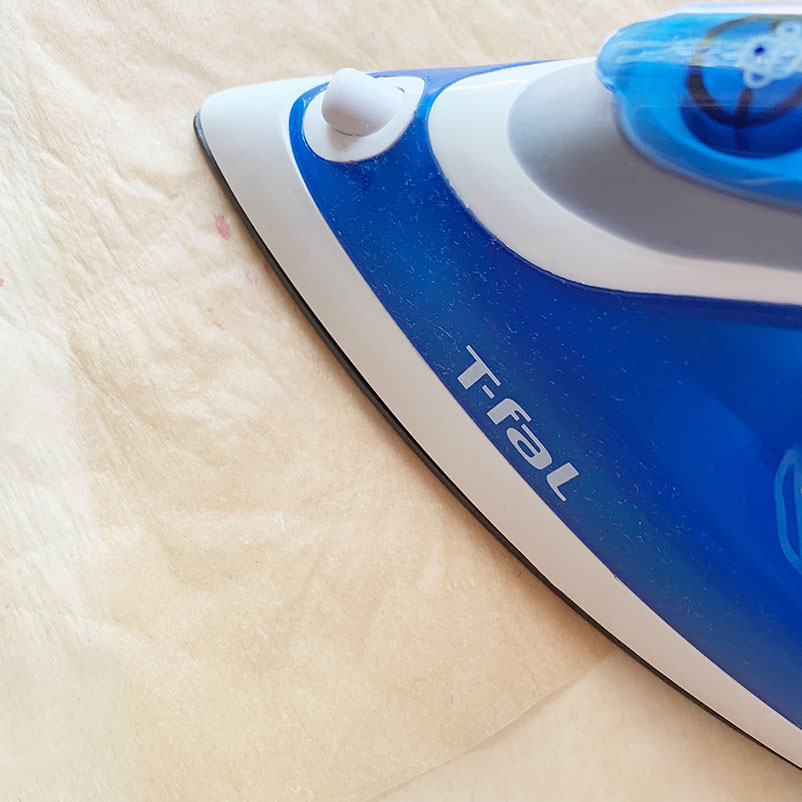
Lay another piece of parchment paper on top of your flower and place the iron on top of the flower. Keep the iron in place for 20 seconds or so and then pick it up and take a look at your flower. After the first iron, it may look a little wilty. We still have some work to do!
Continue to place your iron on the flower for intervals of 20 seconds. You don’t want to move the iron back and forth, this may crinkle your flower. Once your flower begins to look a little dry and crispy on the outside of its petals, you are good to go!
Your flower may still need to dry for a few days after you’ve ironed them. The ironing technique helps remove the majority of moisture, but they may still need some time for their final crisp.
Displaying Your Dried Flowers & Inspiration
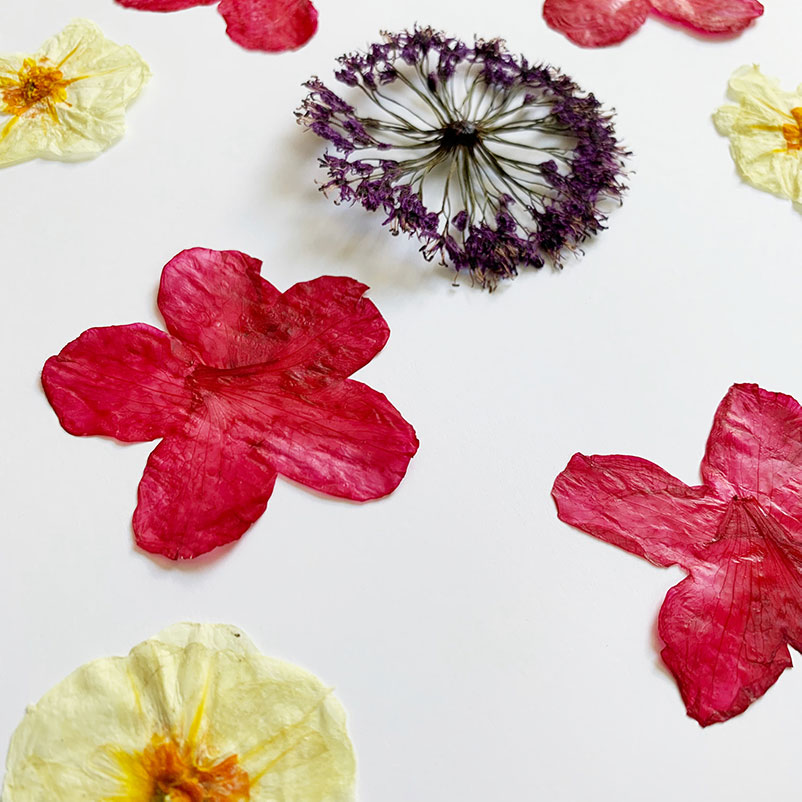
These florals look really cute in frames. Sometimes a simple background, like a white piece of paper, or even just clear glass, make the flowers really pop. I love them displayed
I love it when some artists arrange flowers into geometric patterns. Kristen Meyer does absolutely mind blowing work. She is one of my all time favorite artists.
I’ve seen some artists also fill an entire page with pressed flowers with the smallest uniform borders. If you want some serious inspiration, you should check out Flower Press Studio on Instagram.
I also love when pressed florals are used on cakes and cookies (just make sure your flowers are edible first!)