How to Make a Box out of Paper
With just a few simple folds you can make a box out of paper. This basic origami technique transforms a plain piece of paper into a cute box that you can use to wrap gifts, store trinkets on a nightstand, or organize drawers with.
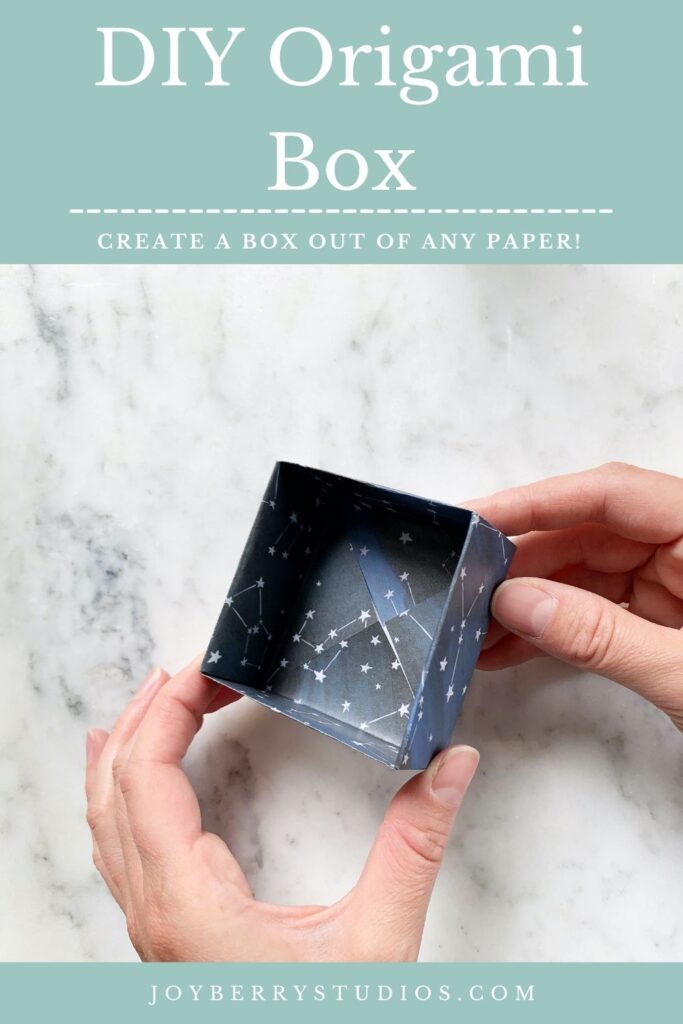
How to Make a Box out of Paper – A Simple Origami Technique
One night I found myself in a pinch. I just made a bunch of different kinds of stickers and labels for my Etsy orders and they were everywhere. If only I had small little containers to organize them all. I didn’t have any small containers, but I knew I could make a box out of paper.
These origami boxes are perfect for storing small items and can be made in different sizes to fill up a drawer. (A perfect solution to a messy junk drawer!) They could also be used as a fun eco friendly alternative to gift wrap.
I love that these boxes are made out of paper and just utilize some simple folding techniques. If you ever made a fortune teller in elementary school, you can make this box!
What kind of Paper to Use
There is only one kind of WRONG paper to use: heavy cardstock. You can get away with the 65 pound cardstock, but your folds may be a little thick.
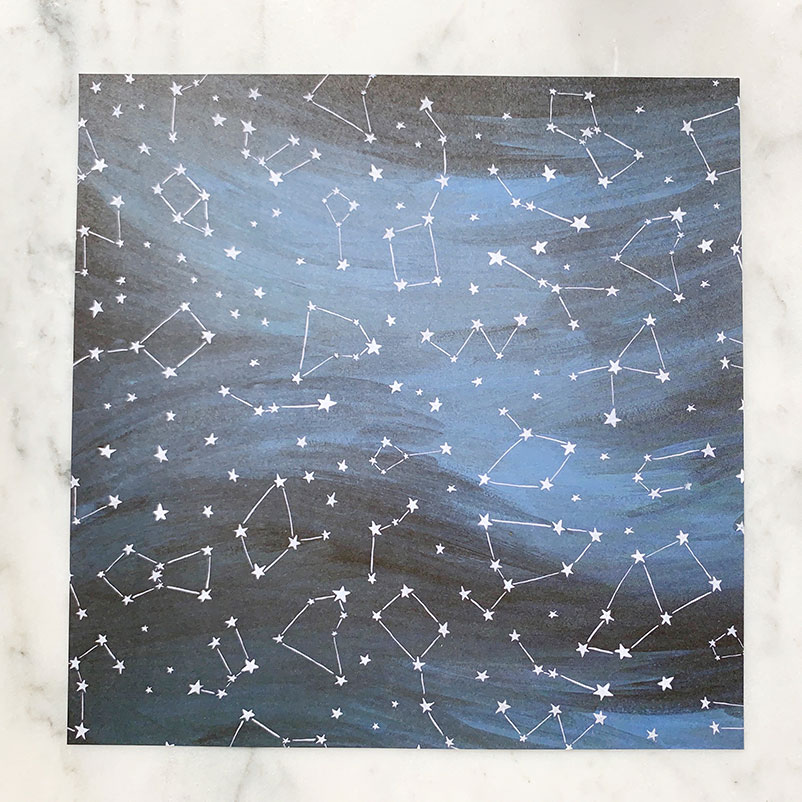
I suggest you use plain printer paper, notebook paper, a fun printed scrapbooking paper, or even wrapping paper.
Estimating the Final Size
You need to start out with a square piece of paper. If you want a larger box you can use a 12”x12” piece of scrapbook paper or even larger square of wrapping paper. If you’re just experimenting you can use a smaller piece of printer paper cut to a square (8.5”x8.5”).
The final width of your box will be a little over ⅓ of the original width of your paper. The sides will be a little over ¼ of the original width of your paper. If you want more exact measurements, try testing some boxes out of scrap paper.
Folding

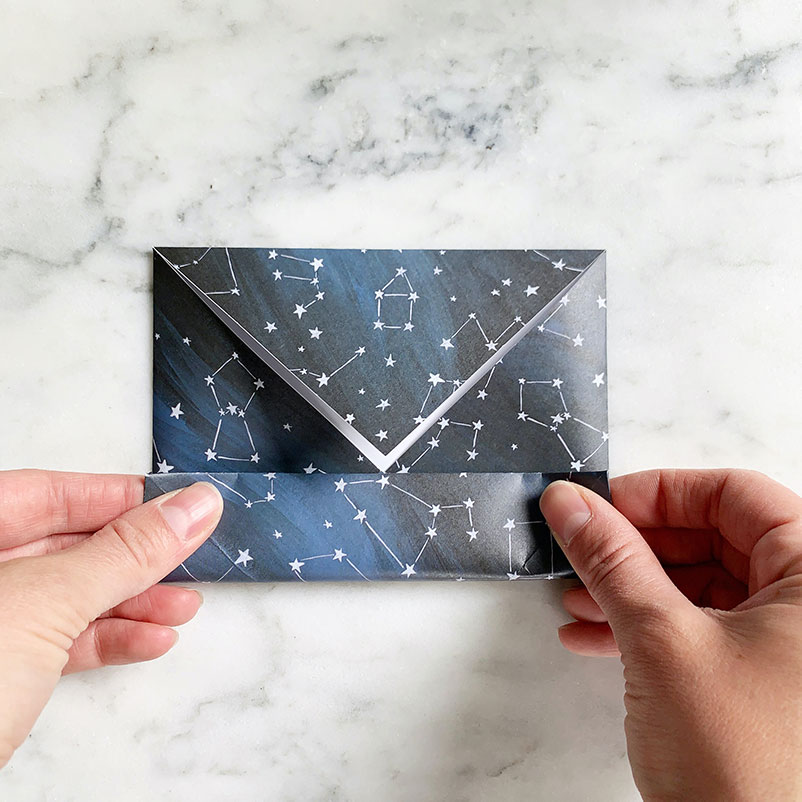
Once you have your square of paper, let’s get folding. Place your paper so the printed side is facing down onto the table. Take your paper and fold it in half. Give it a nice crease. Open it up, turn it 90 degrees, and make the same fold again.
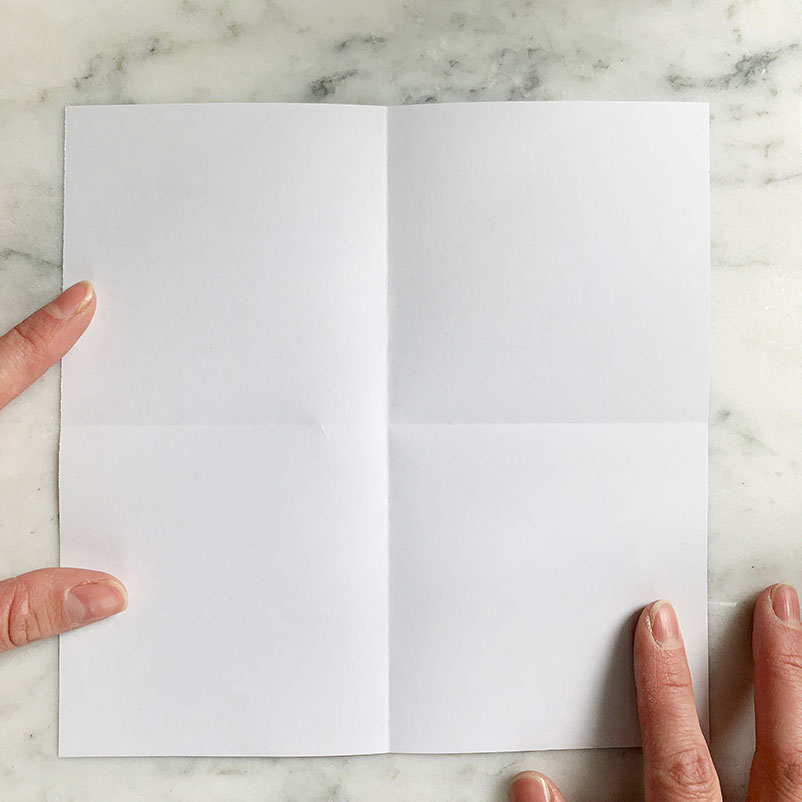
It should look like this once opened up.
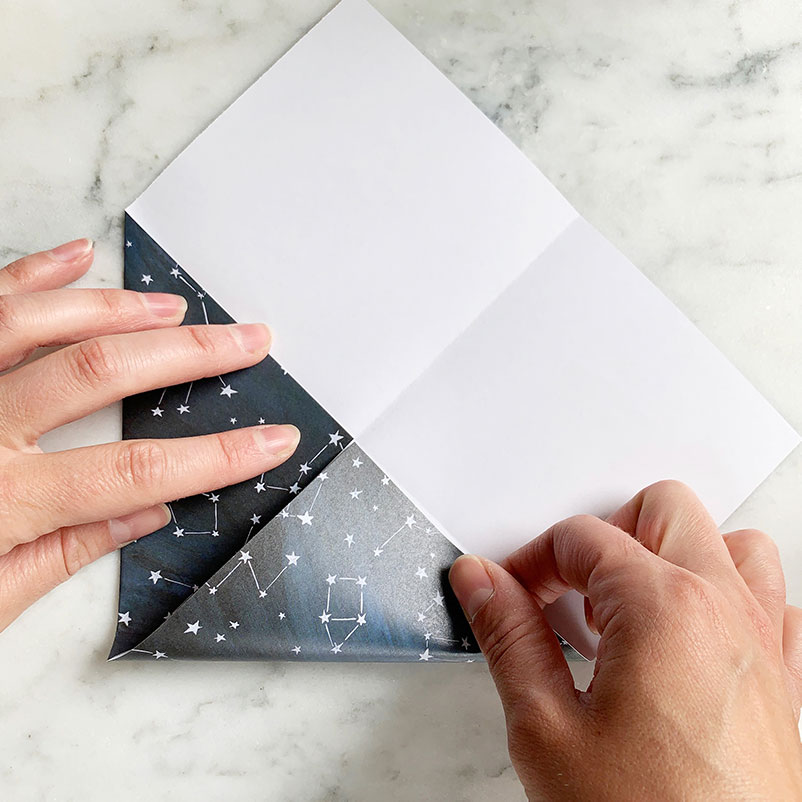
Then begin to fold each corner into the center.
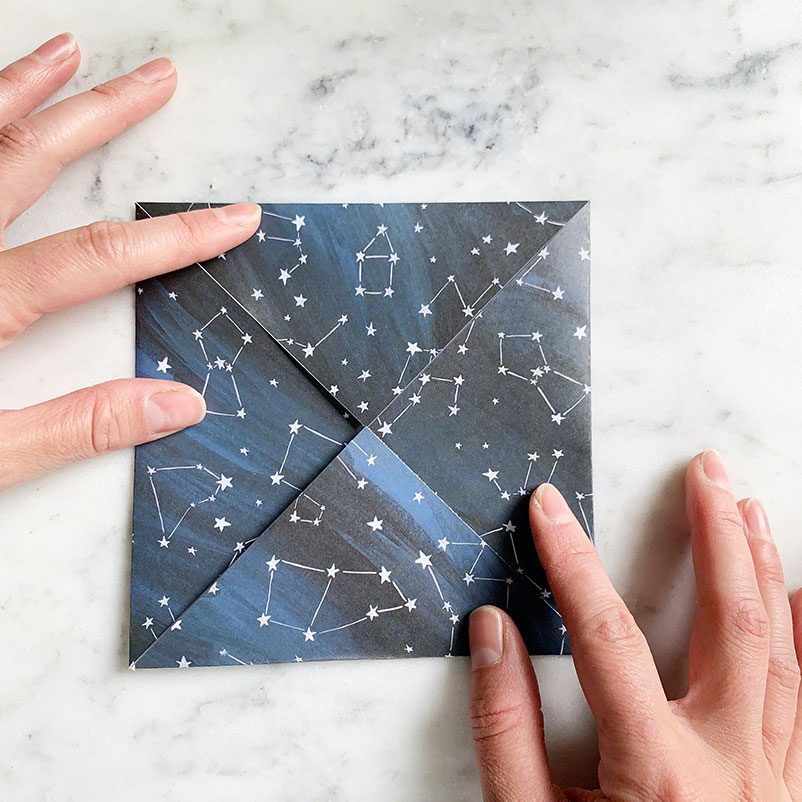
Fold all of the triangles in. (Doesn’t this feel like making fortune tellers in elementary school all over again?)
Fold one of the edges into the middle and give it a good crease. Unfold the fold you just made and repeat on the remaining three sides.
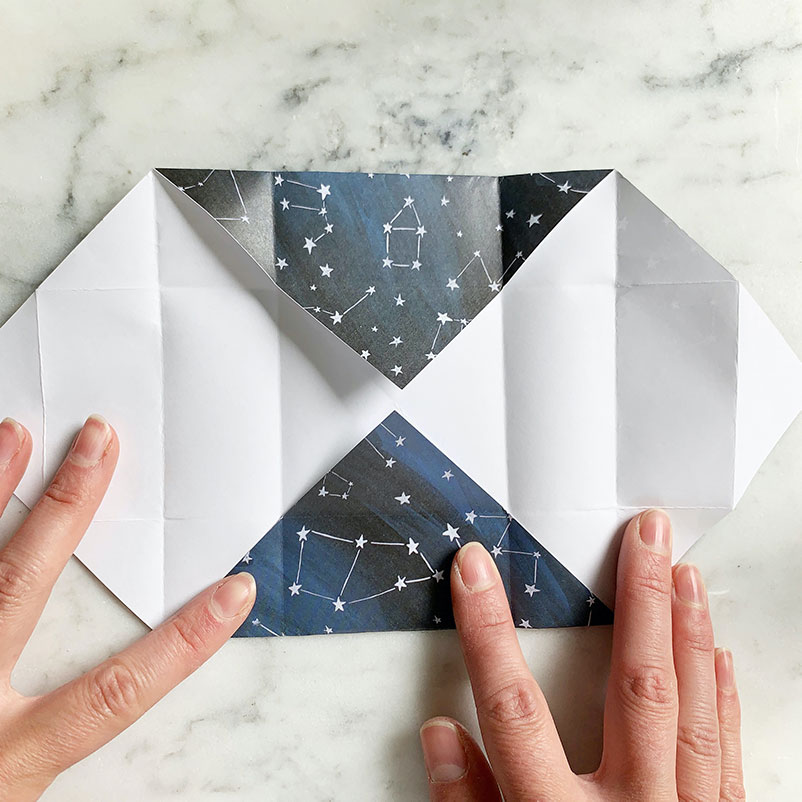
Open up two opposite corners.
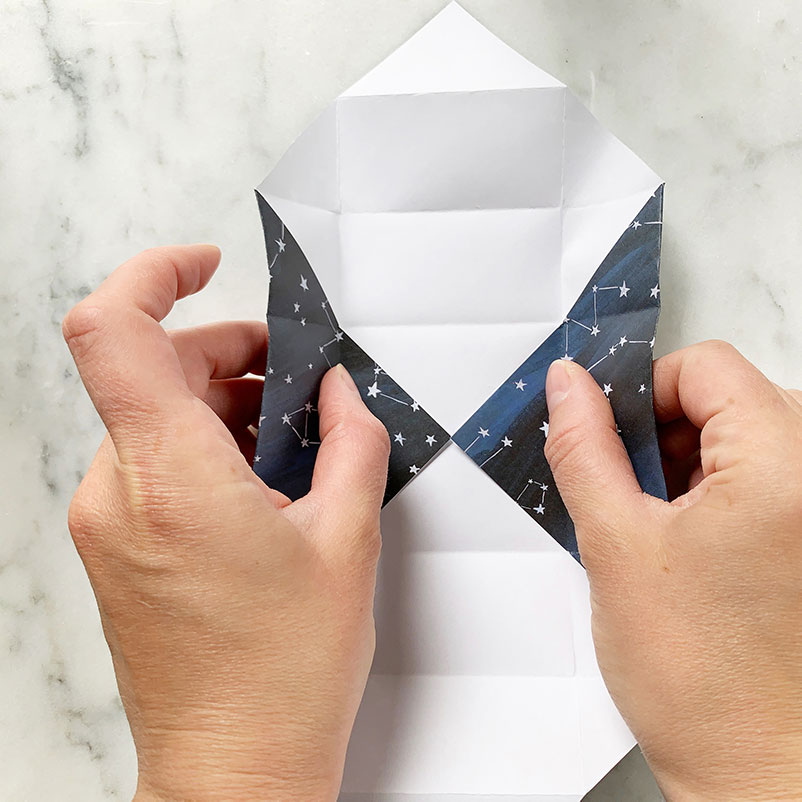
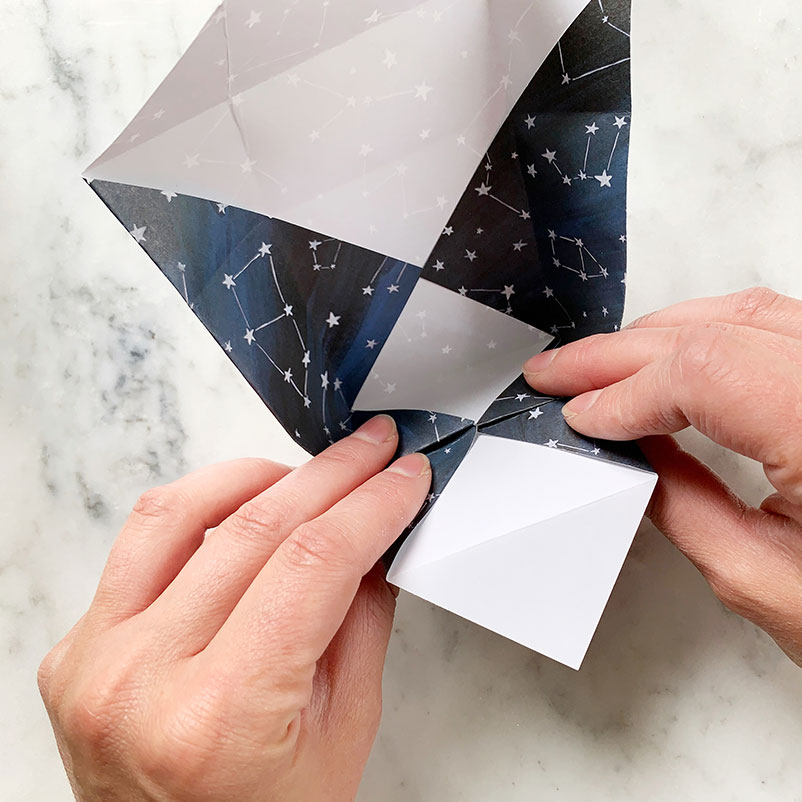
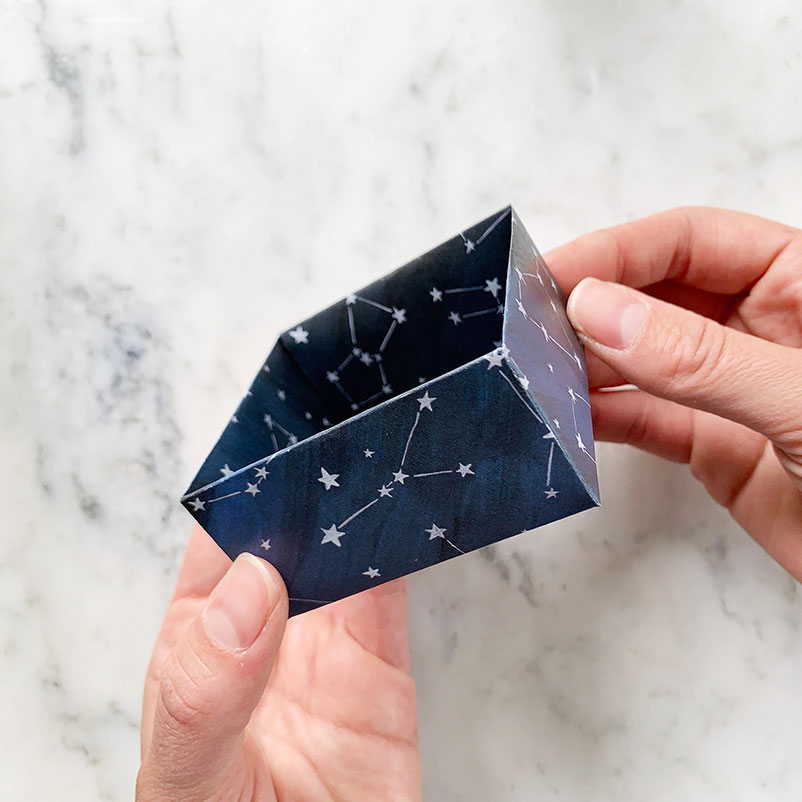
This upcoming part can be a little tricky. Just stick with it and keep trying if you get stuck! Take the two sides that are still folded in and bend them so they are standing up. These are two sides of your box.
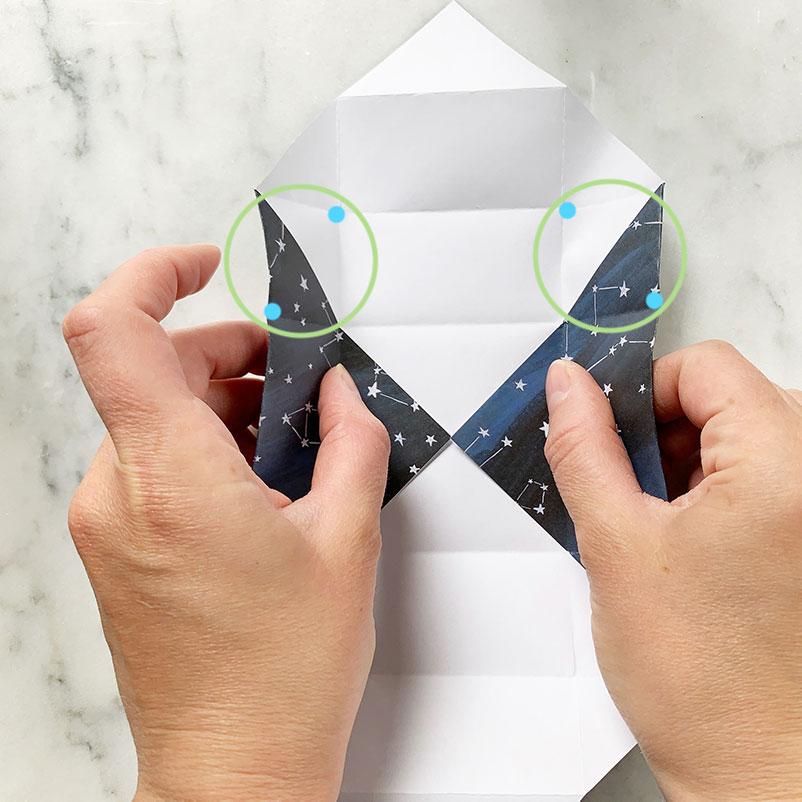
Find the two squares with both the front and back of the paper showing (circled in photo). Stick your fingers on the back of these squares to bring that diagonal edge of paper into the middle of the box. You want the corners with the dots in the photo to be folded together to touch.
After a little encouragement they should come together and the corners should touch on the inside of the box.
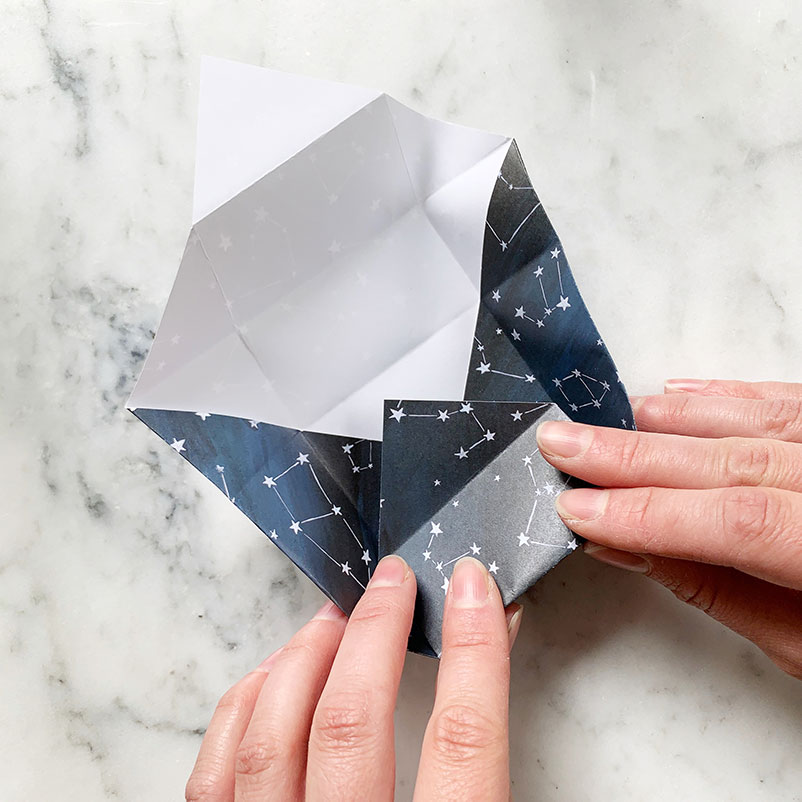
Fold the top flap of paper into the box. The tip of the paper should nestle into the other corners in the center of the box.
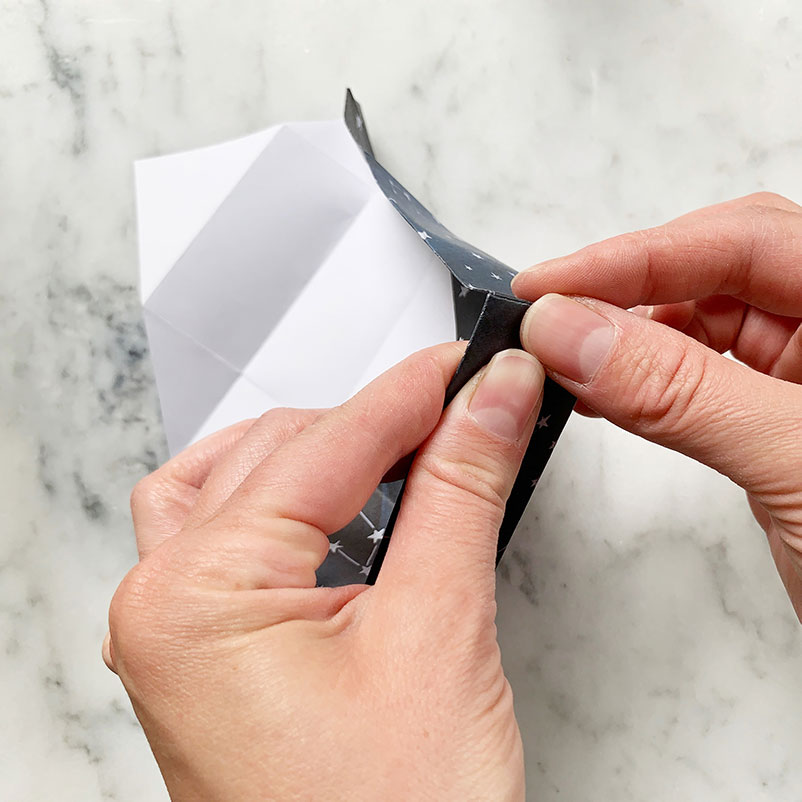
Give the corners a good crease
Repeat on the second side.
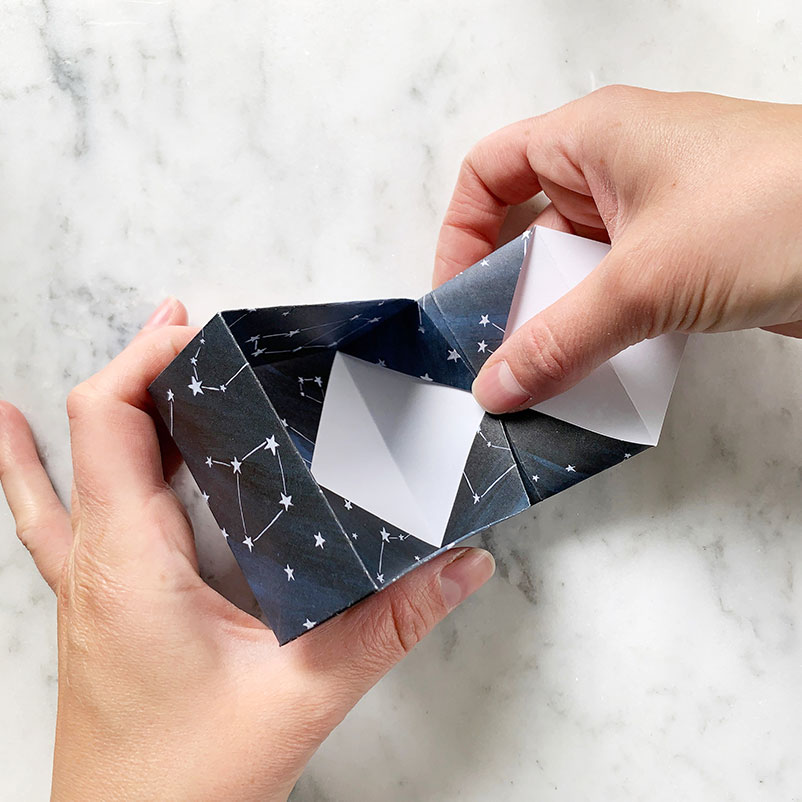
And that was it! You made a box!
Make More Boxes out of Paper
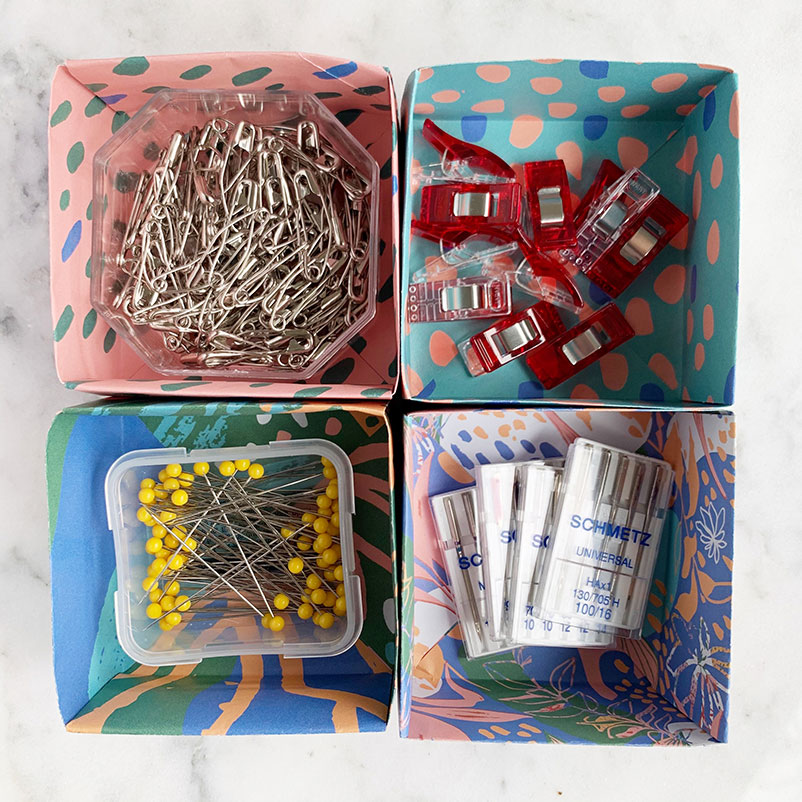
A fun way to make this project a bit more interesting and fun is to use patterned paper. I got the paper above from my Mollie Makes magazine. They always have fun paper and printed illustrations to display in your home in the middle of each magazine. You can also use scrapbook paper. (Which is what I used in the step by step photos.)
Want to make it a wrapping for a small present? You can also make a lid by simply making a second box and placing it on the first.
Want to reinforce the bottom? Cut out a square of cardstock and nestle it below the flaps.
Share!
If you followed along with this tutorial and are willing to share, I would love to see what you’ve made! Feel free to reach out to me on Instagram!.