How to Sew a Tamarack Jacket for Kids
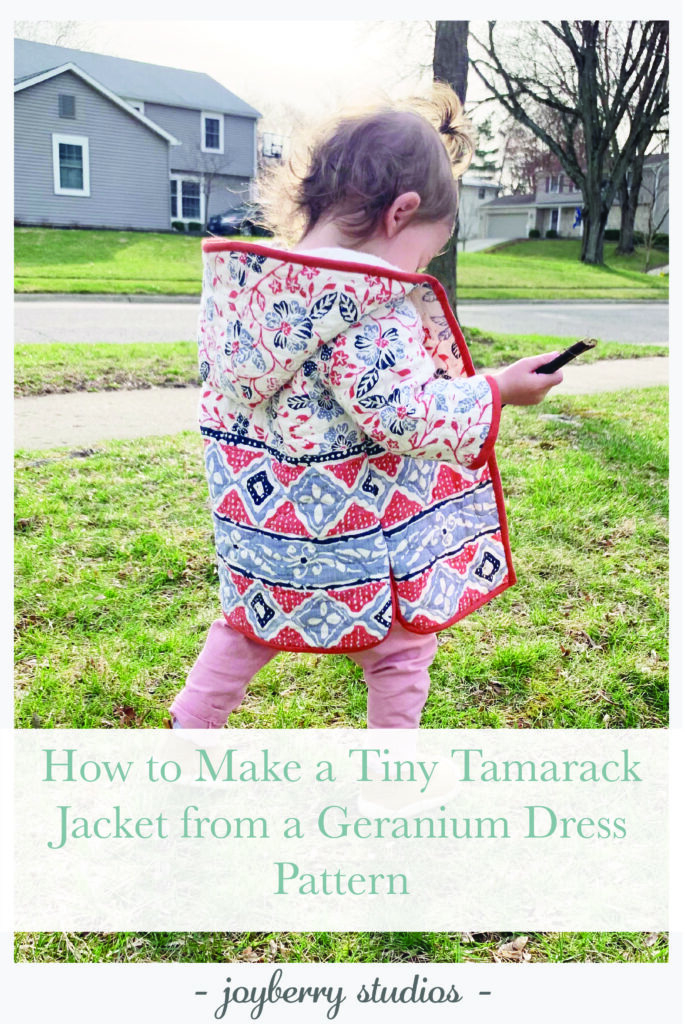
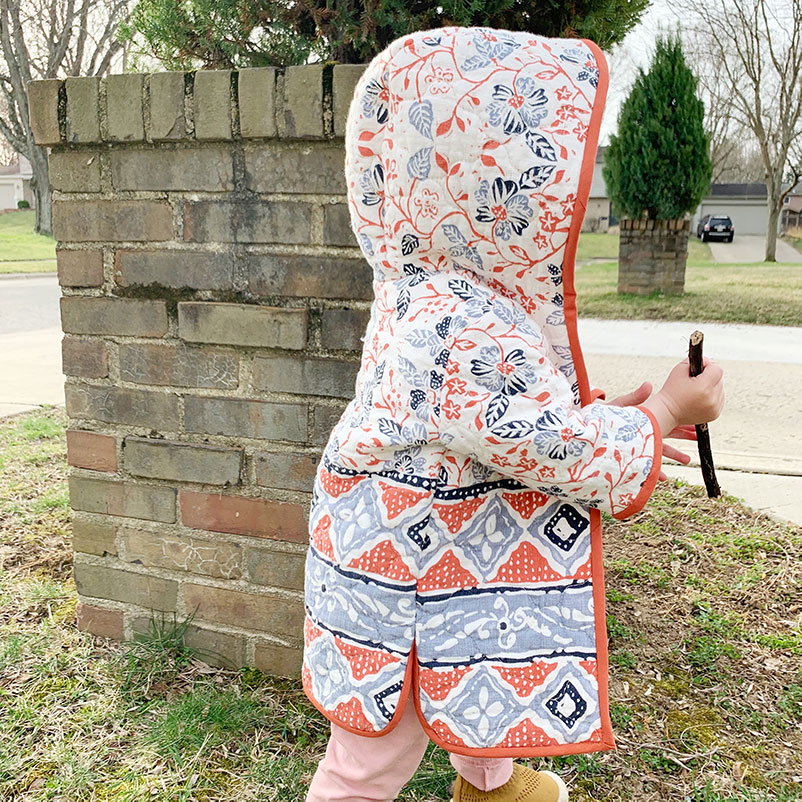
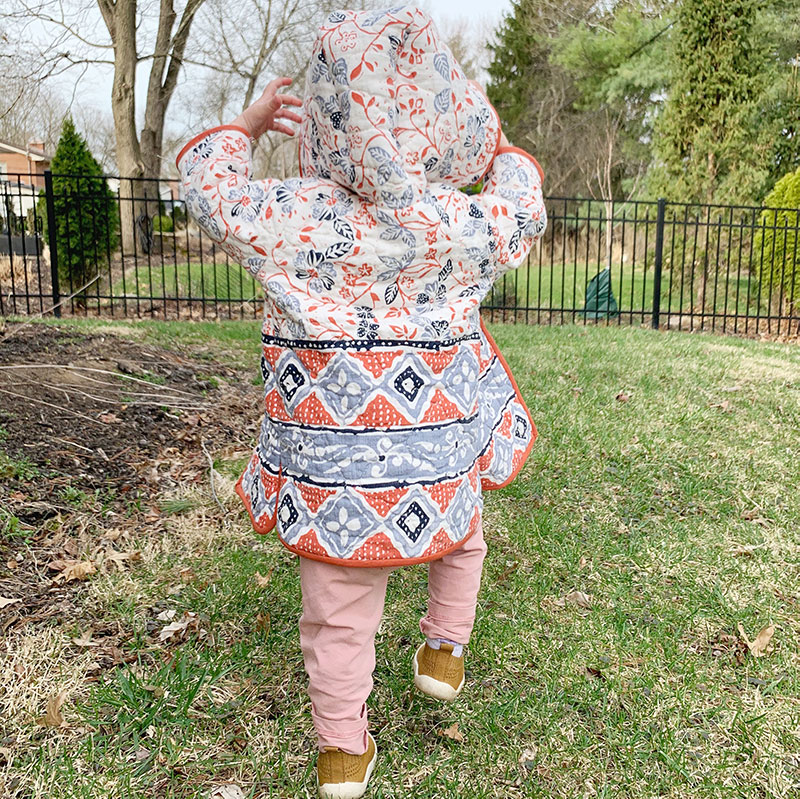
Match Mom or Dad With a Quilted Tamarack Jacket for Kids

I recently made my own Tamarack Jacket from Grainline Studios. Earlier this winter I spotted this post on Instagram from SuzyQuilts where she was wearing matching quilted jackets with her daughter. They were made by Brittney Frey. All of her work is incredible and her jackets sell out almost instantly. I knew I wanted to also match my daughter, so I sewed her a Tamarack Jacket for kids based on the Geranium Dress pattern from Made-by-Rae.
If pattern hacking seems to daunting to you at the moment, there are now plenty of kids sewing patterns for jackets on Etsy!
Jacket Deatails
I started out with my go to favorite pattern, the Geranium Dress by Made-by-Rae. I’ve filled out my daughter’s wardrobe with different variations of these dresses every season.
The Geranium pattern is for dresses and tops, but I found a way to hack it into a quilted jacket. If you have a similar dress pattern with sleeves, you could follow these steps and your jacket would still probably work out. When in doubt, make a muslin!
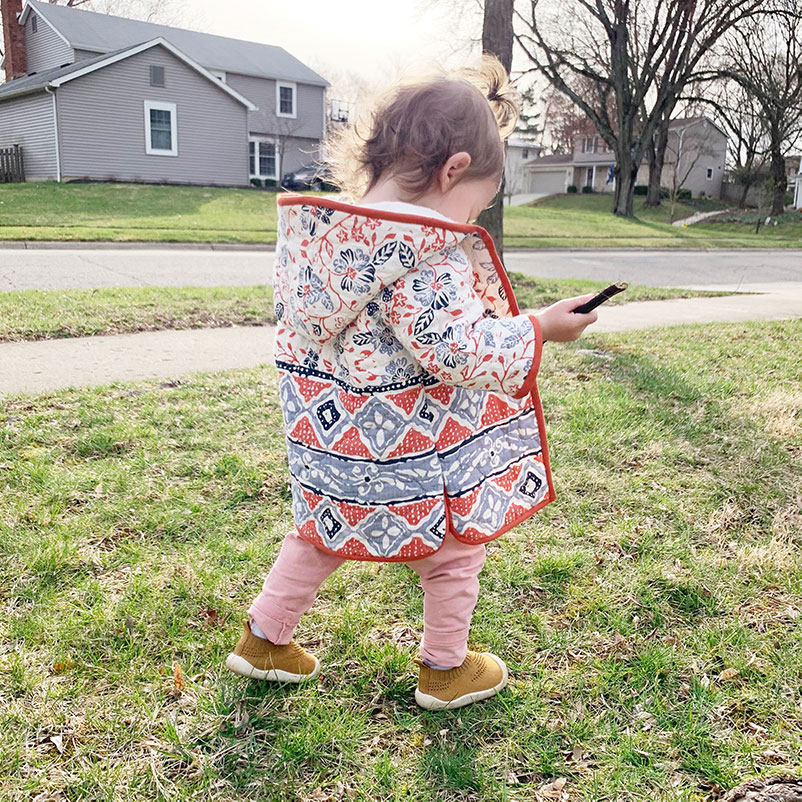
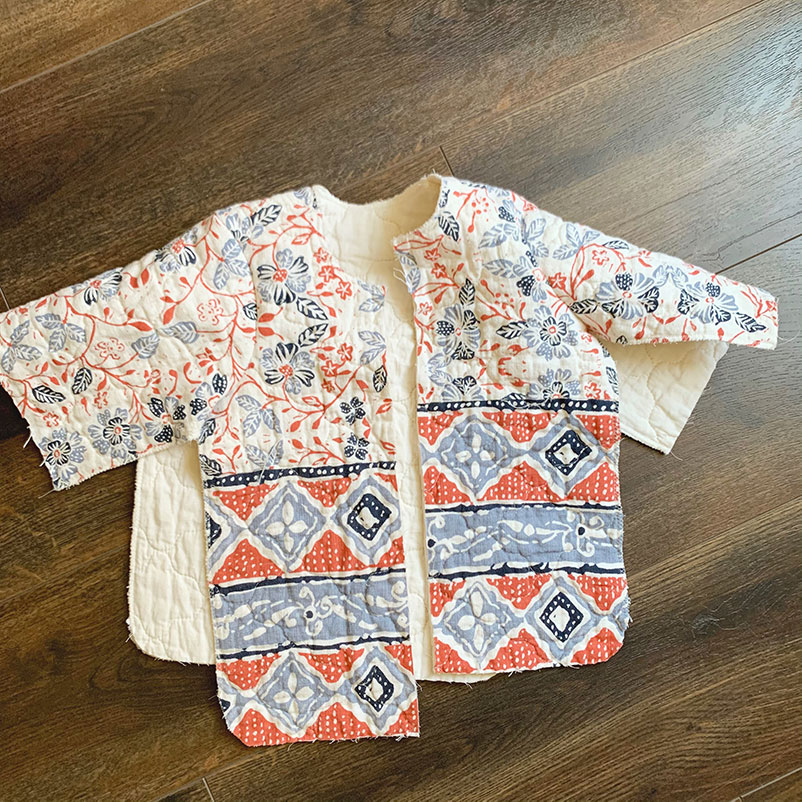
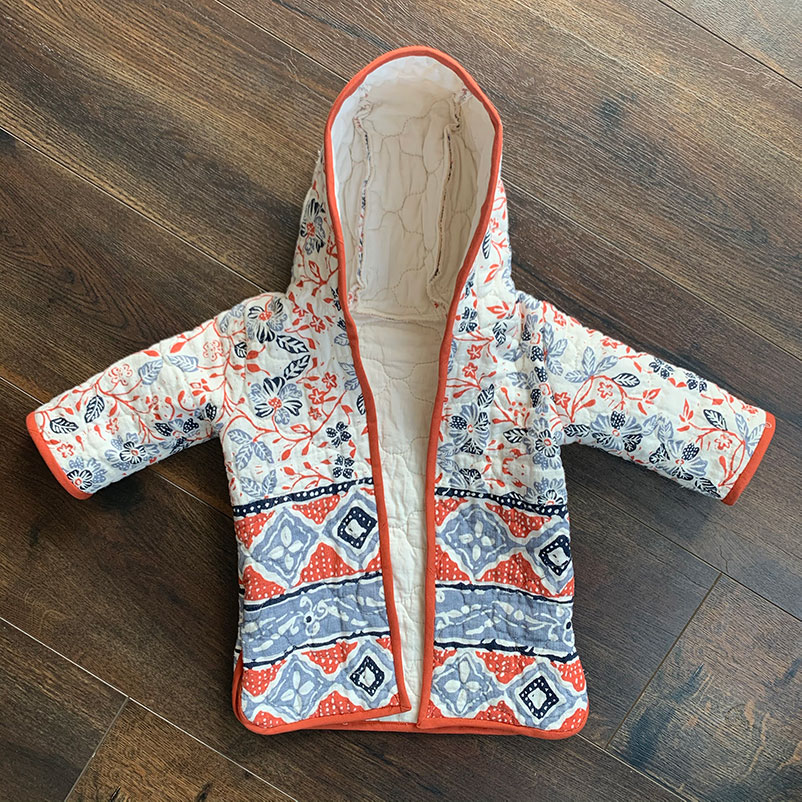
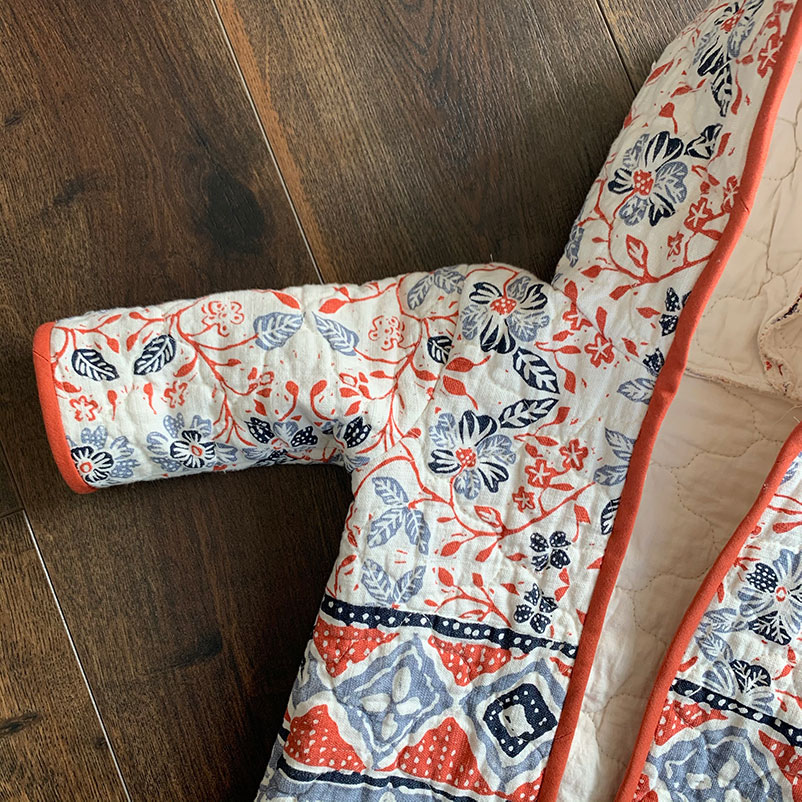
I made this jacket similar to the Tamarack jacket. It is open in the front and has a bias tape cover on the outside edges. You can close the front with hook and eye closures if you would like! I also added a hood, which I will walk you through how to do as well.
Geranium Dress Pattern Adjustments
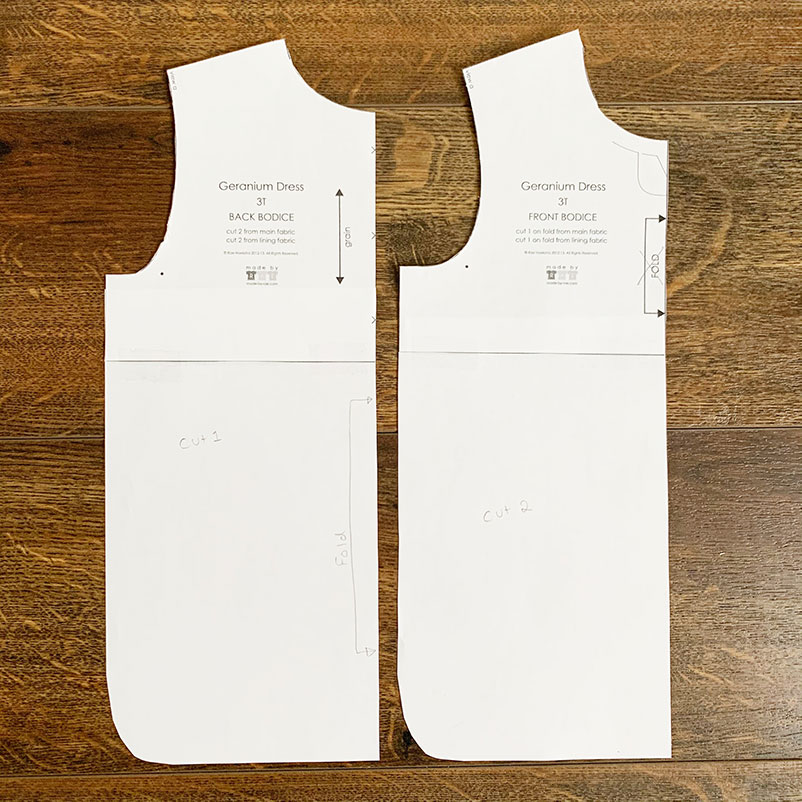
You only need the front and back bodice pieces and the fitted sleeves pieces, which means you will also need the expansion pack. Print out 1-2 sizes above your child’s designated size. You will need wiggle room since this is a jacket and not a fitted dress.
Take the back bodice and cut the middle back through the x marks. These are where you set the buttons, but since we aren’t using this overlapping closure, you won’t need that extra fabric.
Add length to your pieces and curve the bottom exterior edges. I added 9.5 inches to mine. You can simply measure the length from your child’s shoulders to where you want the jacket to hit, add ⅜ inch for seam allowance at the shoulder.
Cut out two separate front bodice pieces (not on the fold) and the back bodice piece on the fold. Also cut out two sleeves. You will not use the entire length of the sleeve because we sized up. I trimmed them to fit after piecing together the coat. If you are tight on fabric, you can measure the distance from your child’s shoulder to wrist and trim the pattern piece accordingly.
Tamarack Jacket for Kids: Make & Assmeble Hood
The hood is designed so there is one main rectangle from the nape of the neck to the forehead and two side pieces. I like this design because it’s not pointy.
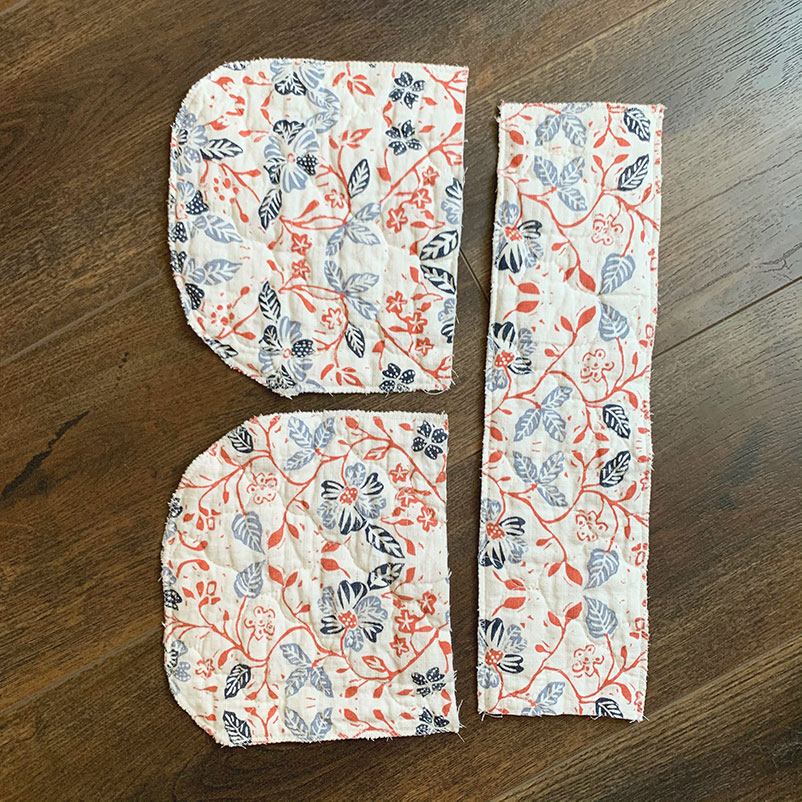
To make this hood (for my 18 month old daughter) I cut one 15”x4” rectangle and two 5.5”x7” rectangles. Take the two side pieces and curve the edges for the top and bottom of the head. (The long side of the rectangle goes from the top to bottom of the head.) The top curve should be more of a pronounced curve. The bottom is just a small curve to hug the hood in a bit.
If you are making a bigger or smaller size you can try to find a similar hood to take measurements to go from, or you can add or subtract some dimensions and make a muslin first to test fit. It is a loose fitting hood, so it doesn’t have to be perfect!
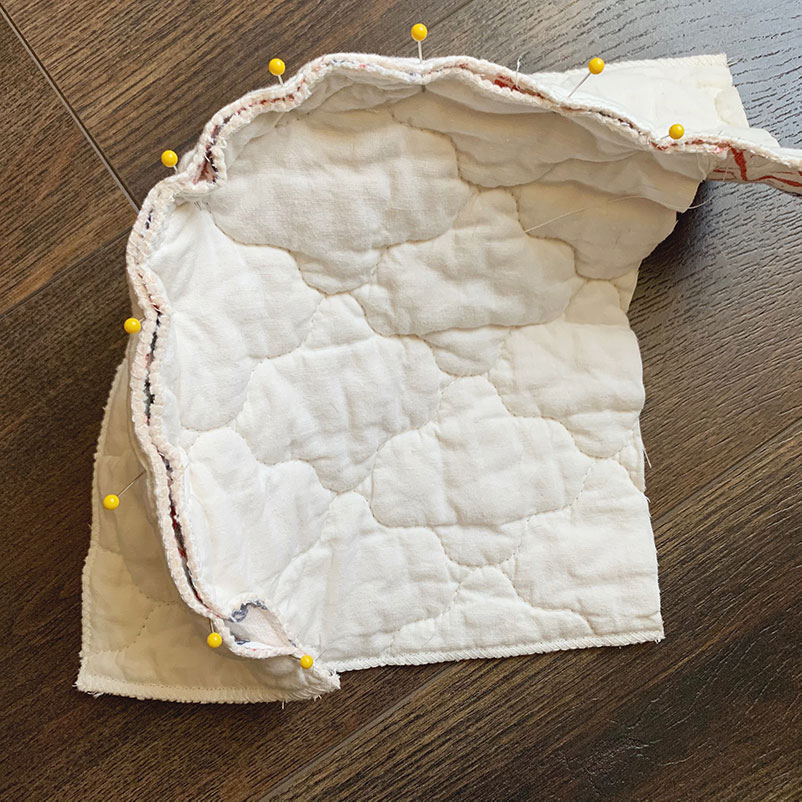
Now time to assemble the hood! Since we eyeballed some of the curves these pieces won’t fit together perfectly and that’s okay! It is a loose fitting hood, so we can trim some and still have a nice fit.
Pin the longer rectangle along the curve of one of the side hood pieces. You will see in my photo that I have some overhand on my longer rectangle, that is totally okay! Just trim the extra fabric away so it is even.
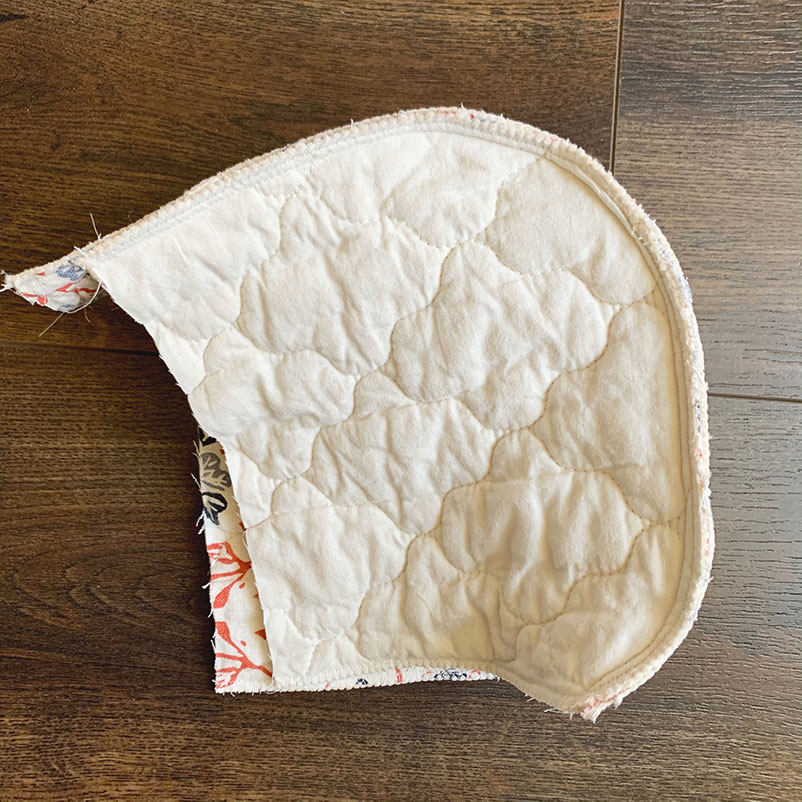
Sew this seam and repeat with the other side.
Tamarack Jacket for Kids: Sewing the Body & Attaching Hood
The first thing I did was to finish all of the edges that would not have bias tape with an overcast stitch. It would be fun if all of the seams had bias tape or Hong Kong seams, but with a coat for my little one I really wanted to reduce bulk.
Align the front bodice and back bodice shoulder seams, right side together, and sew with a ⅜ seam allowance. (All seam allowances will be ⅜ inch.) Pin the sleeves into place along the bodice, right sides together, and sew.
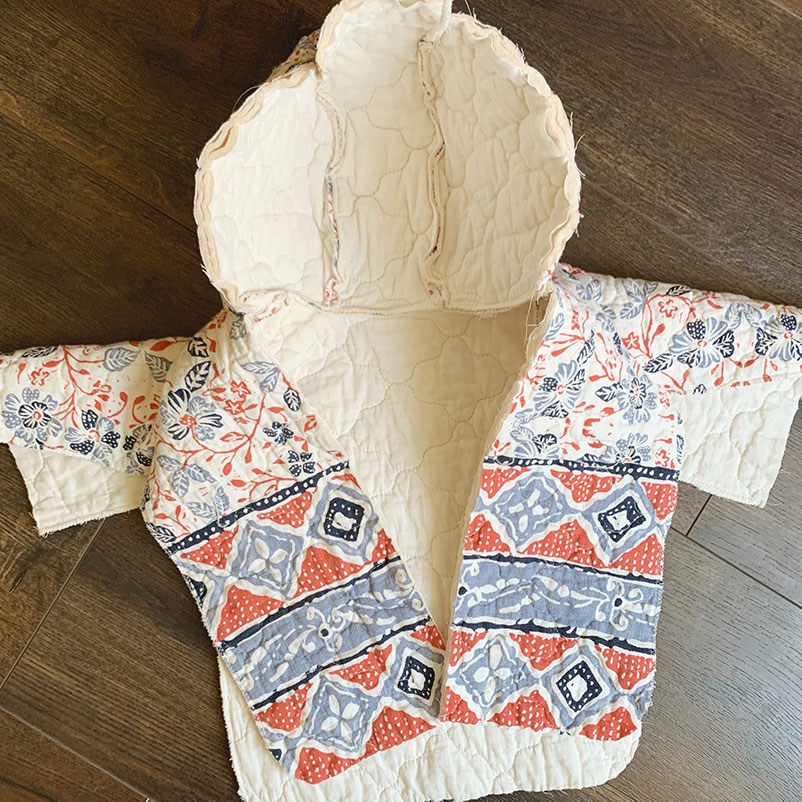
Next we will attach the hood to the body of the coat. Find the middle of the back and the middle of the base of the hood. Pin these two middles together, right sides together. Continue to pin the hood to the rest of the neckline. Double check to make sure the hood sits evenly on the bodice.
Adding Bias Binding
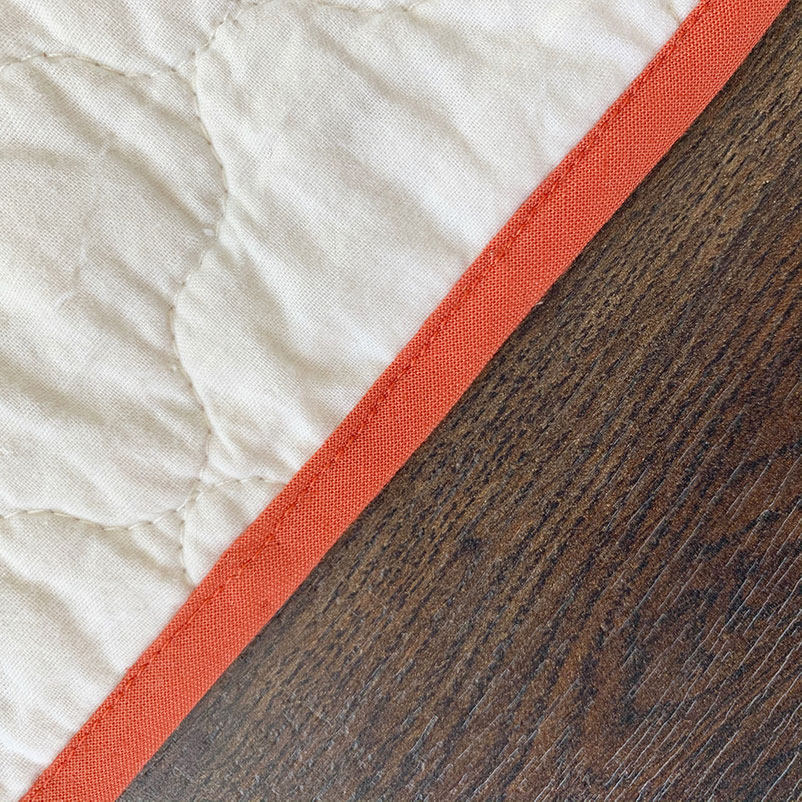
The bias binding is one of my favorite parts of this jacket. It is a great way to add a fun pop of color! I used 0.375” bias tape for my daughter’s jacket. (I cut my double fold bias strips 1.5” wide.) You can use a wider bias strip if you would like, but I don’t suggest going smaller.
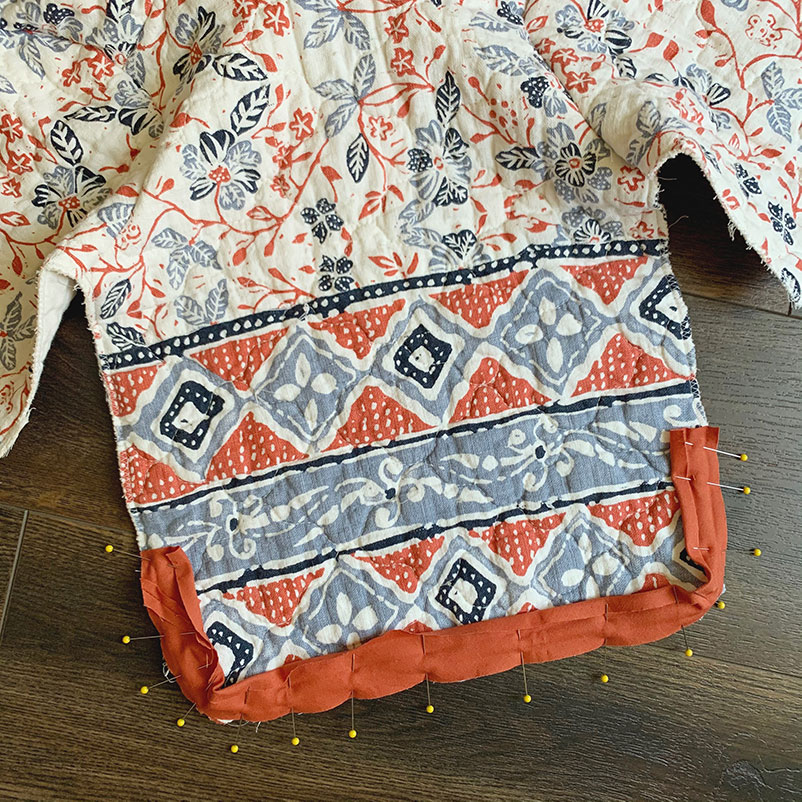
First add the bias tape to the back right side of the jacket. It should go up a few inches on each side. Pin the bias tape so the edge aligns with the outside of the jacket. Sew along the first crease mark.

Clip the corners of both the bias tape and quilted jacket. Don’t cut through your stitches though! This allows the bias tape to sit more flat on the curve.
Refold your bias tape and pin it to the inside of the jacket. Make sure your bias tape covers the line of stitching that you just made.
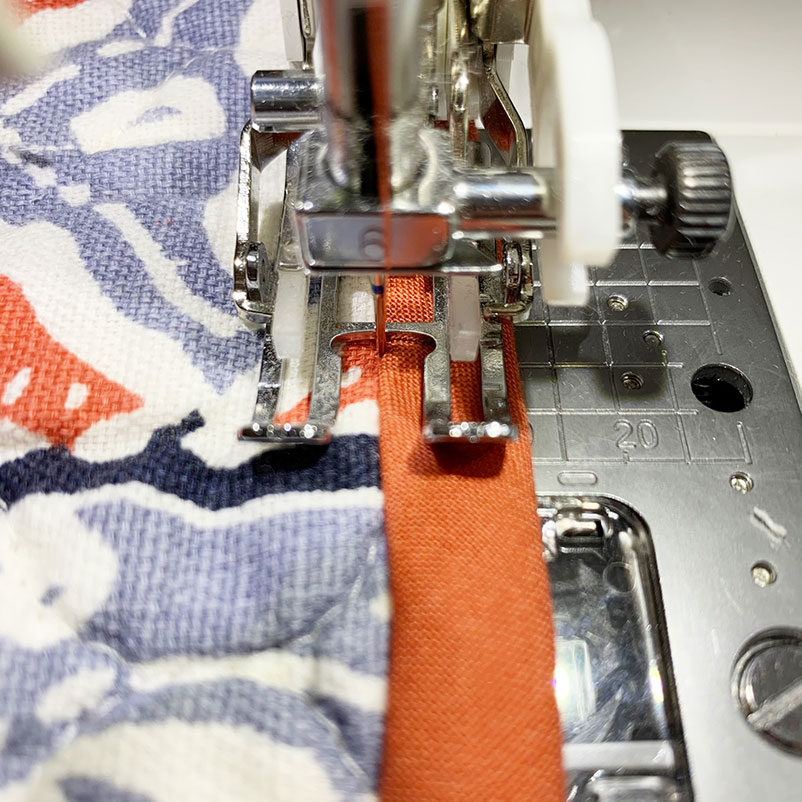
Slowly stitch right where the bias tape meets the jacket. You should not sew on the bias tape. You are “stitching in the ditch” here. This hides your stitches on the right side and sews the back of your bias tape in place.
When you are done give the inside of the jacket a look. You want to make sure you sewed the inside bias tape in place. If it shifted repin those areas and resew them.
Now follow the same technique and apply the bias tape from the front of the coat, but you will need to go all the way up and around the hood, and back down again.
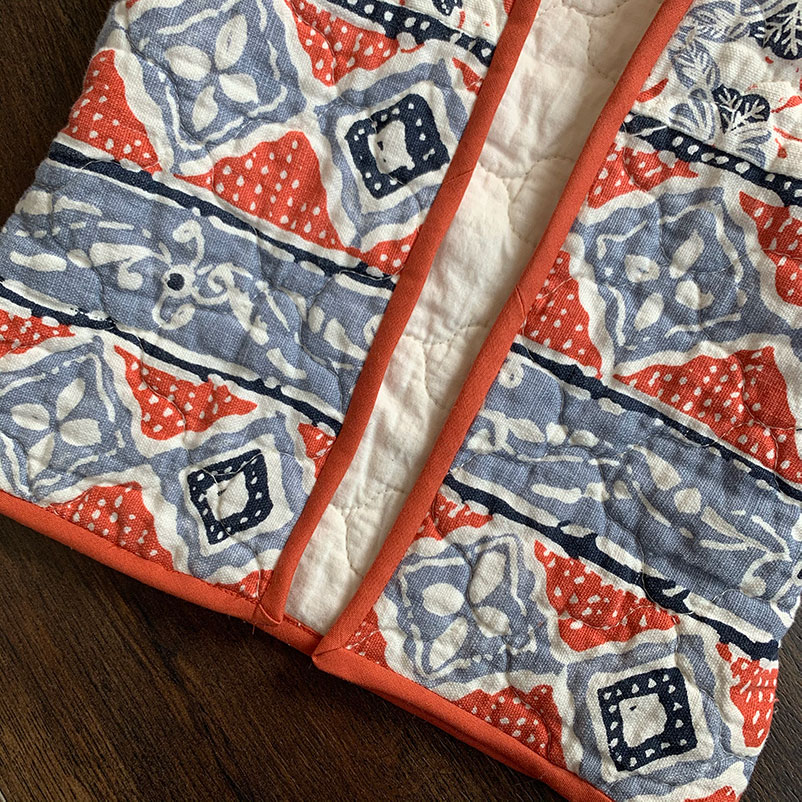
When you come to the front corners of the jacket you have to turn with the bias tape. If you don’t know how to do this, check out this post about sewing bias tape mitered corners.
Finish Side Seams
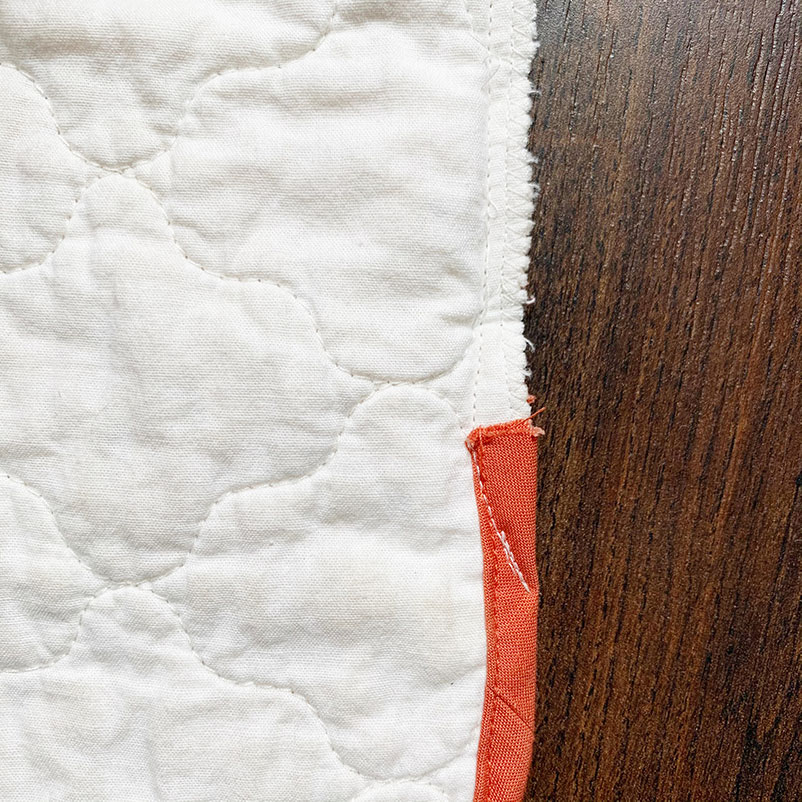
We are almost there! Next sew the sides of the jacket, from the hips to the armpit and down through the sleeves. When sewing the seam at the base of the jacket, start at the edge of the bias tape and sew diagonally until you reach the seam allowance.

Make sure you enclose the edges of the bias tape within the seam, so the outside looks nice!
At this point you may want to check the sleeve length on your little one. Pop the coat on them and mark where their wrists are. You will be closing this hem with bias tape, so there is no need to account for seam allowances!
Trim the length of the sleeves and finish them with bias tape and you are done!
Share!
If you follow along with this tutorial and make your own jacket for a little one, please share with me! I would love to see how they turn out or any feedback you may have.
Feel free to comment below, or connect with me on Instagram!