Make a Pom Pom Flower Bouquet
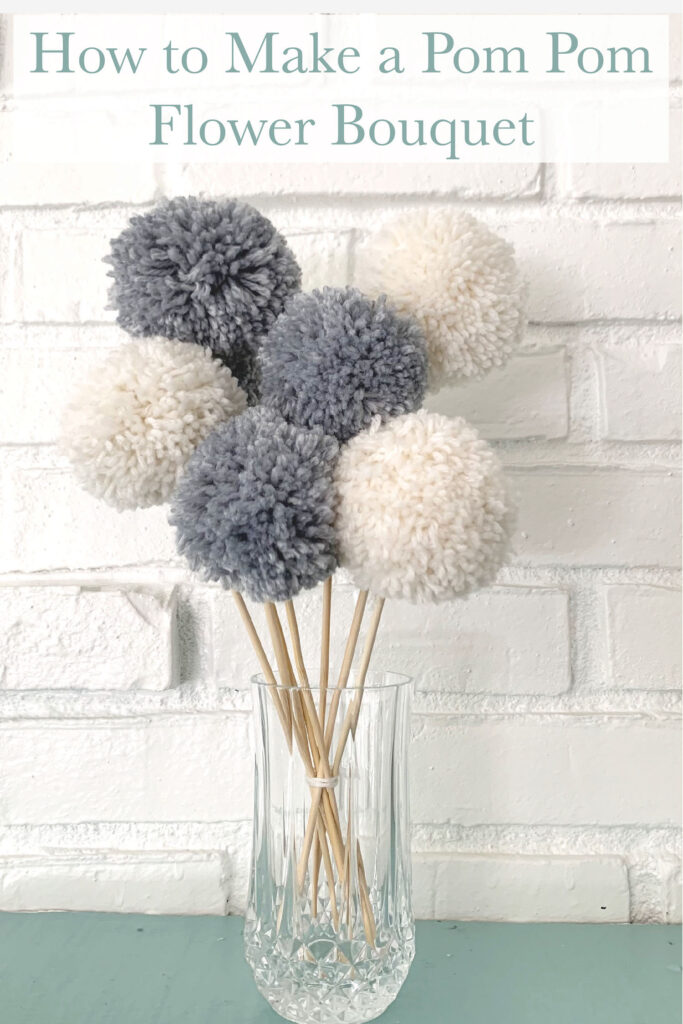
How to Make a Pom Pom Flower Bouquet
(With Materials You May Already Have!)
This pom pom flower bouquet is a cute, quick, easy, and cheap project. All of my favorite things for a quick afternoon of crafting!
This DIY can be adapted for any time of year. I love pastels and brighter colors for spring and summer. Moody blues, greens, and grays would be great for colder months. You can make them smaller as a small arrangement on a bookshelf or make a larger statement pom pom flower bouquet for the center of a table. The possibilities are endless!
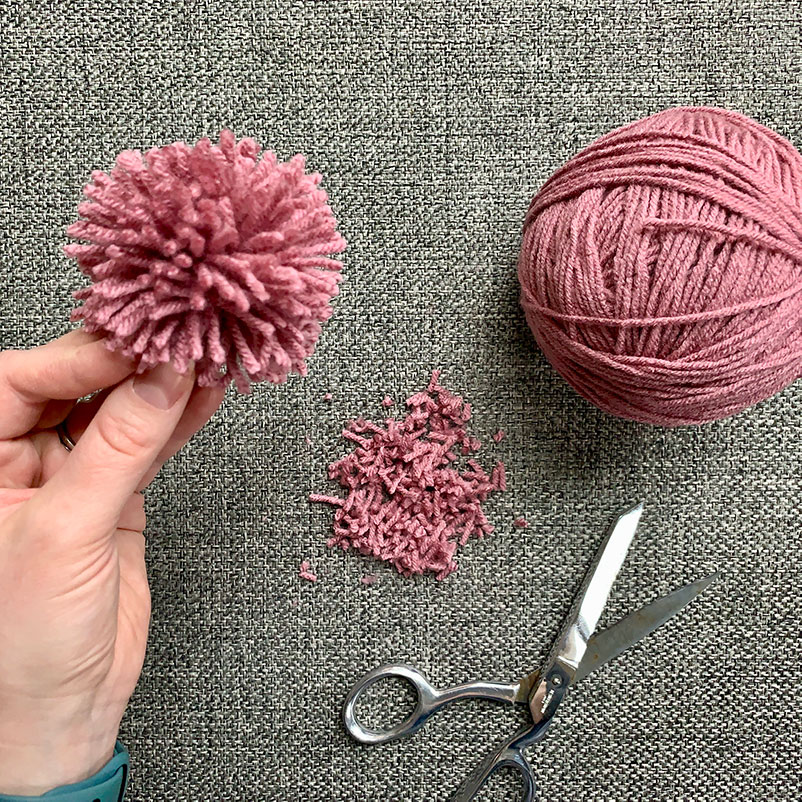
I also love that you may already have everything at home to make these. Don’t have yarn? No worries, you can unravel an old knit hat, scarf, or sweater that you no longer use. Don’t have a pom pom maker? Don’t fret! You can still easily make pom poms without one. No skewers? No problem! You can use sticks from outside.
Materials
- Yarn
- (optional) Pom Pom Maker
- Skewers or Sticks
- Hot Glue
Assemble the Pom Poms
You can choose to assemble your pom poms with a pom pom maker. These are a great tool if you frequently make pom poms, but absolutely not necessary. If this is your first (and possibly only) time making pom poms, skip this tool.
Want to know the details behind using a pom pom maker, check out this blog post on how to use a Pom Pom maker.
Skipping the pom pom maker? Check out this blog post on how to make pom poms with just some scissors and your hand.
Assemble the Bouquet

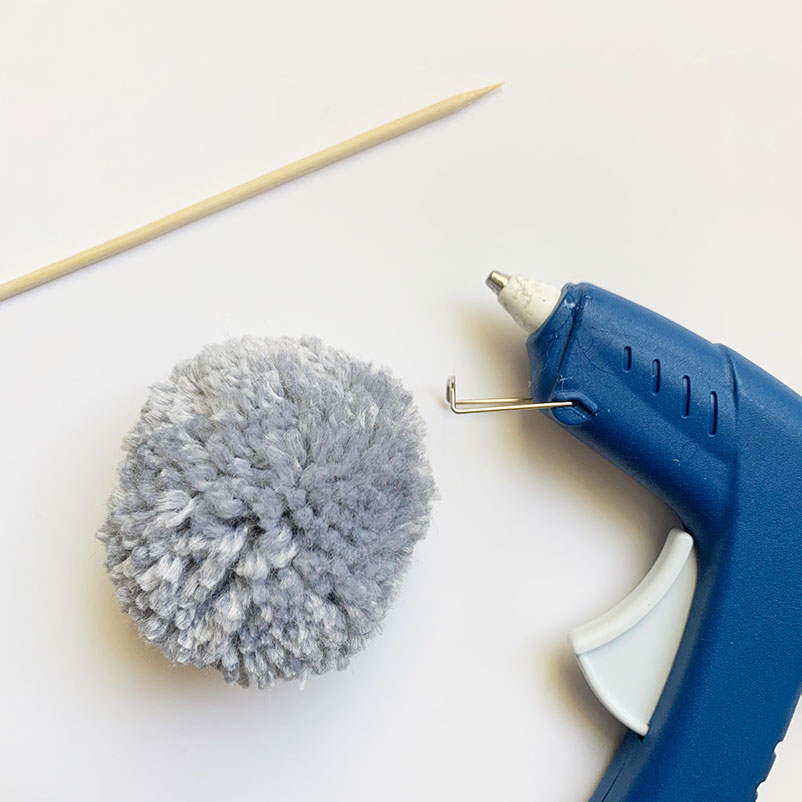
Once you have your pom pom flowers made apply a dab of hot glue all around the top of your skewer or stick.
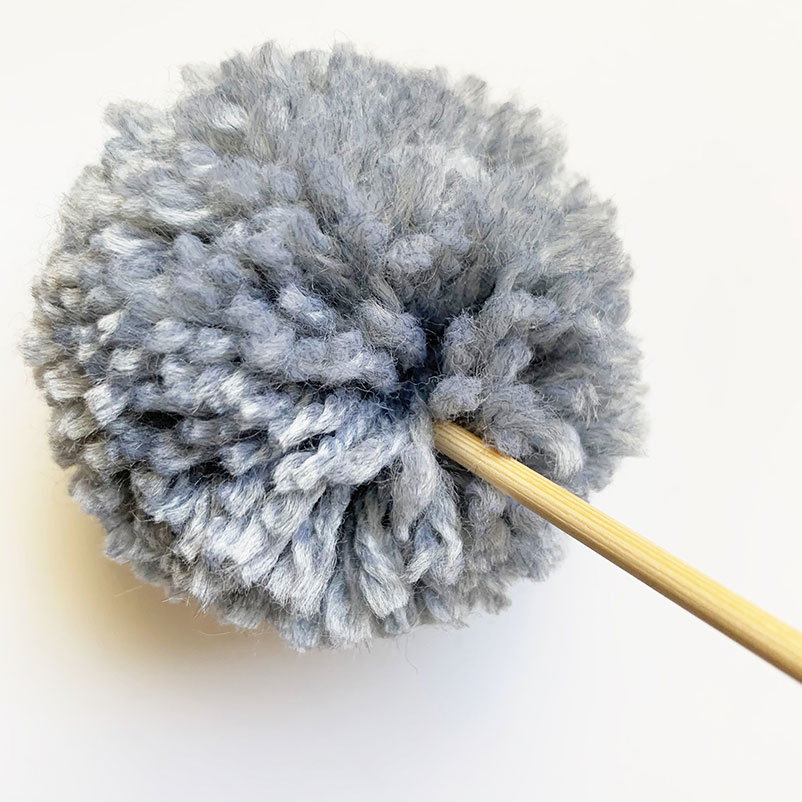
Separate a bit of yarn on a pom pom and stick the skewer into the middle of the pompom. Squeeze the yarn around the skewer to make sure that the glue adheres well to the yarn.
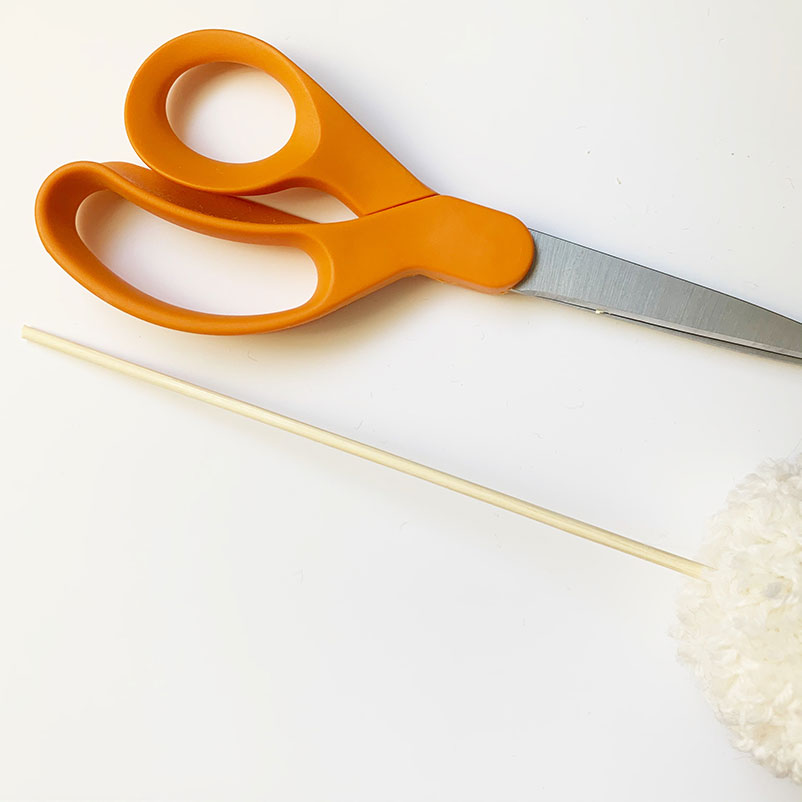
To adjust the size of the skewers or sticks simply score the skewer by gentle cutting the wood with some scissors. Rotate the skewer while making little indents. Once the wood is scored you can easily break it. Smooth it out by rubbing the cut end on the cutting board.
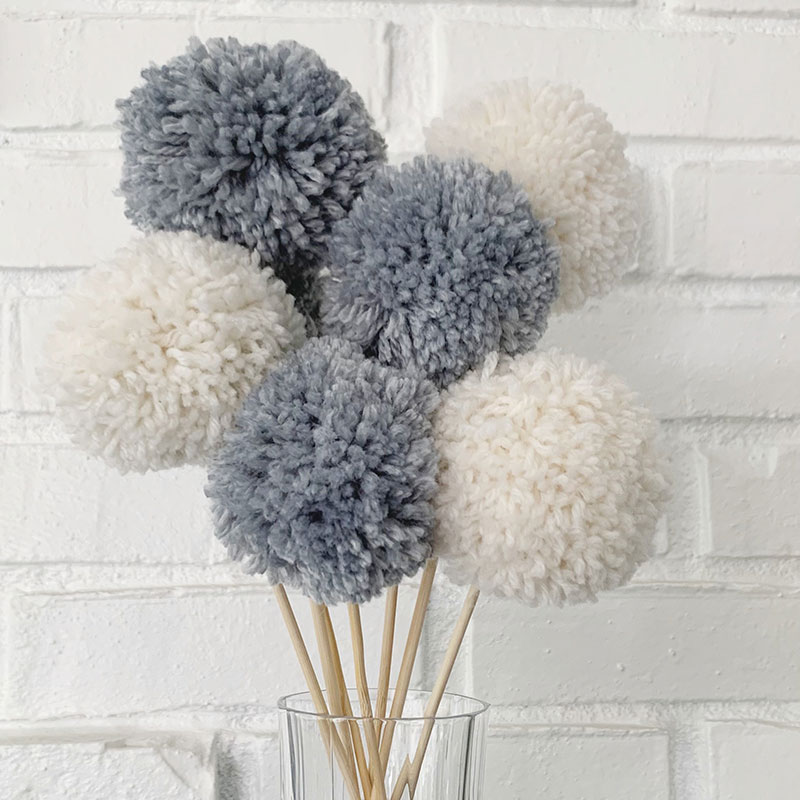
Repeat! Assemble them in a cute jar or vase together. I like to add coffee beans or just simple dried beans as an easy and inexpensive vase filler.