How to Make Continuous Bias Tape
Feeling frustrated making bias tape by cutting out individual strips of fabric, slowly sewing them together, and inevitably having to consult your seam ripper at least once? Yeah, I was in that boat too, until I learned how to make continuous bias tape.
Learning how to make this continuous bias tape is a game changer. It goes so much faster and is always guaranteed to be on the actual bias!
What is Continuous Bias Tape?
Bias tape is a long strip of woven fabric, typically 1.5-4 inches wide unfolded, that is cut diagonally on the grain line. Since the diagonal across a piece of fabric usually isn’t that long, several strips need to be sewn together in order to reach a desired length.
The reason bias tape is cut on the bias and not just straight up and down or perpendicular to the grain line is because the bias of a woven fabric has a bit of stretch to it. Giving bias tape a bit more give
When to use Bias Tape
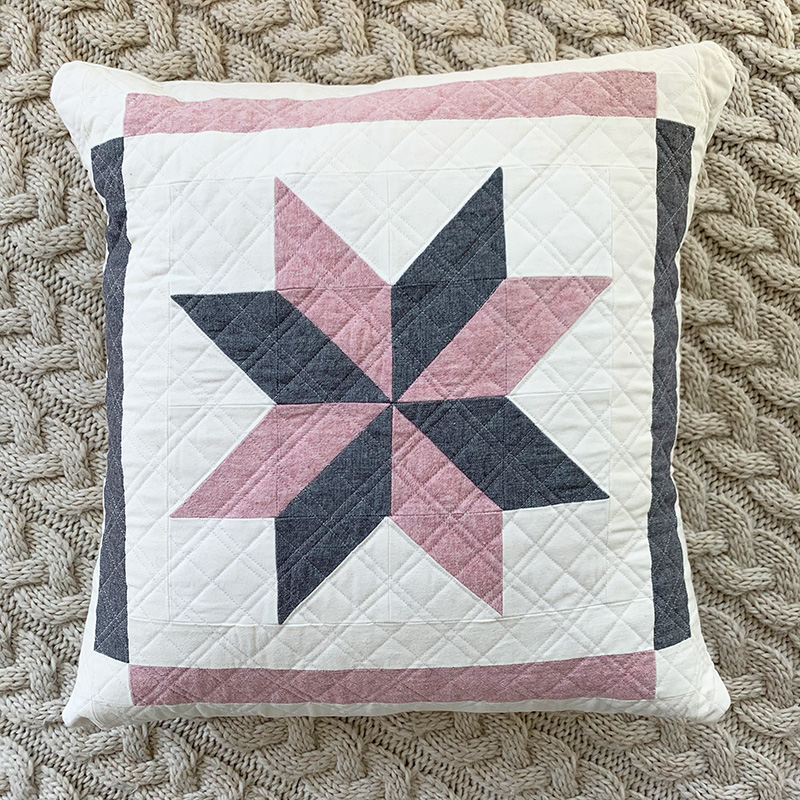
Bias tape is most commonly used for binding the edges of quilts, but it does have other uses!

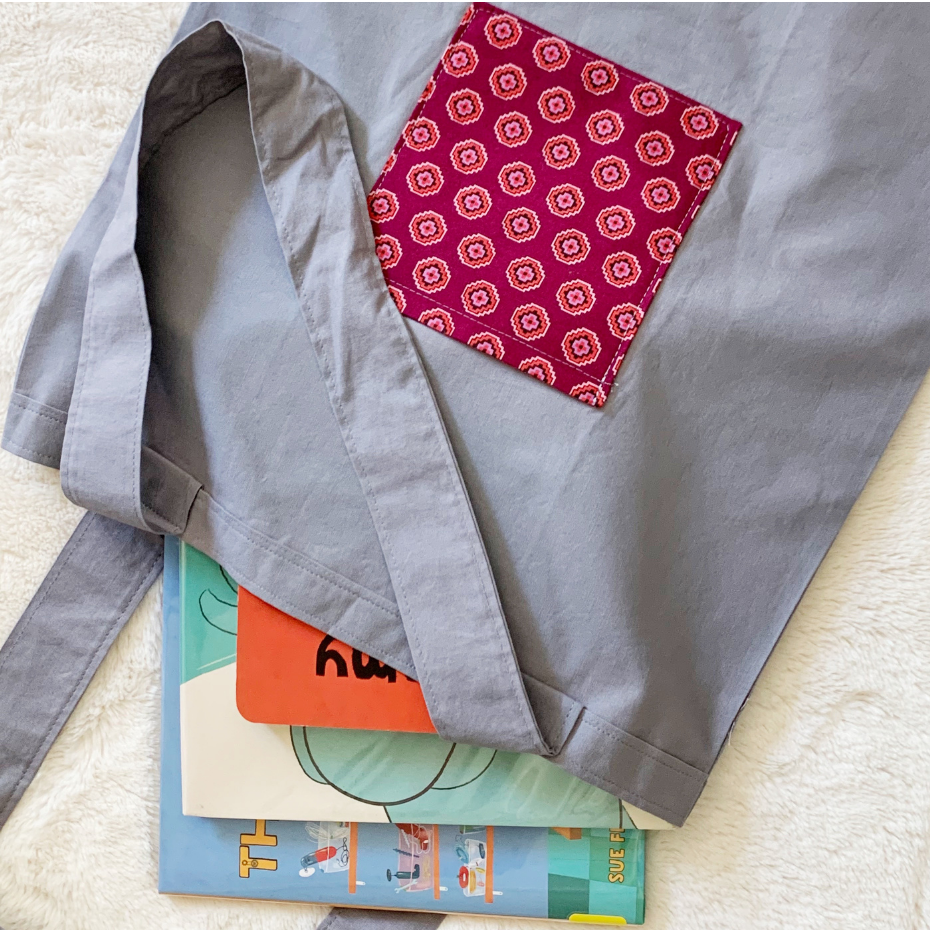
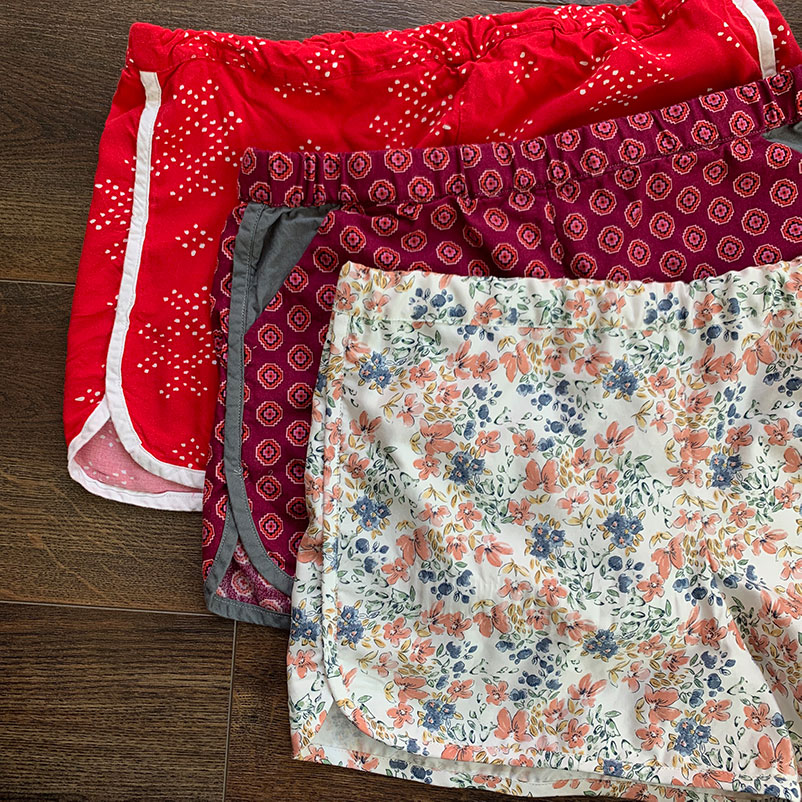
I’ve used it on straps for masks and bags. I’ve used it the most in garment sewing with finishing the neckline of my favorite Shirt No 1, the seams on my hacked Tamarack Jacket, and the sides of my Zadie Jumpsuit.
Materials
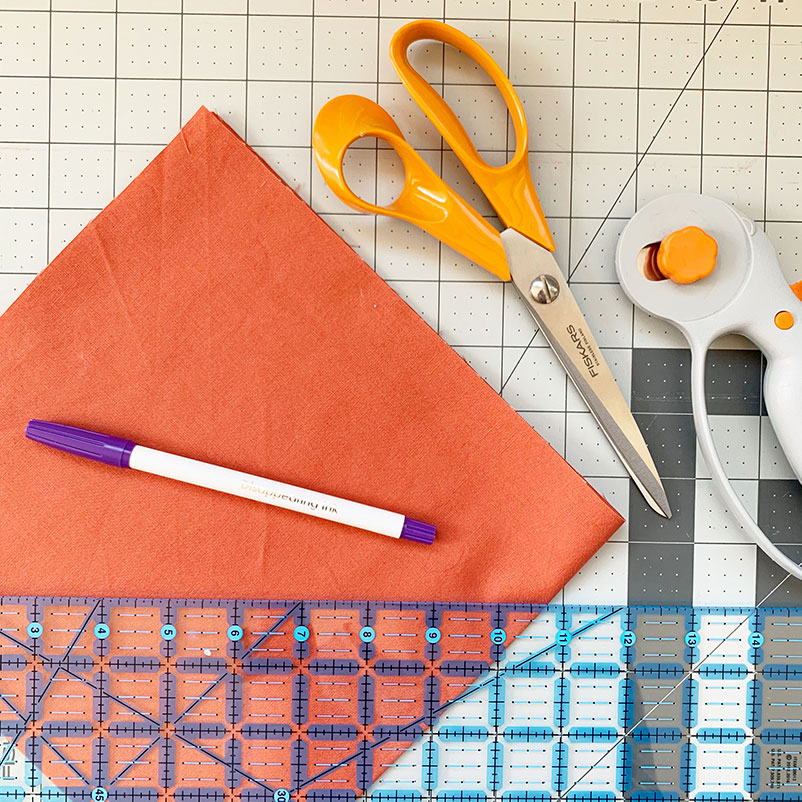
- fat quarter of fabric
- ruler
- scissors
- marker
- optional: cutting mat
- optional: rotary cutter
How to Make Continuous Bias Tape
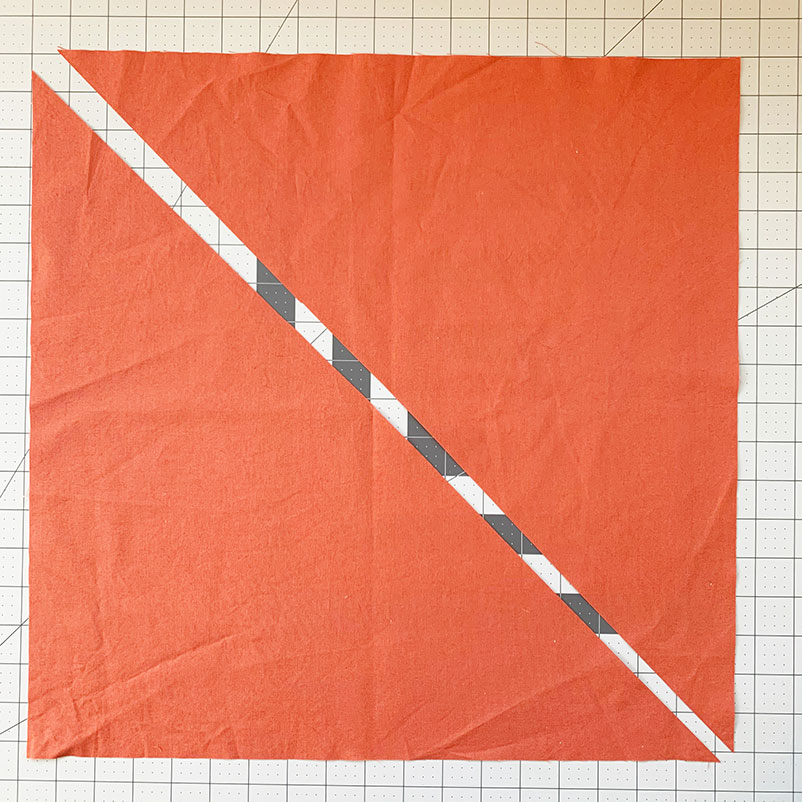
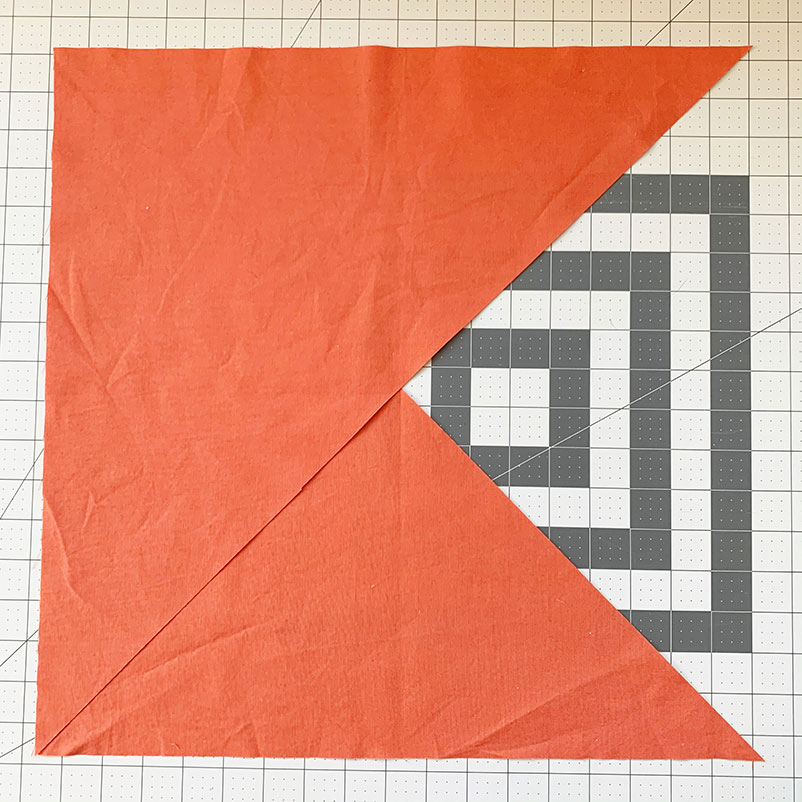
- Cut your fat quarter so it is a square. Then cut the square on the diagonal (45 degree angle). You now have two identical triangles of fabric.
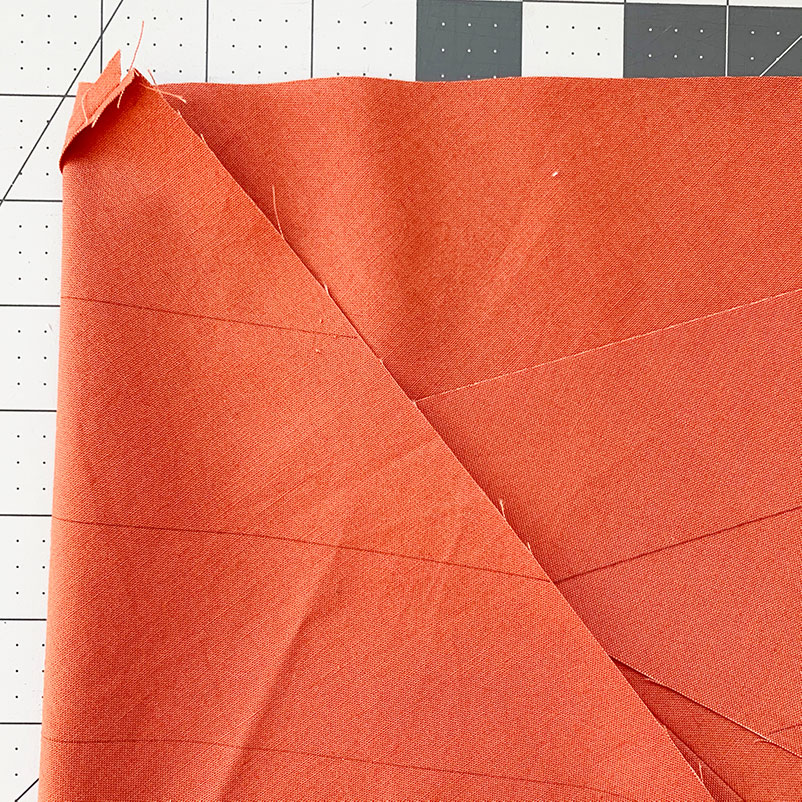
2.Rotate the top triangle 90 degrees and align the left edges of each triangle together. (It should look like the above photo.) Sew this left seam together with a ¼ inch seam allowance.
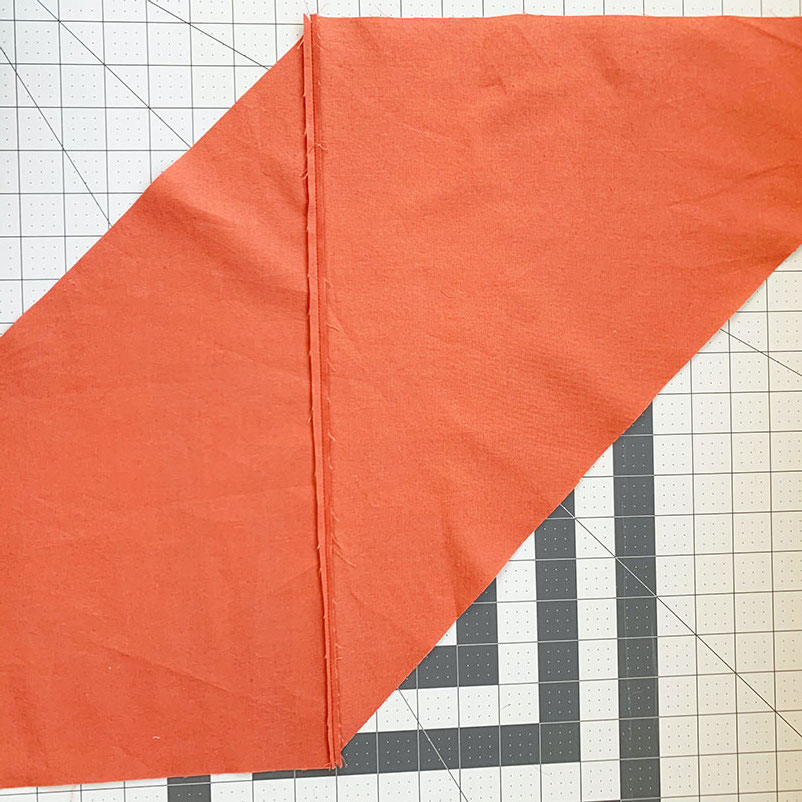
3.Open the seam and press. Reorient the fabric so the seam you just sewed is laying diagonal on your table. (Not like in the above photo! Rotate the fabric so the seam is diagonal.)
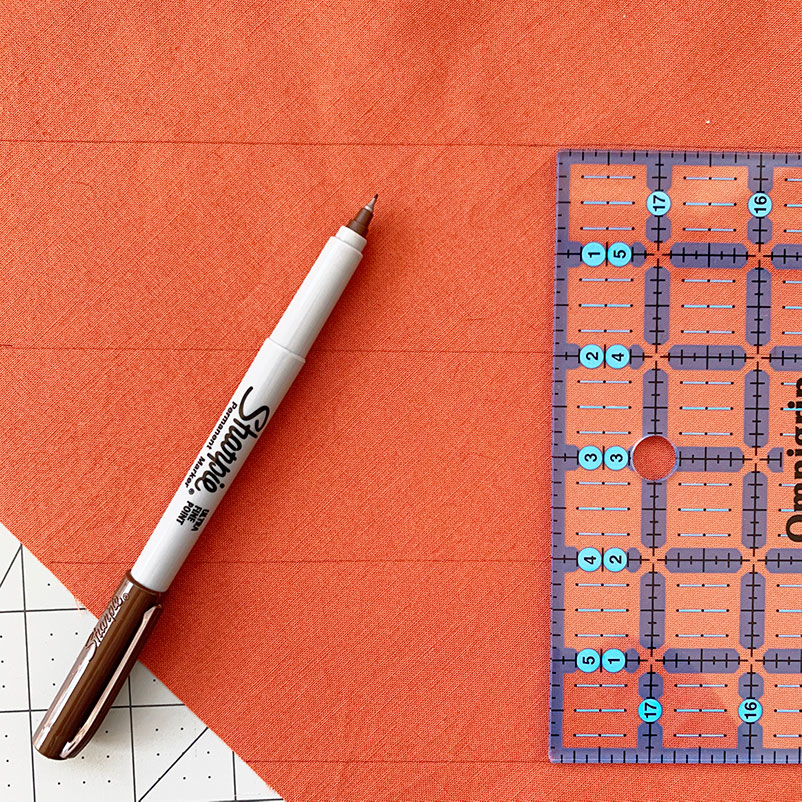
4.Starting at the bottom, mark the width of your bias strip. I wanted ½ inch double folded bias tape, so I marked 2 inch increments on my fabric. (You can use a permanent marker here or pen since it will be within the folds of the bias tape. Just be sure it doesn’t bleed through to the surface below)
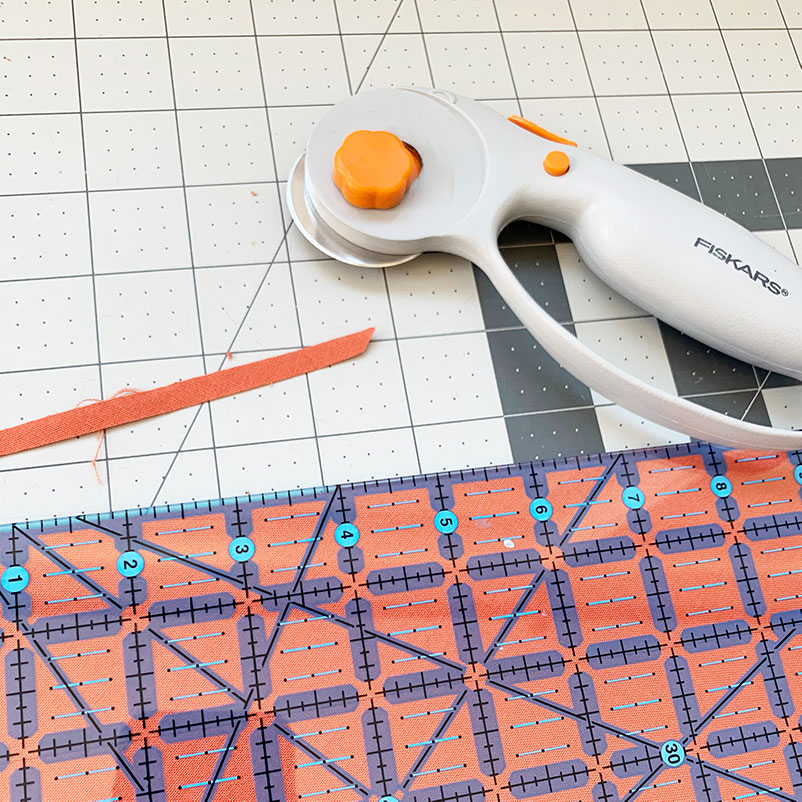
5.Trim off any extra fabric at the top.
6.Flip your fabric over, so that your markings are face down on the table. Turn over the edges of the fabric and align the first row of markings to the second row of markings. You will want these two lines to cross ¼ inch in from the edge of the fabric. In a few steps you will sew this seam with a ¼ inch seam allowance, you want these two lines to cross right where you stitch. Pin this intersection.
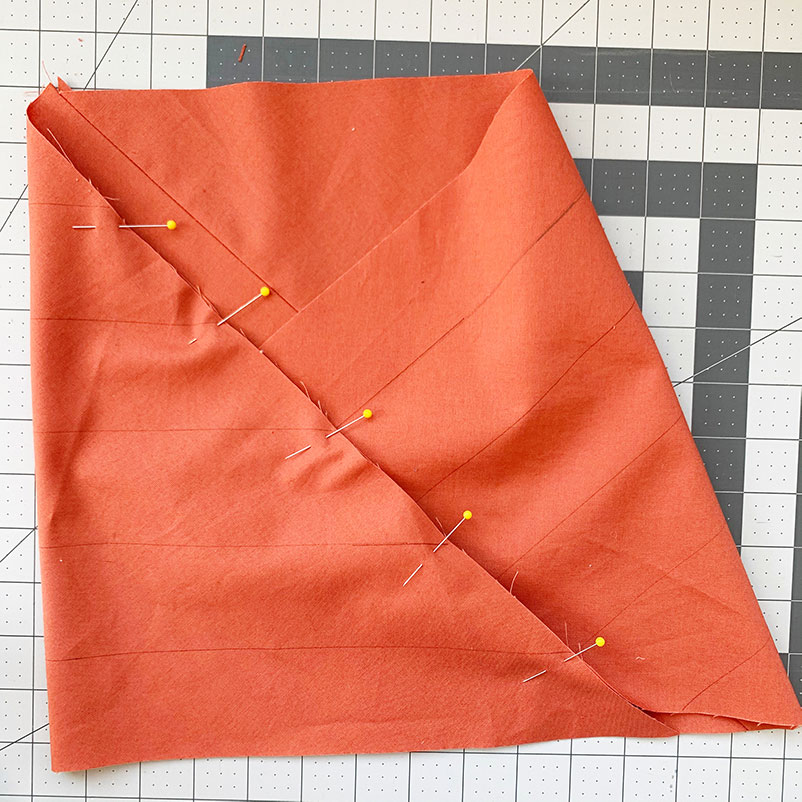
7.Continue to align and pin the next intersecting lines. Add pins at the top and bottom of the seams to make sure the fabric is secure the entire length of the seam. Sew this seam with a ¼ inch seam allowance.
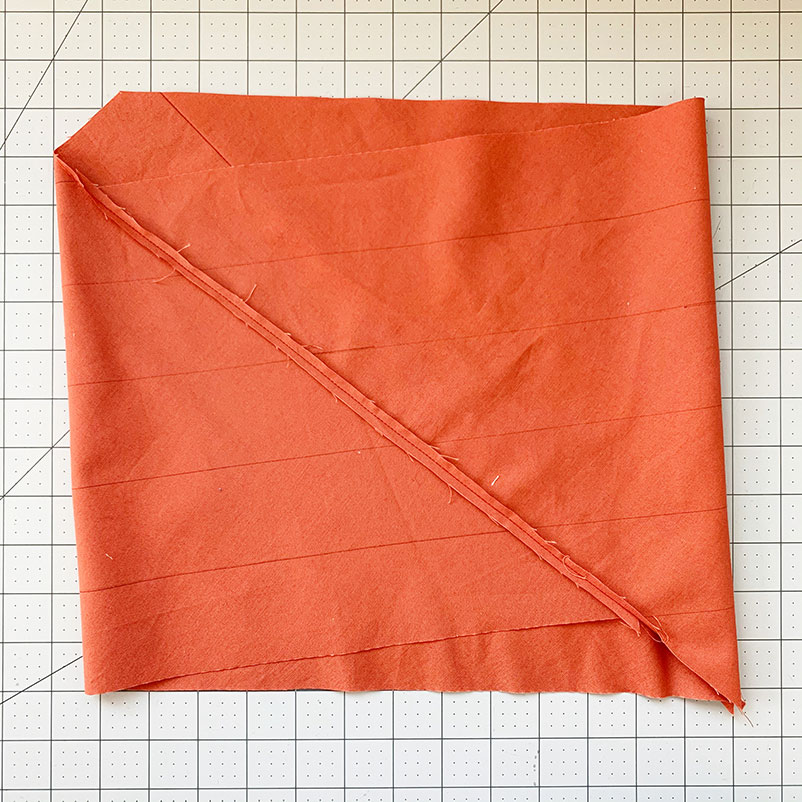
8.Press the seam open.
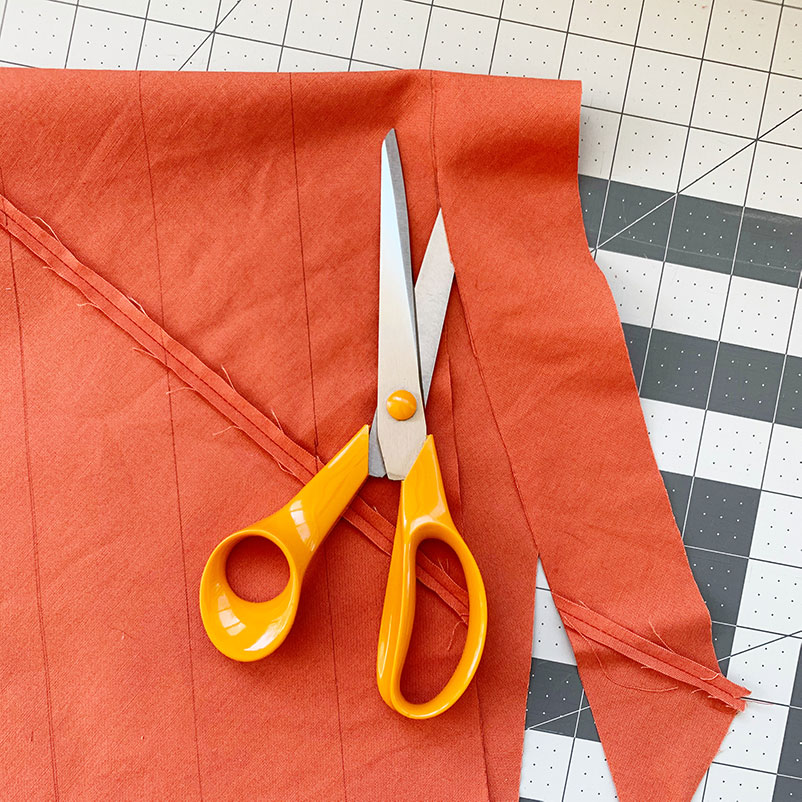
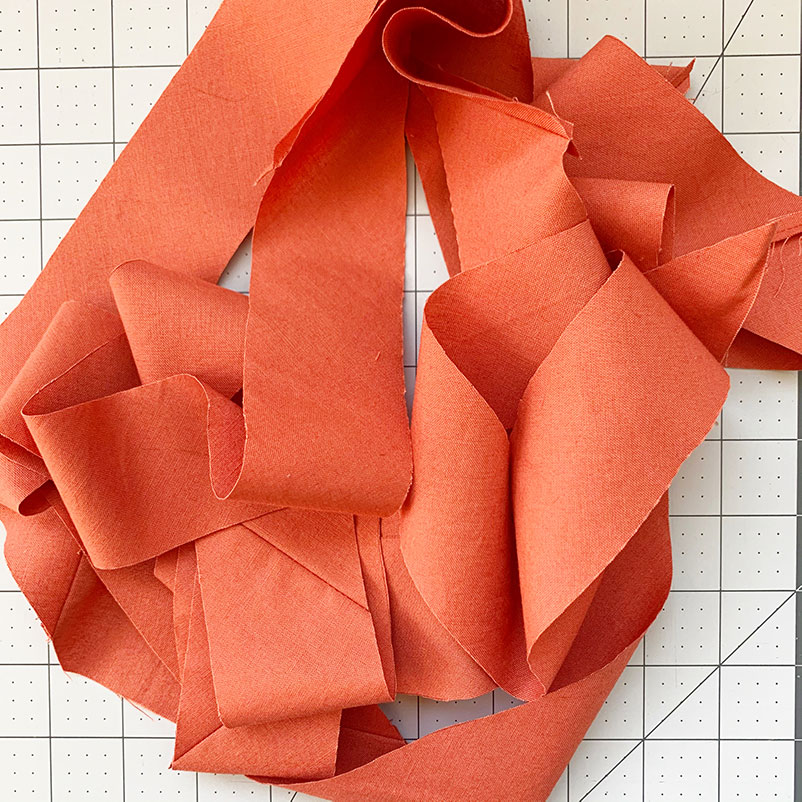
9.Starting at the top, cut along your marked lines. Continue to cut along this line until the entire tube is cut into bias tape. (Like a mobius strip!)

Iron your bias tape into either single or double fold bias tape.