Spider Web & Lazy Daisy Embroidery Stitch
Embroidered flowers are a quick and easy way to embellish any garment. Learn how to do the quick and simple spider web and lazy daisy embroidery stitches.
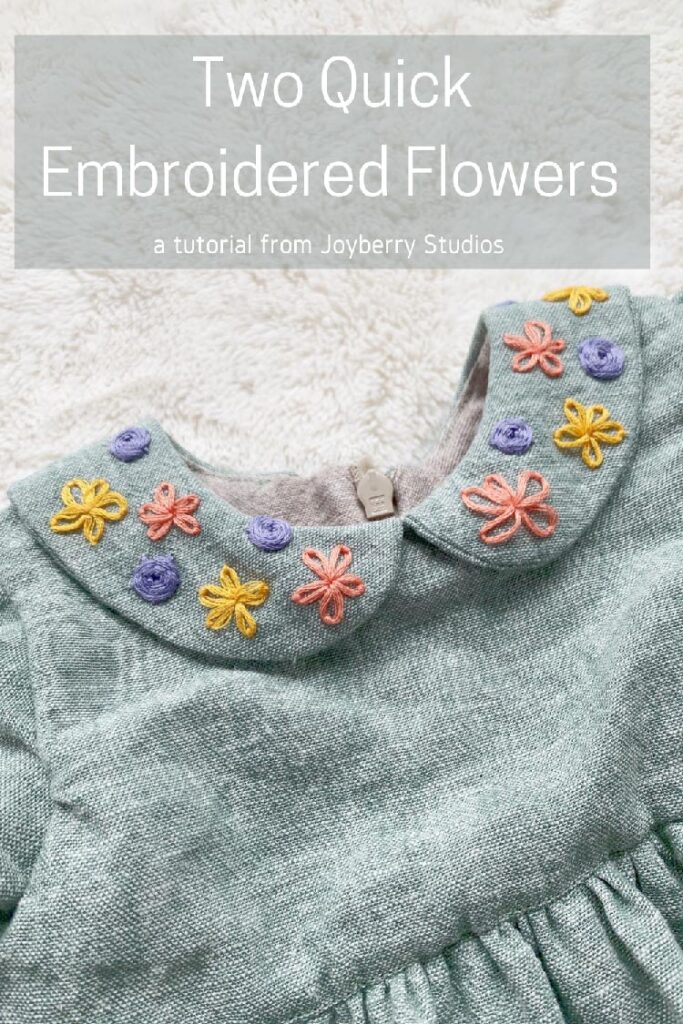
Spider Web & Lazy Daisy Embroidery Stitch
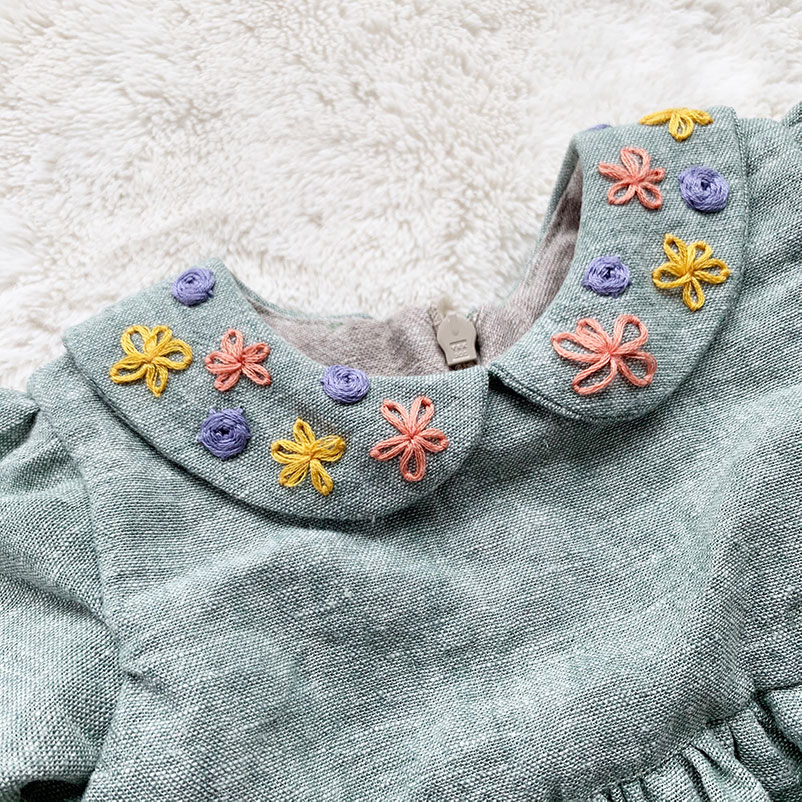
After sewing a few dresses for my daughter I’ve traded in fun quilting cottons for fabrics with better drape. Sadly, that means I’m missing out on a lot of cute patterns and designs that make quilting cottons so fun. I wanted a quick way to add some character to her most recent dress, so I embroidered both a spider web and lazy daisy embroidery stitch on the peter pan collar.
You can easily add these flower stitches to any piece of fabric. Whether it is on a garment, wall hanging, bag, or even quilt.
Materials
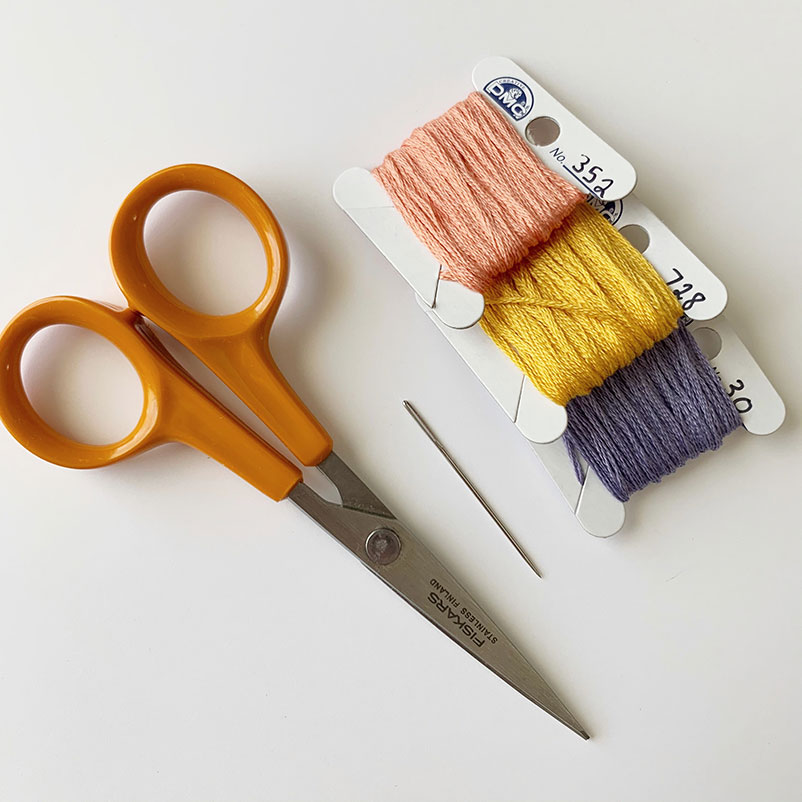
- embroidery floss (I used DMC Light Coral (352), Topaz (728), and Medium Light Blueberry (30))
- embroidery needle
- interfacing
- water/air soluble marker
A regular sewing needle’s eye isn’t big enough to fit the embroidery thread. If you are having issues threading the needle try a bigger needle or use only 3 of the 6 strands on the embroidery floss.
If you are using a lighter weight fabric you should stabilize the back. Pellon makes dozens of stabilizer. I used one that is for garments, irons on, and matches the weight of my fabric. If you are feeling overwhelmed with the vast number of options, talk to someone at your local fabric store.
Lazy Daisy Embroidery Stitch
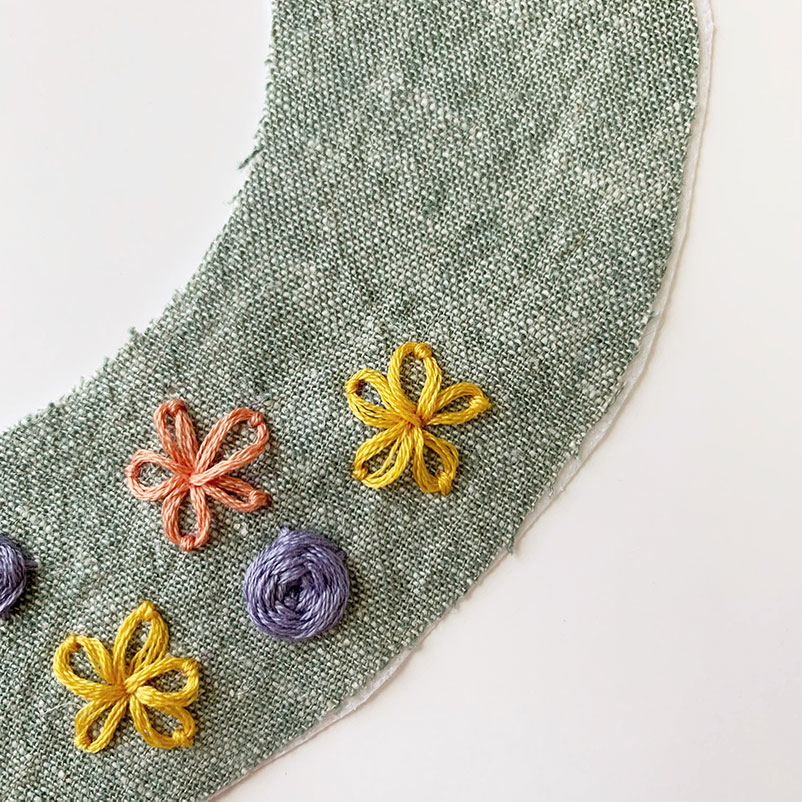
The lazy daisy is a quick and simple embroidered flower. It is the yellow and coral embroidered flowers below. I love the look of the dainty petals and how fast it was to embroider.
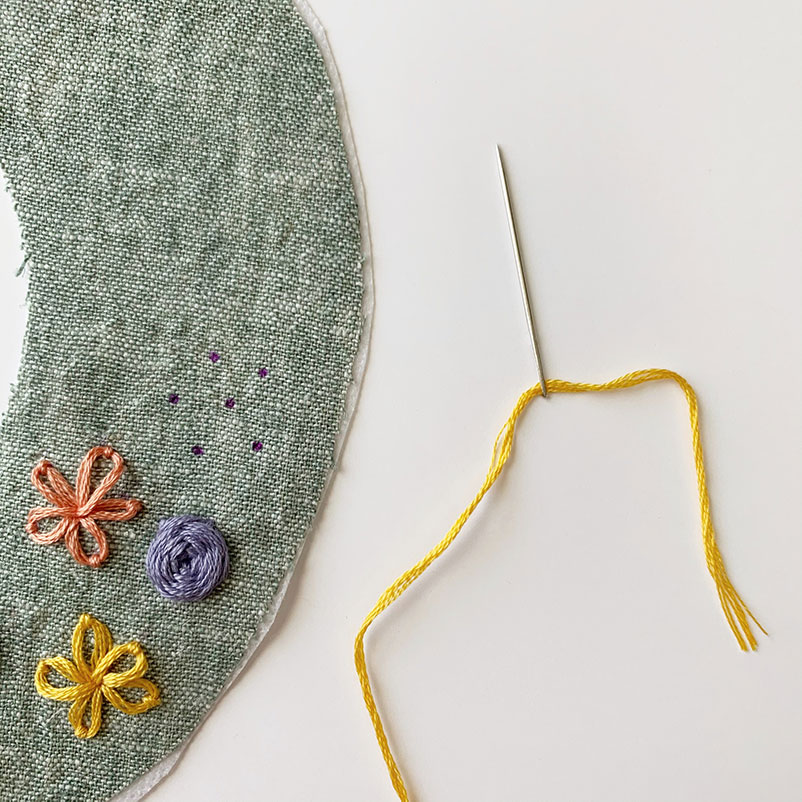
First you should mark out where you want your flower to go. This helps petal placement so your flower looks uniform. I used an air soluble marker to do this. Mark the center and the tips of each petal.

Insert your threaded needle up through the center of the flower and back down again. Don’t pull the thread all the way through. You want a loop on the front of the fabric.
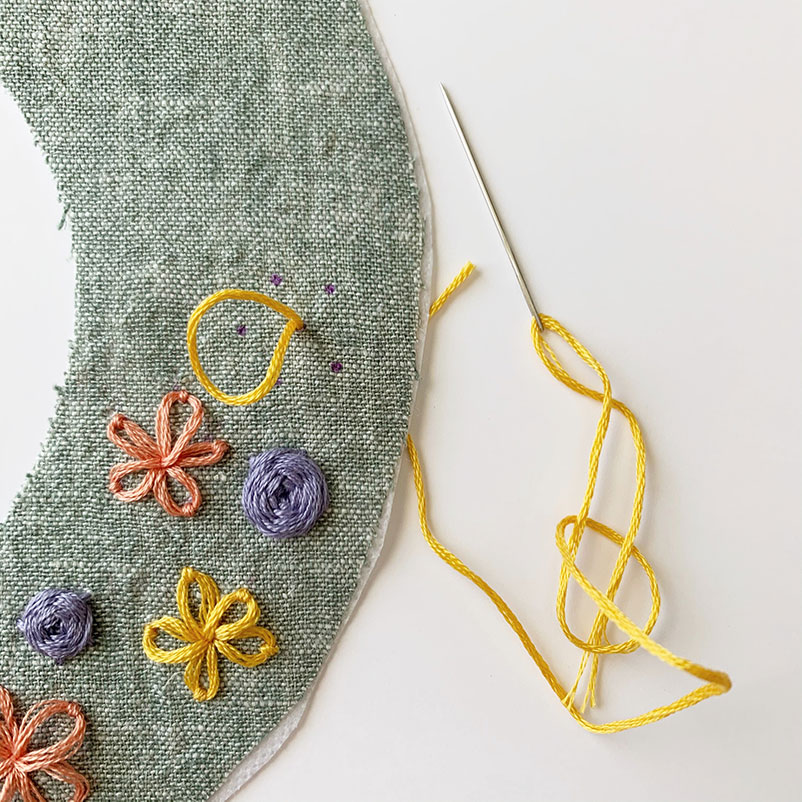
Pull your needle through, leaving a small loop. This will be your petal.
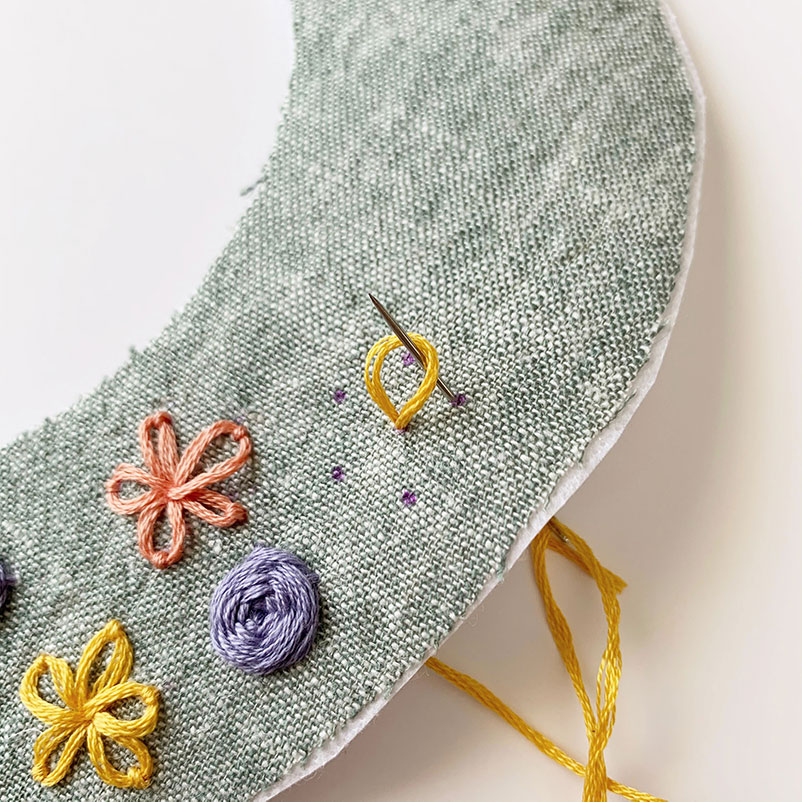
Insert your needle up through one of the dots that mark the top of each flower. Hook your needle through the loop.
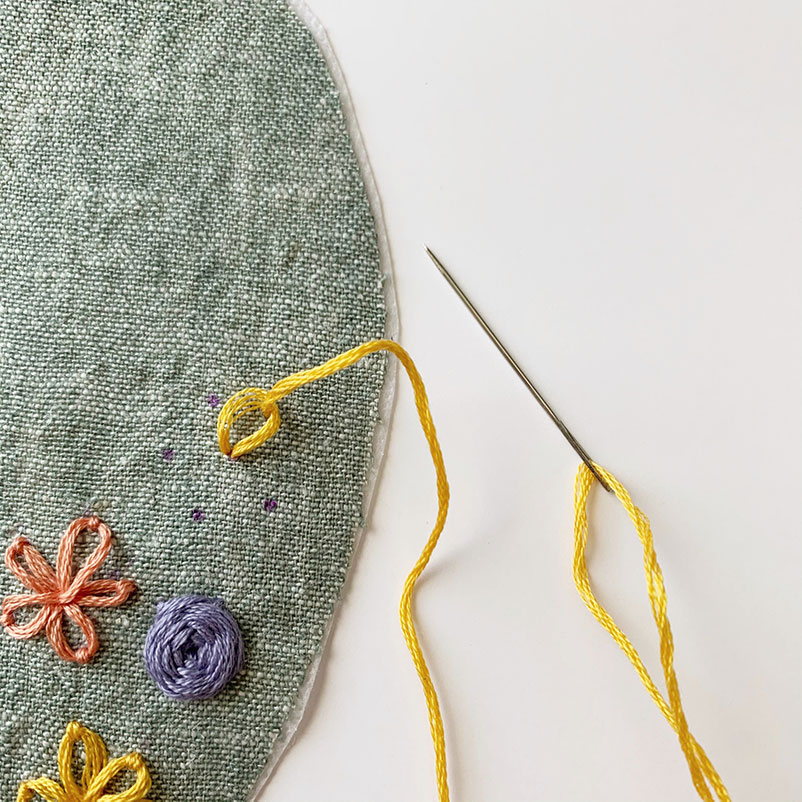
Pull your thread through to the top and modify your petal so it looks how you want. If you pull too hard on the thread, it will pull your petals so they are nearly in a line. Too much slack, and your petal will be big and wobbly.
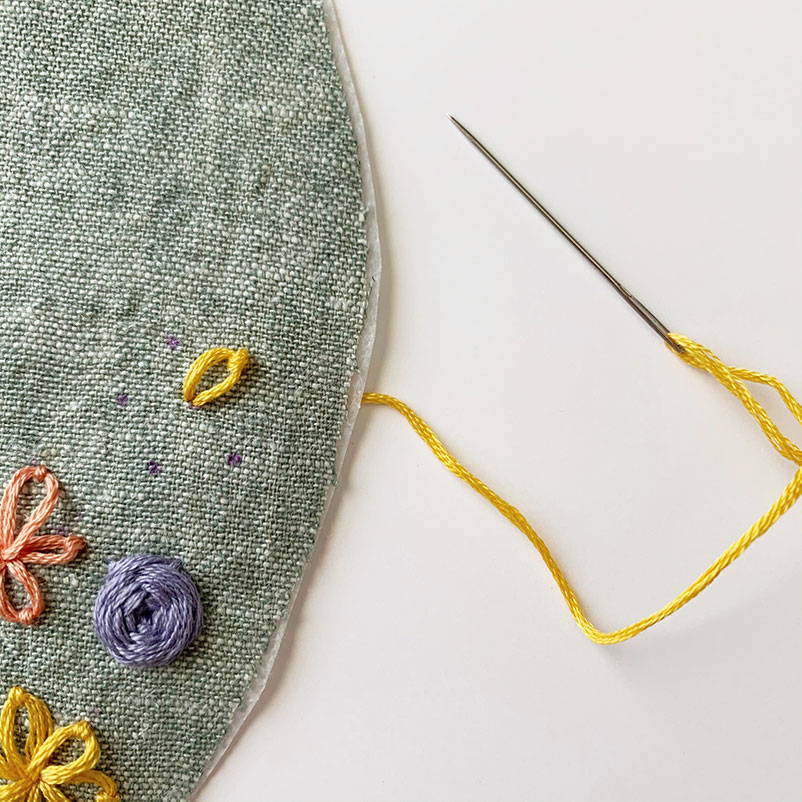
Thread your needle back down on the other side of your embroidery thread petal loop. This little stitch just holds your petal in place.
Repeat with the remaining petals and you’ve made a lazy daisy flower! Wasn’t that quick? The lazy daisy stitch is one of my favorites!
Spider Web Embroidery Stitch
This spider web stitch is such a quick flower to make and I love the dense woven look. This is the purple flower in the picture below. I think they are the most satisfying embroidered flower to make. They are a great filler flower for bigger projects as well!
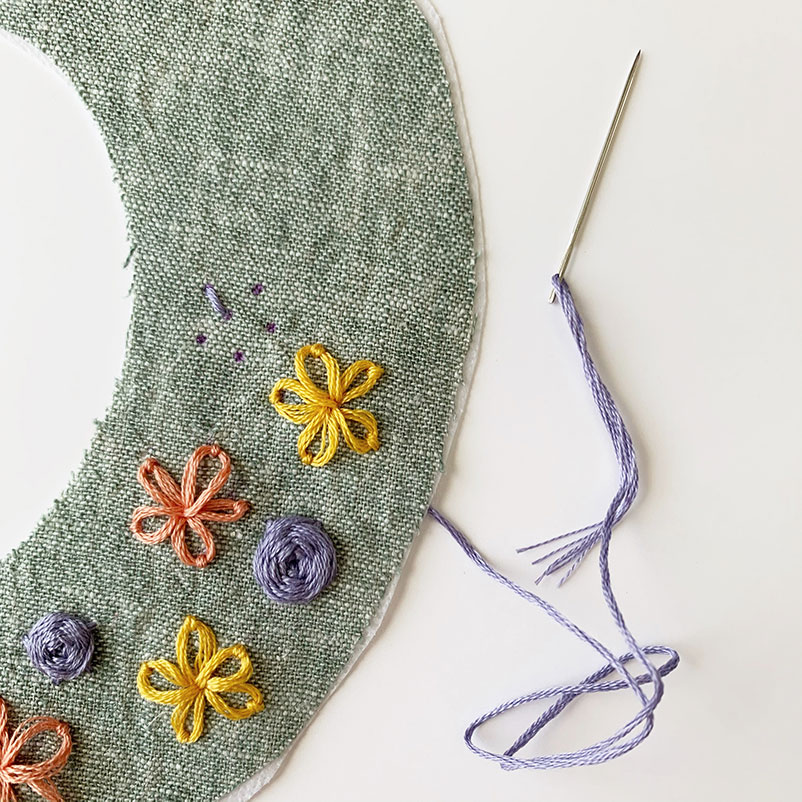
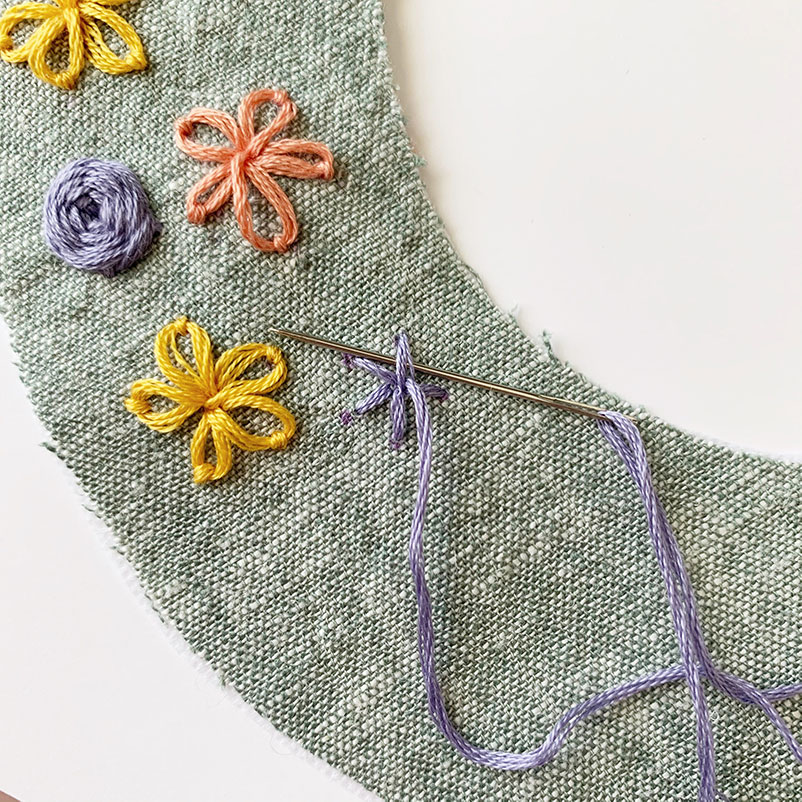
Mark out the middle of your flower and an odd number of points surrounding the middle. If you are making a smaller version of this floral, like mine, I suggest five points. The larger the flower the more points you should have. Make a simple stitch from the middle to one of the points.
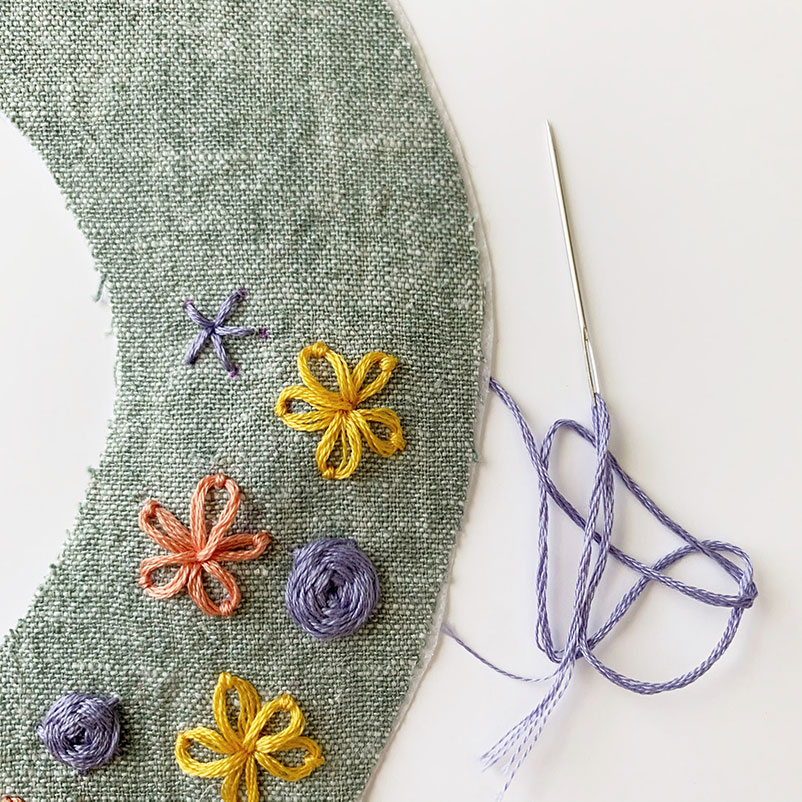
Repeat the small stitch with each of your points.
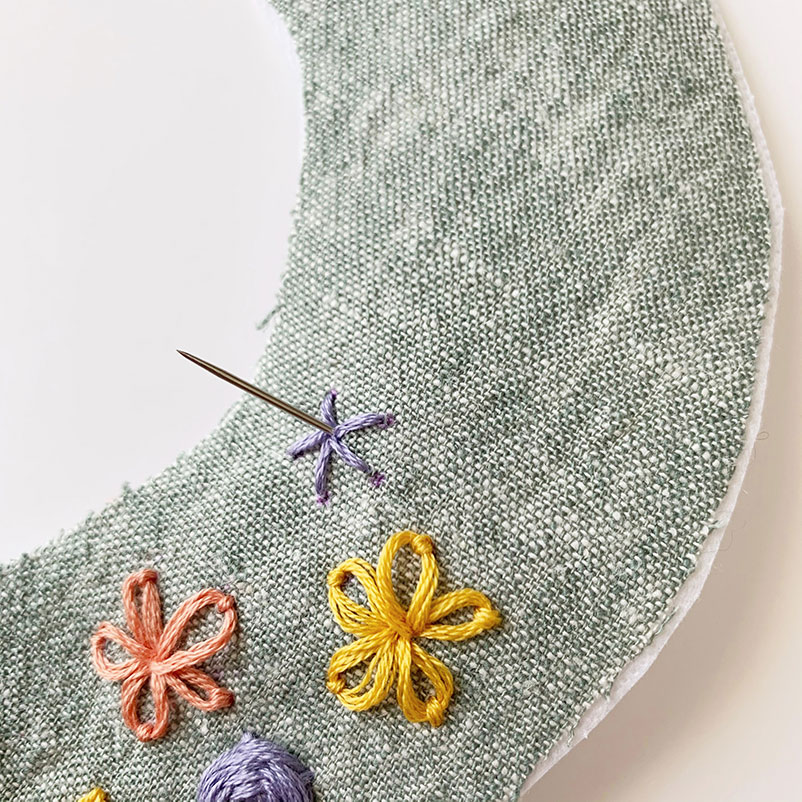
Insert your needle up through the middle of the flower.
This is where the fun weaving begins. Thread your needle under one of your stitches. You are not going through the fabric here, just under the embroidery thread.
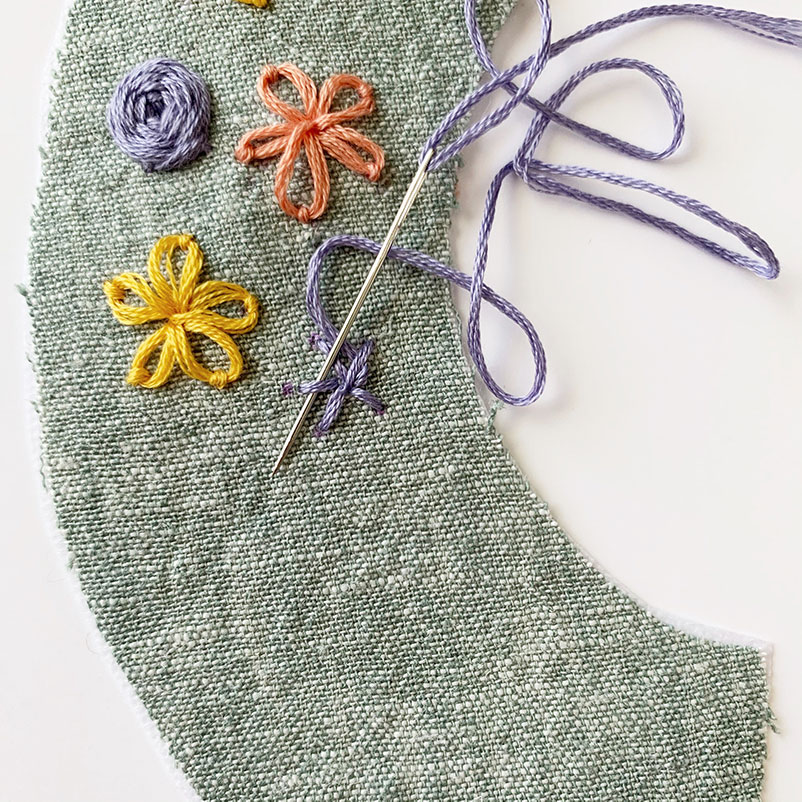
You will start to travel around the flower. Continuing in an “under – over” pattern. Pull the thread taut as you weave around the flower.
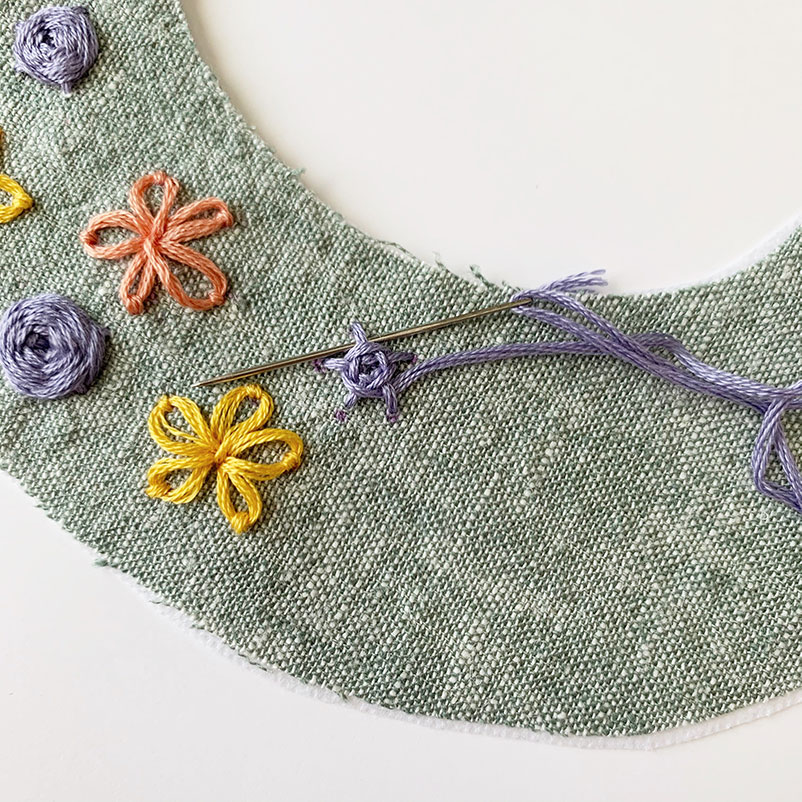
As you continue to weave, your flower will grow and start to look more like a flower.
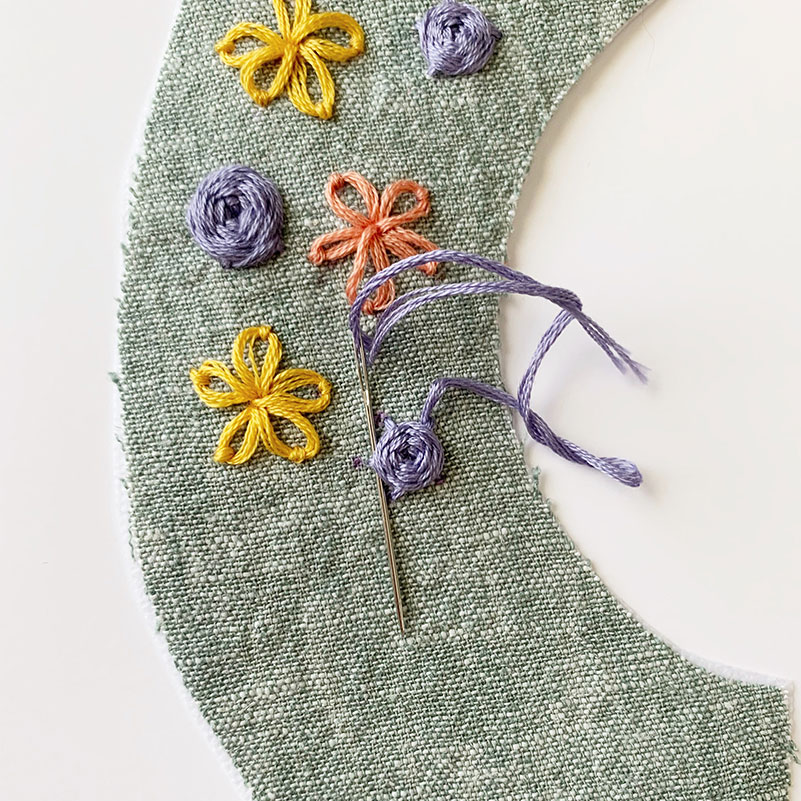
Once you’ve reached the edges of your stitches, thread the needle back through the fabric and tie it off. You’ve made a spider web stitch flower!
Incorporating Embroidery Into Clothes
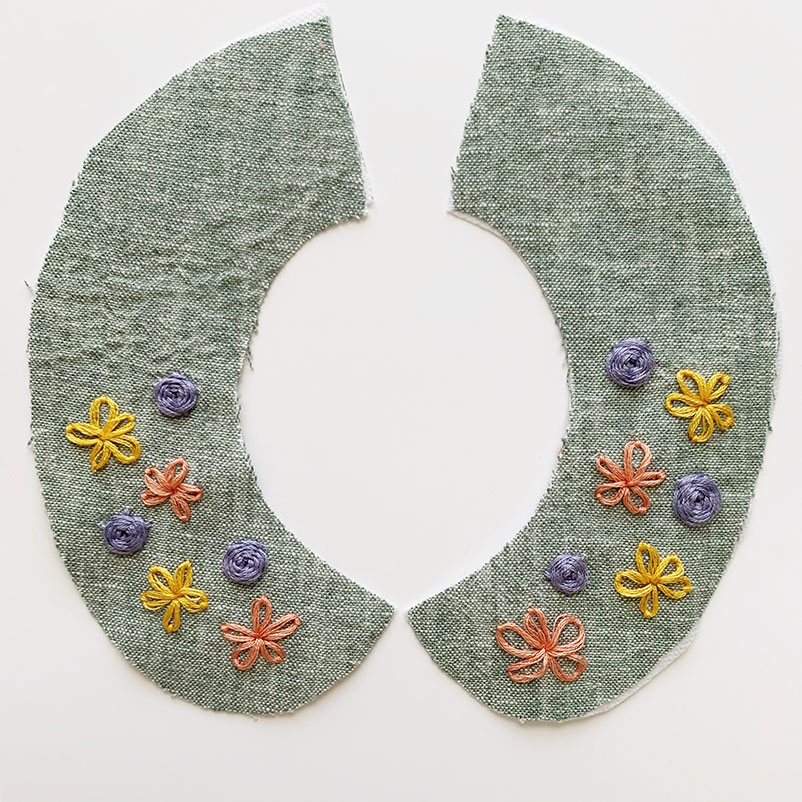
I repeated the two florals throughout my daughter’s peter pan collar pieces before sewing them into her Geranium Dress from Made-by-Rae.
When adding embroidery to clothing it is important to protect the back side threads of the embroidery. You can do this by sewing another piece of fabric against the embroidered piece of fabric (ex. sewing on a facing/lining or like on this collar) or by simply adding a piece of interfacing to the back of the fabric.